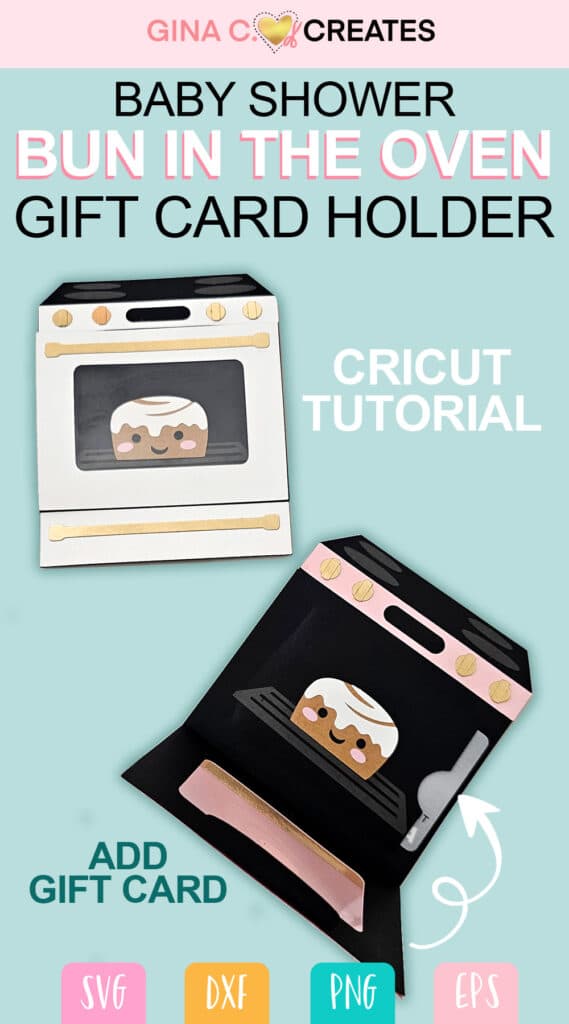
Bun in the Oven Cricut Baby Shower Gift Card Holder
Welcome back my crafty people! Today, I have a cute Bun in the Oven Gift Card Holder for your next Baby Shower. Give a little gift to the expecting parents. Everyone enjoys a handmade gift, shows all the time and thoughtfulness you did for their special day. Cricut gift card holders are one of my favorite things to make with my cutting machine.
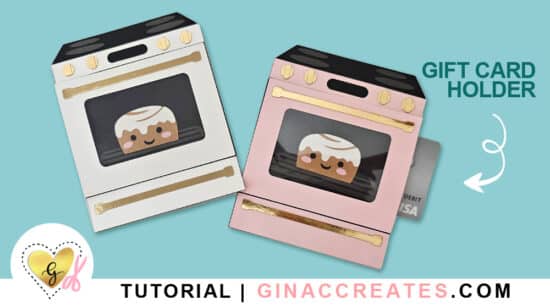
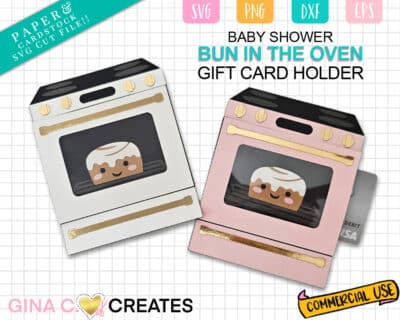
I just love how this little oven came out! I designed it with my White Café Range in mind, it has goldish handles that really make it stand out! My foil gold cardstock worked great for this baby shower gift card holder. It will even make a great pregnancy announcement! Just switch out the gift card with a note card and send it to your friends and family!
My Cricut baby shower gift card holder is sized for standard gift cards(2.125×3.37in). The over-all finished Bun in the Oven gift card holder is 4×5 inches. Below you will find my full video tutorial!
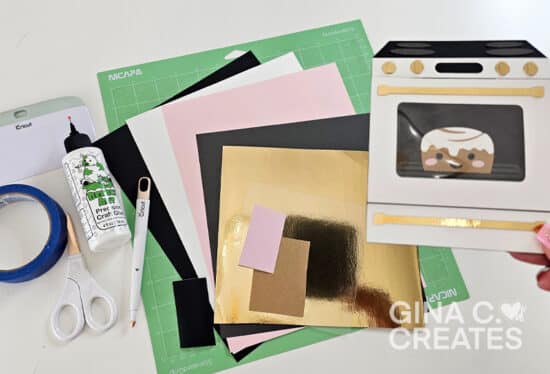
Bun in the Oven Gift card Holder Supplies:
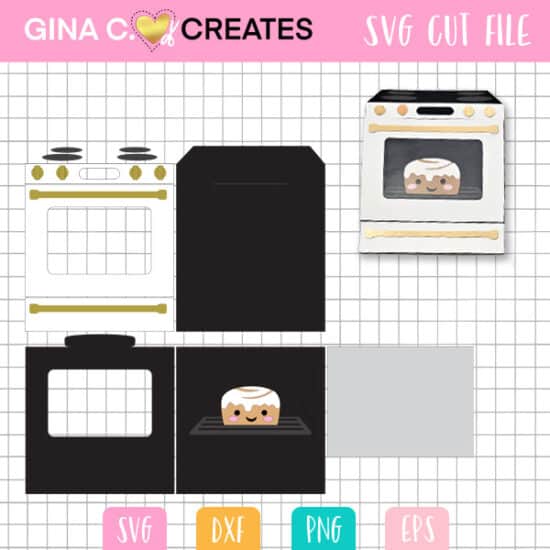
My Bun in the Oven Gift Card Holder SVG can be purchased in my shop.
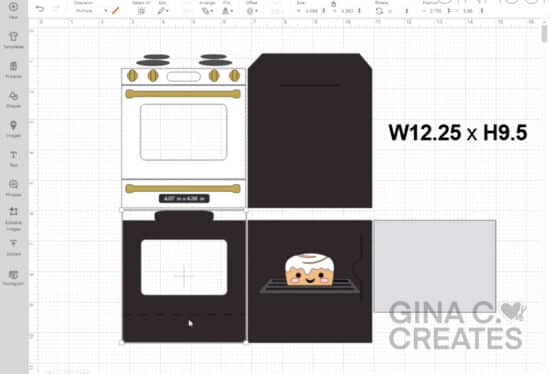
Once you have my file downloaded, right-click on the zipped folder and extract all files and save to the same location. Upload the SVG file type to Design Space and make sure the overall SVG size is W12.25 by H9.5 inches. Next you can ungroup and select each layer to change the colors to your liking.
Make sure to change the cut line on the back of the oven door to a score line and attach it to the shape. For the gift card pocket cut line, attach it the shape it’s grouped to. (Leave as a cut line).
You can cut on Cardstock + for your 65lb cardstock. I used vinyl for the cinnamon bun face and cheeks, however cardstock will work as well.
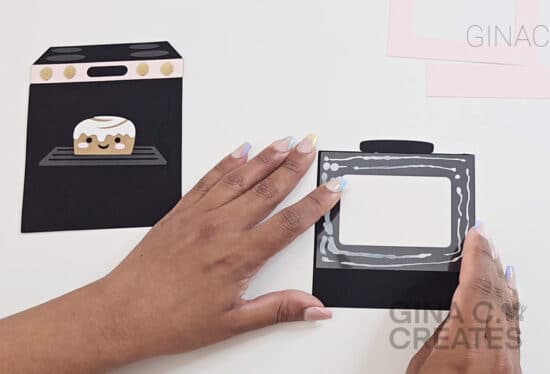
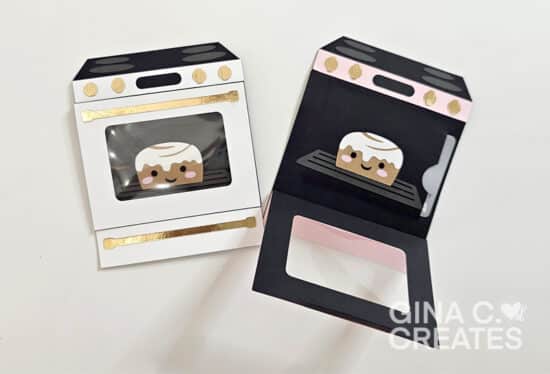
Once you have all the layers cut out you can begin to assemble! Below I have some images on where to apply your glue for the gift card pocket, along with the oven door window. Please watch my video tutorial below for the full instructions.

You will use the acetate sheet for your oven window. If you don’t have acetate sheets, you can use black cardstock, and when they open the oven door, they will see the cute bun in the oven!
I hope you get to try out this adorable mini oven gift card holder! This Cricut project template gives you creative freedom to customize to your own occasion. Baby showers, pregnancy announcement, house warming, baking party etc. Can’t wait to see how you create this Cricut gift card holder!


