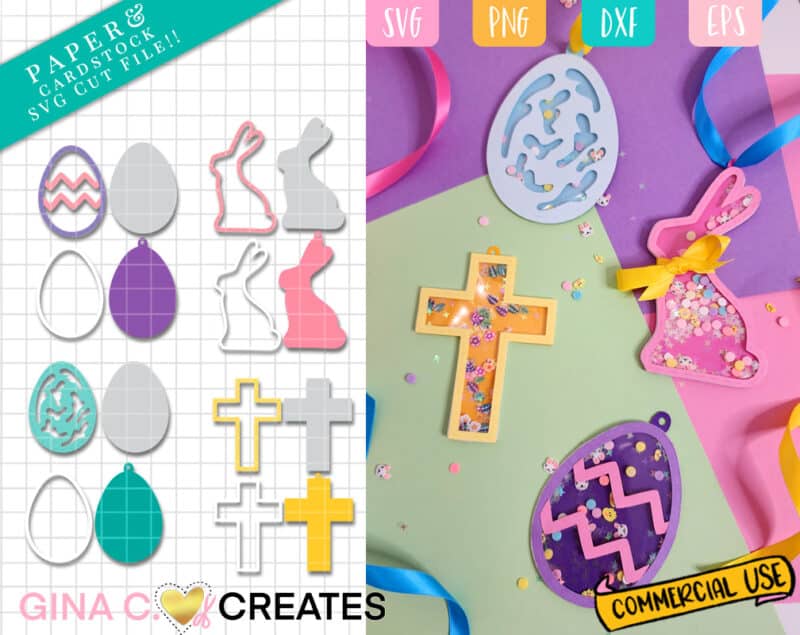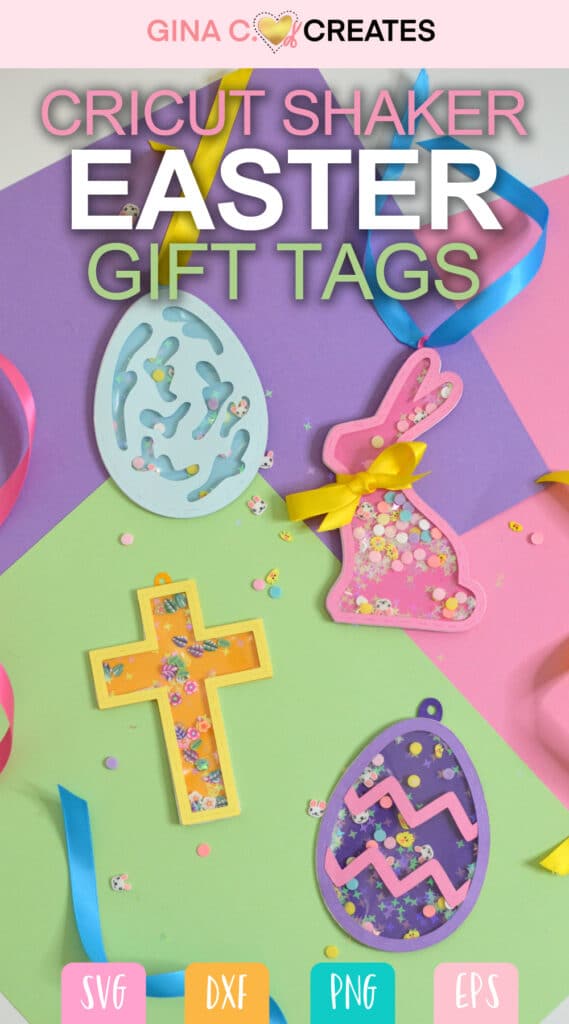
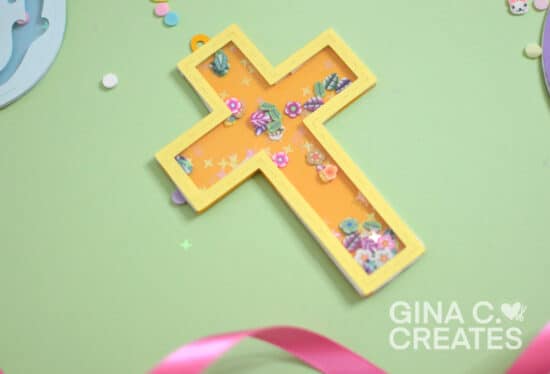
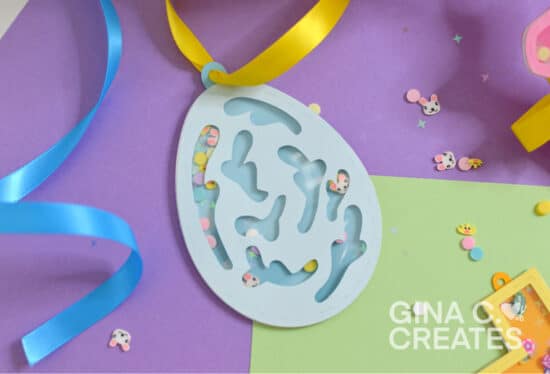
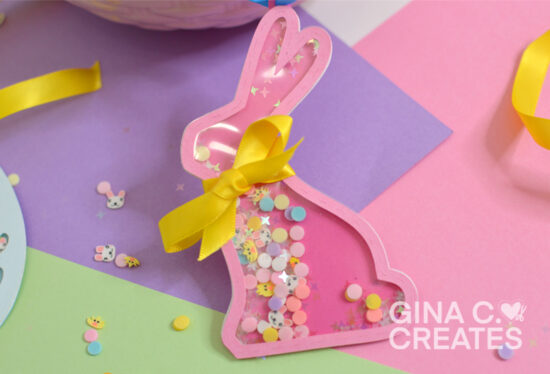
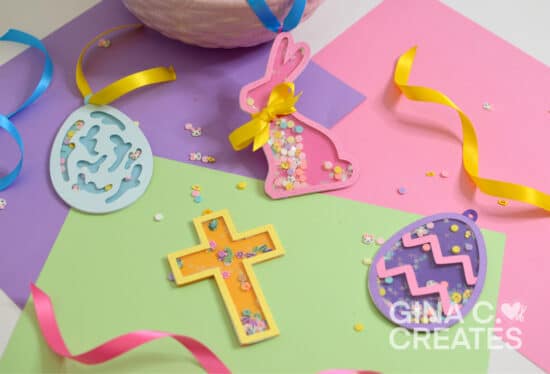
Hello Crafters! Let’s have some fun today making these cute Easter shaker gift tags! I have been dying to make paper shaker projects, and Easter gift tags sounded like the perfect way to start. Easter is about a month away, so lets get crafting on some Easter tags. These Easter shaker gift tags will be great for kids Easter baskets, gift bags, stuff animals or to use as Easter ornaments.
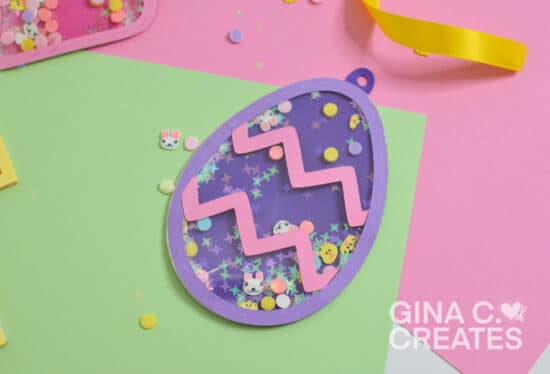
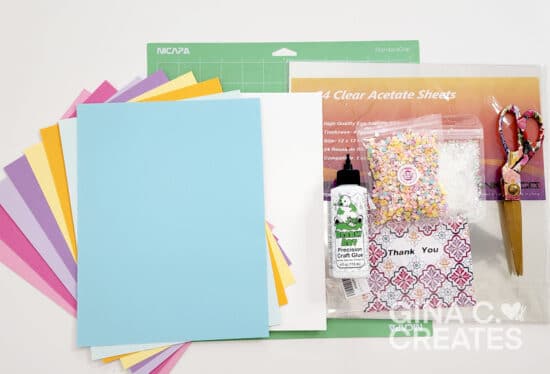
You can create these Easter shakers out of cardstock or colored foam sheets. You can fill the inside of the Cricut shaker with chucky glitter, polymer clay sprinkles or sequins discs. Whatever you choose I know it will look great!
Once you have my Easter Shaker Gift Tag SVG downloaded, it will be a zipped folder. Right-click on folder and hit extract all and save it to desired location. Upload it to Cricut Design Space, make sure the SVG file upload the correct size of 13.32 in width. You wan to get in the habit of double checking the SVG after you upload it because Design Space doesn’t always upload the SVG the correct size. After it’s sized correctly you can ungroup them SVG.
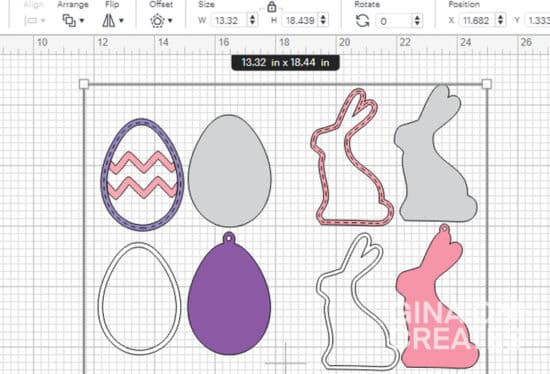
Next, you will need to attach my dash cut lines to the shape underneath. This give it a little more character than being just solid. However, you can delete, or switch them to the pen tool if you like. It’s your project so you can make this your own!
You may change the colors to your liking, the gray layers are for the clear acetate sheets. The white outlines are to hold in your shaker contents. You will need to duplicate this layer 3 more times so you can layer them on top of each other for more depth. Or you can delete it all together if you are going to use foam tape for the shaker boarder.
Please watch my video tutorial below for full instructions.
I hope you enjoyed this tutorial and share your project in my Facebook group! I’m glad I finally got around to making these Cricut shaker gift tags. I see a lot more Cricut shaker projects coming this year!
Watch this tutorial on YouTube!