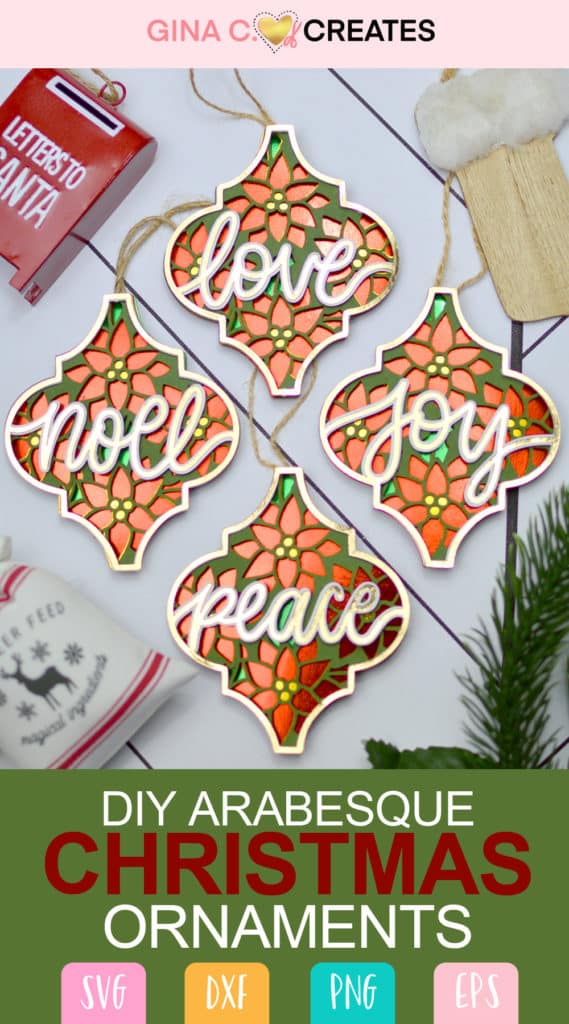
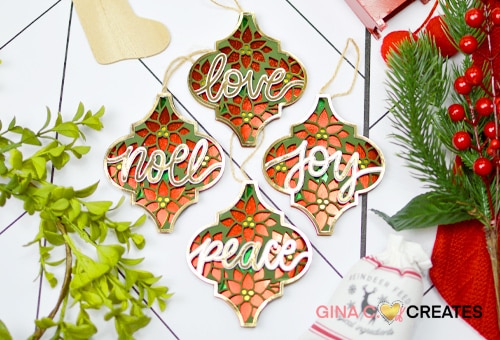
DIY Arabesque Christmas Poinsettia Ornaments
Who doesn’t love Arabesque tile shaped Christmas ornaments? I decided to design my own arabesque shaped layered mandala ornaments. My Christmas poinsettia ornament SVG is designed for cardstock but can also be used for bass wood, felt, or foam sheets. Whatever your cutting machine is compatible with.
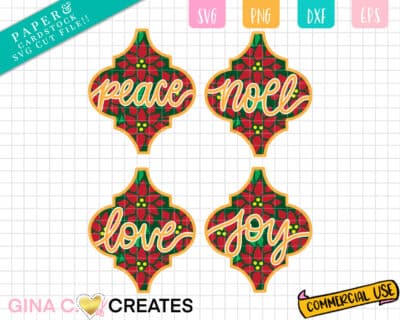
In this tutorial, I will show you how to create this layered arabesque Christmas poinsettia ornament, using my Circut and cardstock. My SVG download comes with 4 designs, with only changing the Christmas word. The bottom 4 layers are the same for all 4 ornament designs. The Christmas words I include are Peace, Love, Noel and Joy.
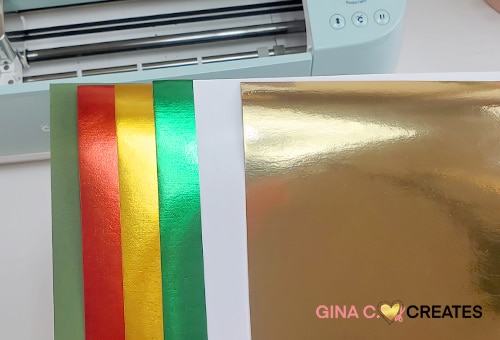
Below is an image of all the cardstock I use. For the foil cardstock colors are, gold, yellow, red, and green. For regular 65lb cardstock I use, forest green and white. First thing to do is download my Arabesque Christmas Ornament SVG Bundle. Upload the SVG file type to Design Space. Make sure the ornaments at the correct size at 4 inches tall. For more help on how to upload the SVG file, please view my tutorial video below.
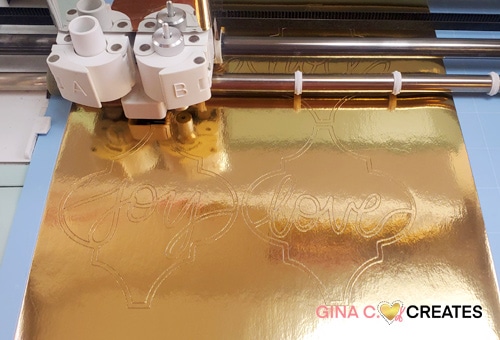
The SVG is ready to cut, so you can click MAKE IT. Cut out all your different colored cardstock. Cut on Cardstock+ for regular 65lb cardstock. And cut on Custom>cardstock>medium cardstock for the Foil/chrome cardstock.
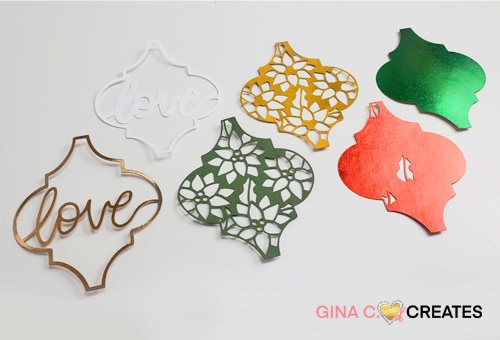
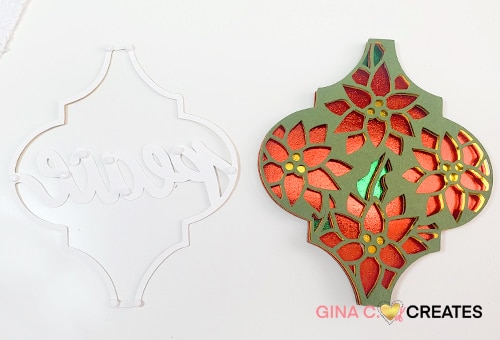
Here are all your layers cut out for one ornament. There should be 6 layers.
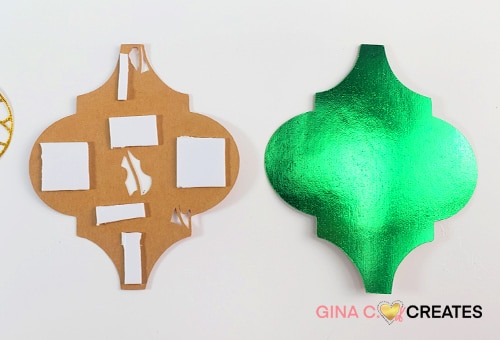
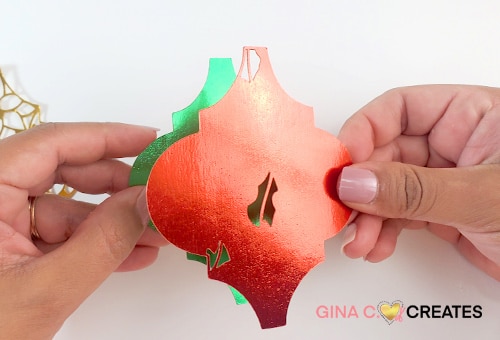
Next, you are going to start with the two bottom layers and place foam tape on the bacg of the red layer. Adhere it to the solid foil green layer. Then continue for the yellow layer, and forest green layer.
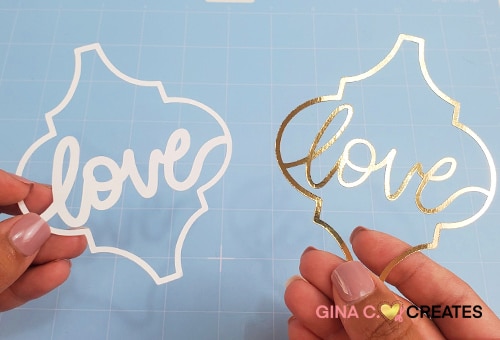
Now we are going to glue the gold word layer to the whit offset layer.
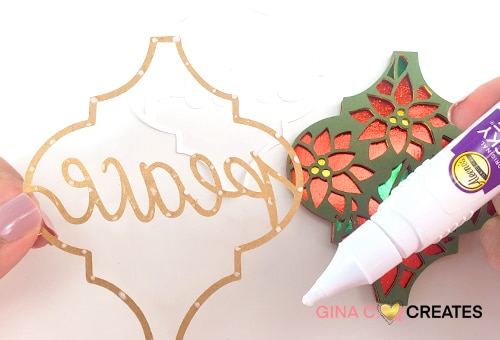
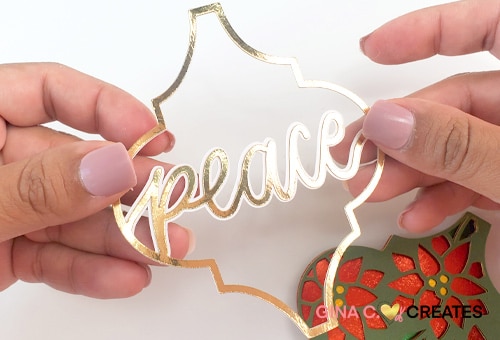
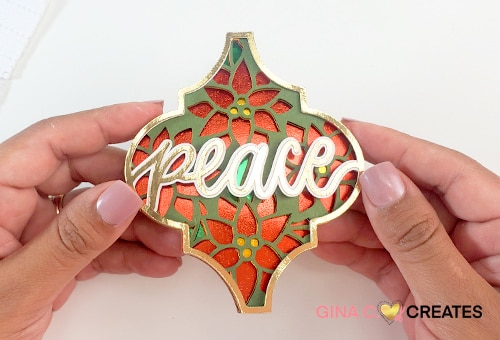
Use foam tape to apply those two word layers on top of the layered ornament.
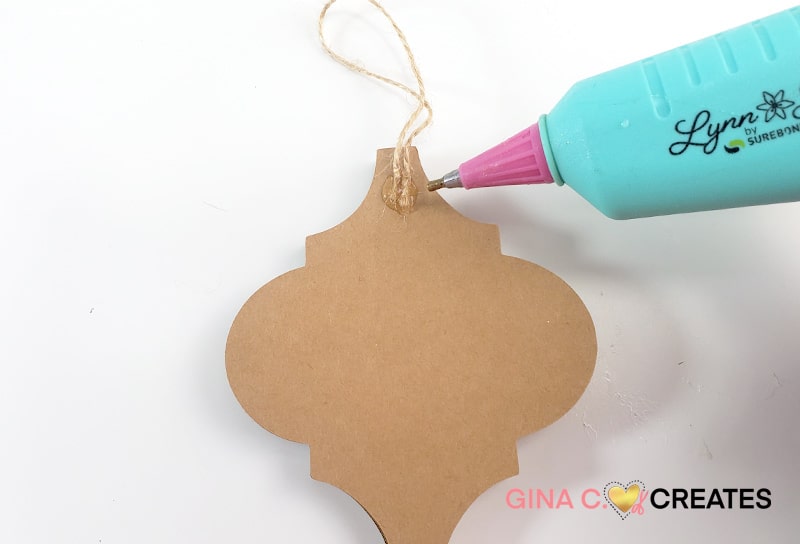
Lastly, we are going to cut a piece of twine at 3.5 inches and loop the two ends together. Glue the ends down with a hot glue gun. Let dry for a few minutes. Do all these steps for all 4 ornaments.
I hope you enjoyed this tutorial, make sure to watch the step by step video below!
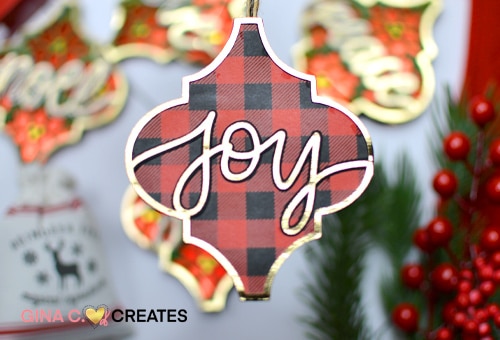
Use the same Arabesque Christmas Ornament SVG to create a different look. In the image below I only used the bottom layer and top two word layers. For my bottom solid layer I used red buffalo plaid printed cardstock.


11 Responses
These are really beautiful and look easy to make! Thank you for this free design!!
These are beautiful! They would look great tied on packages. Thank you!
Love this arabesque project! Thank you SO much for this!
Gina – Thank You so much – I LOVE these – and I am not afraid that they will break as I was of the tile ones I have seen
These are gorgeous! Thank you so much!
Aloha,
Can the ARABESQUE CHRISTMAS POINSETTIA ORNAMENTS be made on the joy?
Mahalo,
Laurie
Yes, You can also resize if they don’t fit on your mat.
Lovely design, great for my Christmas cards. Thank you👍
These are gorgeous Gina, thank you!
Lovely ornaments, thank you!
Theses are very beautiful