
DIY Paper Scroll with Free SVG Cut File
Hello fellow Crafters! I have a beautiful project for you today! I created a 28×30 inch paper scroll for just under $5. This will make the perfect addition to your home for the holidays!
Below I listed a few simple steps to follow along with a supply list.
Supplies need:
I came across a packing paper roll (2.5 ft wide and 5 yards long) at my local dollar store, and a light bulb went off! I have been admiring those expensive wall decor scrolls and wanted to make a much cheaper version for myself. So this find was a happy coincidence.


To get started, I unrolled the packing paper and used weights to lay it flat. Then, drew a line about 40 inches from one end, and I cut along the line. Where I ended up with a piece of paper 30×40 inches long.


I took 2 of my old wrapping paper rolls I had, and removed the center card board tube to use for the top and bottom of my scroll. (Make sure they are the same length as your packing paper, 30in side). I roll the paper around the tube (twice) and use a paper clip to hold in place. (Use 2 paper clips for more support). Repeat at other end.


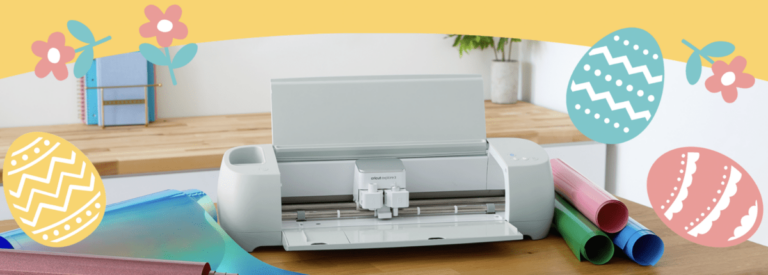
After I rolled both ends, the final length of the scroll is about 28.5 inches long by 30 inches(2.5 feet). I designed my quote how I wanted my bible verse to look and was able to cut my 22×20 inch design on one 12×24 sheet of black matte vinyl. I welded each line by line so I did not have to piece each word by word, only by each line. I included this design as a free SVG download (see link below), if you would like to recreate!
Tips for applying Vinyl:
I used the same strip of Contact transfer tape for each line. Before I began, I rubbed the tape onto the couch a couple times to eliminate some of the stickiness. since we are working with paper, you don’t want it to be too sticky where it rips the paper. I also only applied pressure to the vinyl area and not to the whole transfer tape to avoid ripping.
To hang:
Cut twine about 62 inches long and push all the way through the tube at the top. (I tied twine to a pen and dropped it through). Then tie ends together triple knot and rotate to hide knot inside the tube. Hang, add flowers, or greenery arrangement and you have a beautiful dramatic wall decor piece that looks top dollar!!


2 Responses
Gina, is there a way to pay for the Commercial license by giving my card. I don’t use pay pal. I guess I’m just not sure how the (stripe) thing is for the card. Thanks, Sherry
Stripe is to pay by credit or debit cards.