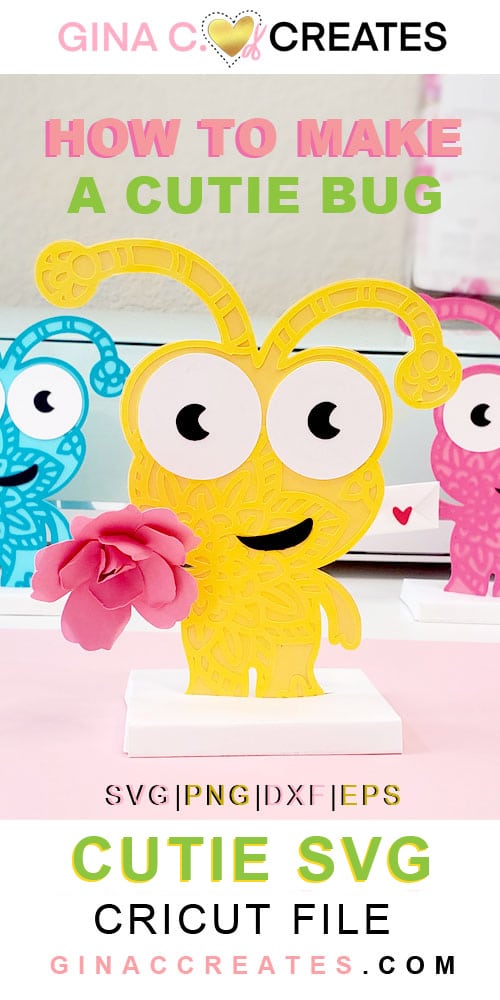
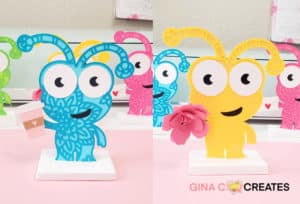
Welcome back Crafters, I have a fun project that I been working on for a while, I’m excited to now share it with you guys! If you are a Cricut lover you’re going to enjoy these little cuties! I ended up making 5 of them in my favorite colors, best thing is I created 7 little fun accessories to go with it! Make your Cutie a crafter like you, or make it festive for the holidays! Accessories included are: coffee cup, tumbler, envelope, flower, bunny ears, flag and a clover.
I also made a little holder to stand your Cricut cutie up to place on your desks, shelves or countertops. You can also make a garland out of them with string and tape. Be creative with these and don’t forget to share them in my Facebook group!
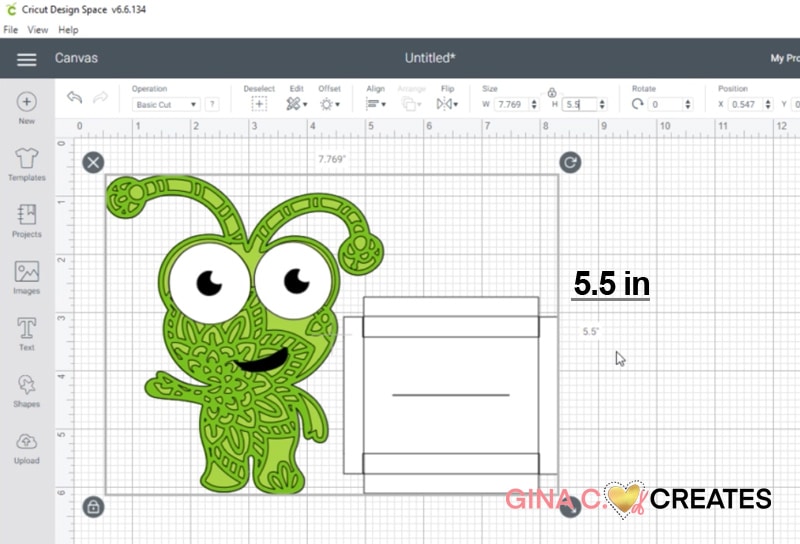
To get started, upload the SVG file type of the cutie bug. (If you need help on locating the SVG, please read my Q&A page). Make sure the overall SVG is the correct size, the height should be 5.5 inches. Design Space still has a glitch where it doesn’t upload as the correct size, so if that happens to you please resize it as a whole.
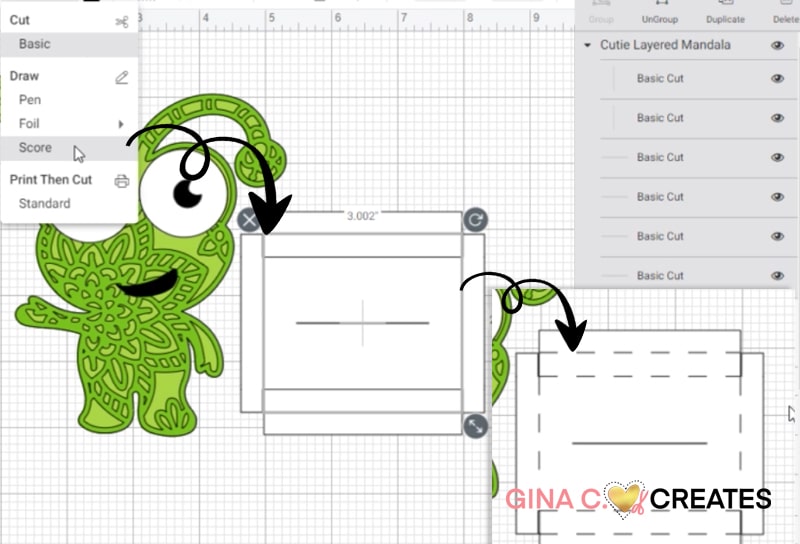
Ungroup the SVG and select the white holder and ungroup again, now you can select the group on top, (basic cut) lines, and change the Operation box to Score. They should show up as dash lines. Then select the score line group and the white holder shape and Attach. This will score your box holder so it is easier to fold. Tip: make sure not to move the lines from the white shape.
If you do not have a scoring stylus tool, please watch my video above on how to make score lines with a ruler.
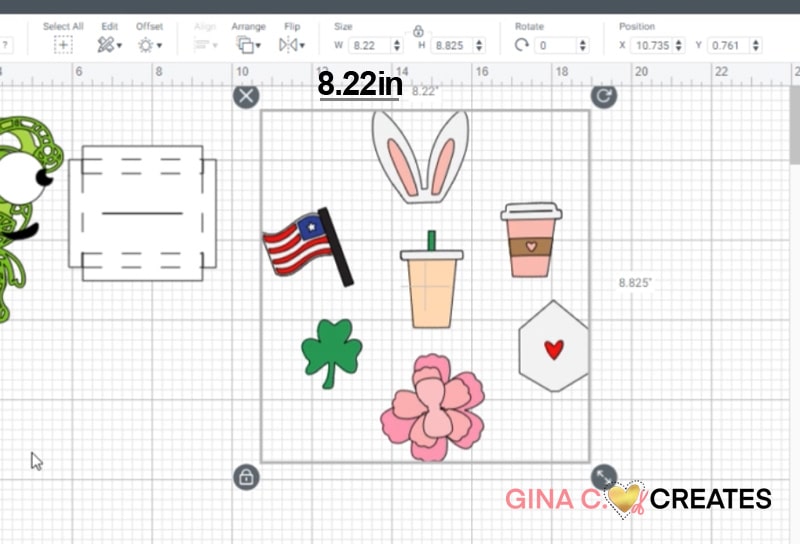
Next, upload the accessories SVG file type, and resize the whole thing to 8.22 inches for the width. After resizing you can ungroup and change any colors you like. Then you are ready to cut! I cut on Cardstock+ setting.
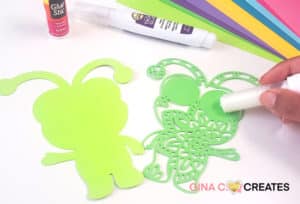
After you have all the pieces cut out you can put them together with craft glue or a glue stick. I used a glue stick for my Cutie and stronger craft glue for the accessories. Please watch my video below to see how I assembled.
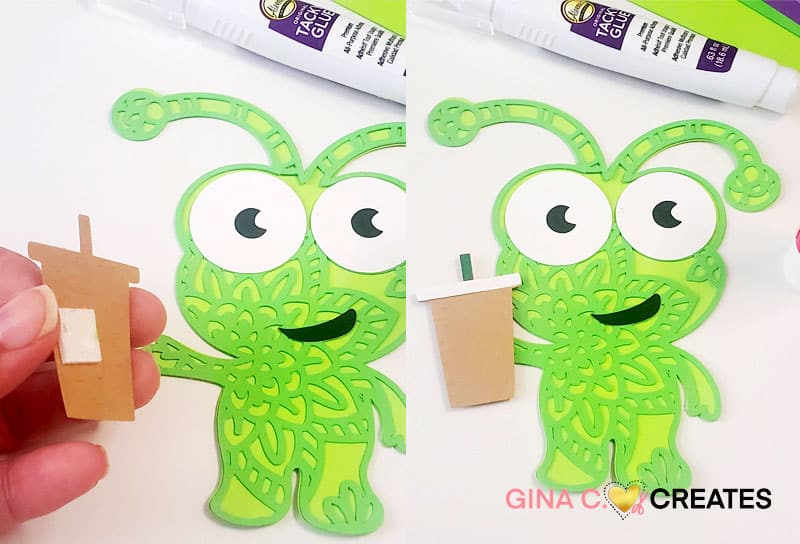
After all your glue has dried you can layer on of the accessories to your cutie with foam tape.
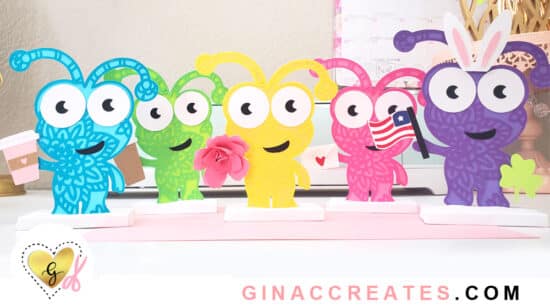
Try duplicating your Cutie and change the colors to make more Cuties to decorate with! Can’t wait to see with you do with them! I hope you enjoyed this project, and I will see you next time!


12 Responses
adorable thanks so very much !!!
Enjoy!
I love it! Thank you for sharing your talent with us!!!!
You’re Welcome!
Thank you Gima for the cricut cutie
Been looking for something cute to put in my office, this is perfect!! Thank you.
thank you for this freebie and the YT video. 🙂
What an amazing cutie you have designet.
May I use it on krealaden.dk and in some sales videoes?
Kind regards
Jørgen Dalgaard Klit
Love it thanks🌹
Is there any way to slow the speed and is there supposed be volume?🌹
Yes, here it is on youtube: https://www.youtube.com/watch?v=WA8zyygFZbA&t=72s
Thank you so much for the Cutie design. I have had lots of fun making them and made them in all of the colors. I also managed to get it sized down to fit into the lid of my Cricut Explore, just have to laminate them before taping them down.