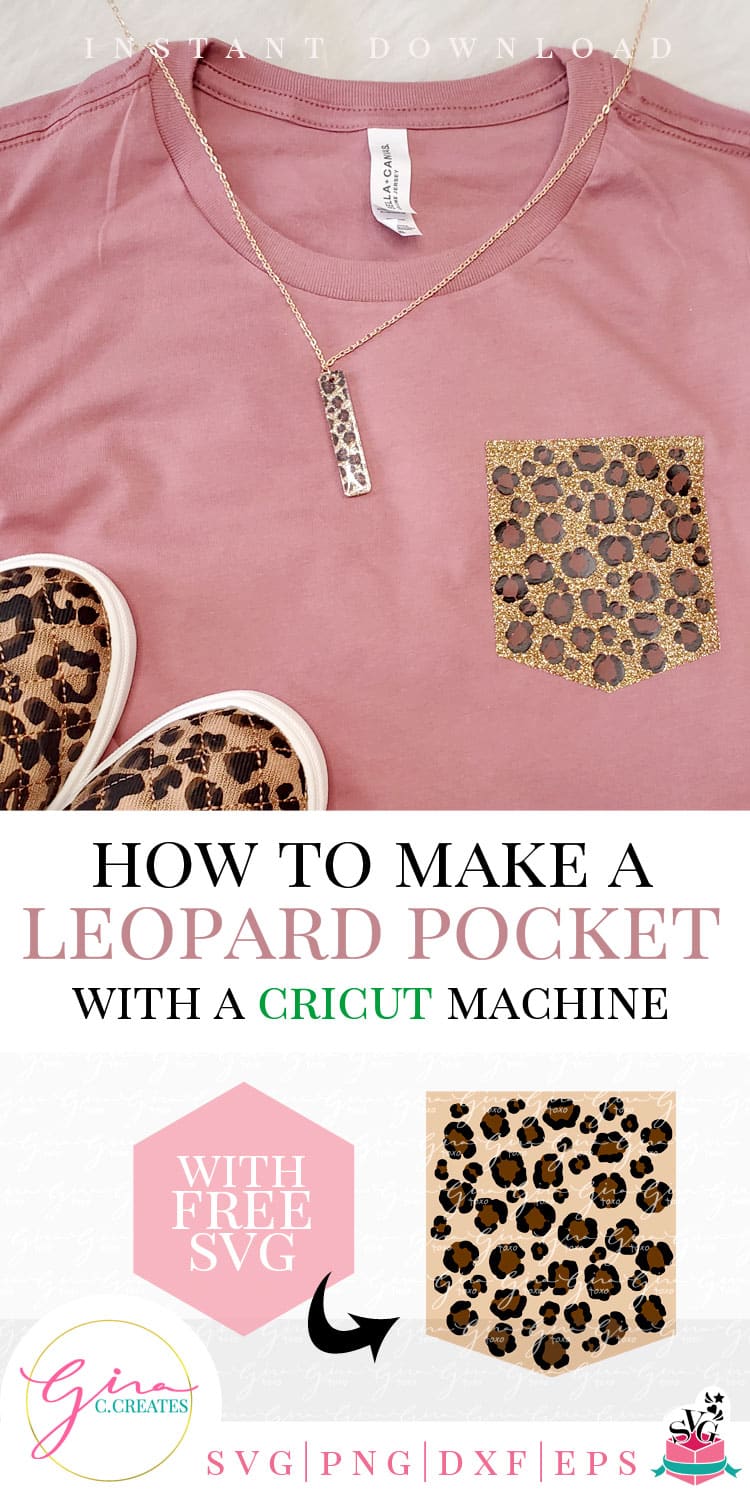
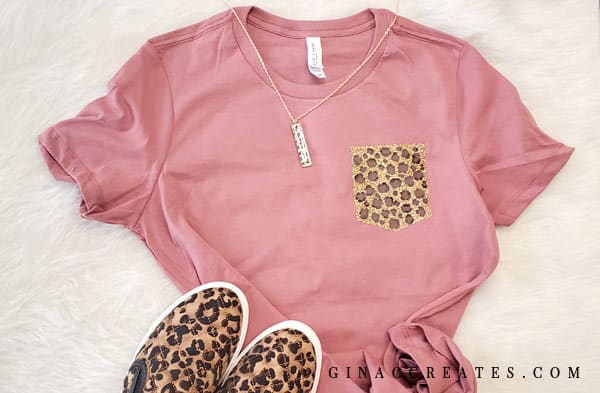
How to Make a Leopard Pocket with a Cricut Machine
Make this cute leopard pocket shirt with my SVG file, it’s a simple mauve color shirt with a touch of leopard print!
See how I used the “knock-out” method to layer over glitter HTV.
List of supplies used:
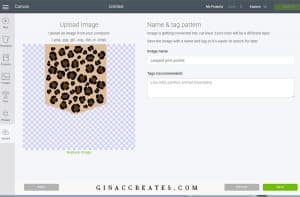
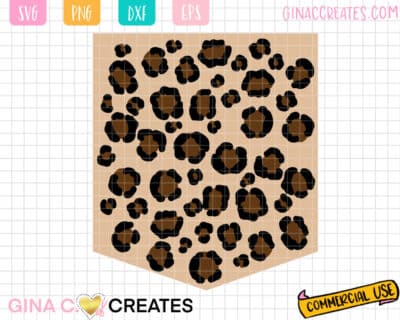
Now let’s get started! After you gathered your supplies, download my Leopard Pocket SVG. Unzip and extract the SVG file type and save. Then open Design Space and upload the SVG file and insert it into your canvas.
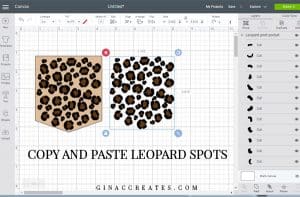
Ungroup the SVG and select all the brown and black spots and make a copy.
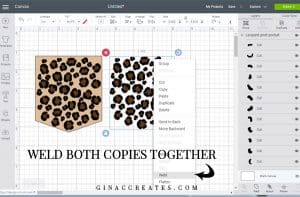
Next, you are going to weld the copy together.
After you weld the copied spots, lay them over the pocket in the correct spot. Then select the weld spots and the pocket shape, (only those 2 layers) and slice.

Remove your pieces and delete your scrap pieces. (see image below) You will be left with the original leopard spots and a knock-out of the pocket shape. Make sure to attach all the black layers together. Do the same with the brown layers. Then you be able to click MAKE IT!

Note: If you are not using glitter HTV as the base pocket, then you do not need to use the knock-out method).
Thanks so much for stopping by, now let’s start creating!
Hope you enjoyed this free SVG and tutorial! Make sure to Pin to Pinterest, just use the buttons in the Share this section!


