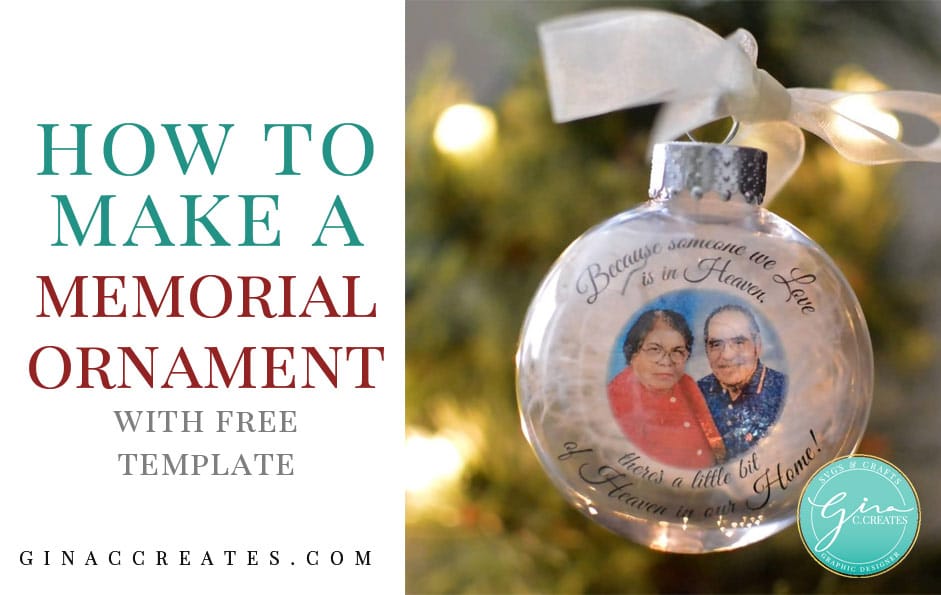
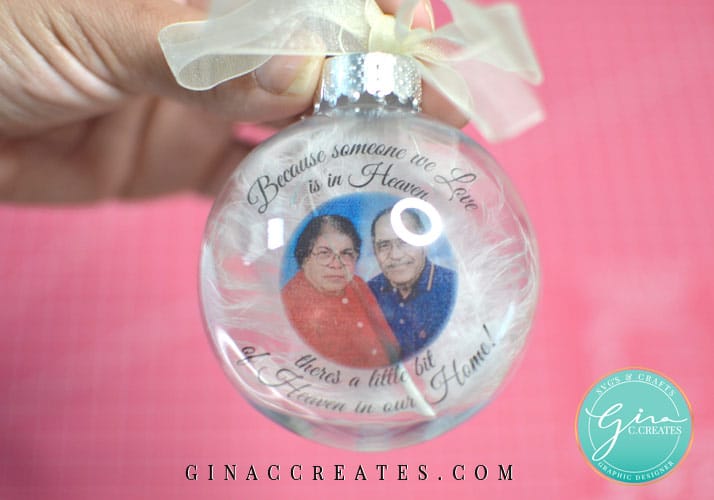
Welcome back Crafters! In today’s post I will show you how to make a memorial ornament for your loved ones. I made this one of my Grandparents, who I miss dearly! I have lost so many close family members that will be forever in my heart! And you probably have too, that’s why you found this post! So let’s get started, so you can make one of your lost loved ones too!
In my tutorial, I will show you how to make this floating ornament with a Cricut cutting machine. You can find all the supplies listed below.

Open up Design Space and upload your loved ones picture. Make sure to choose a clear colorful image with minimal white space. (Anything white will show up clear).
Block images are fine because we will cut off excess later. Clean up if needed but just saving it should be fine with no editing. Then save as a Print & Cut image.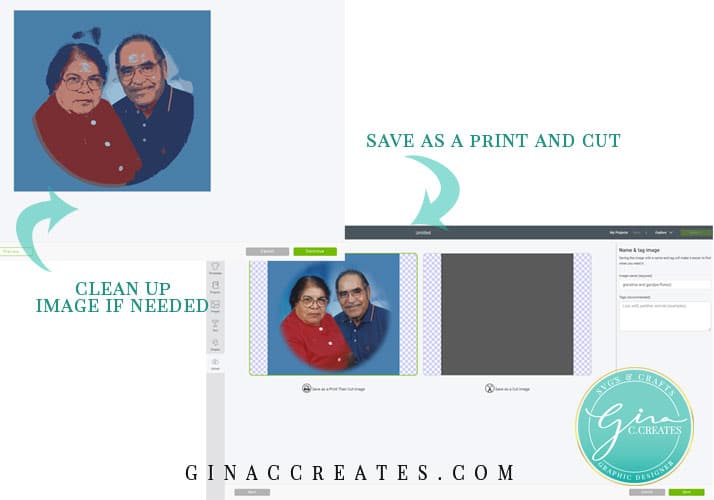
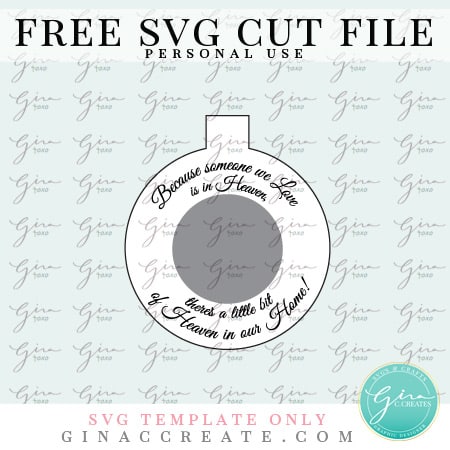
Now it’s time to upload my free SVG template (available at end of post).
Like all my free downloads, template is for personal use only! If you would like to sell physical ornaments with my template please purchase a license. 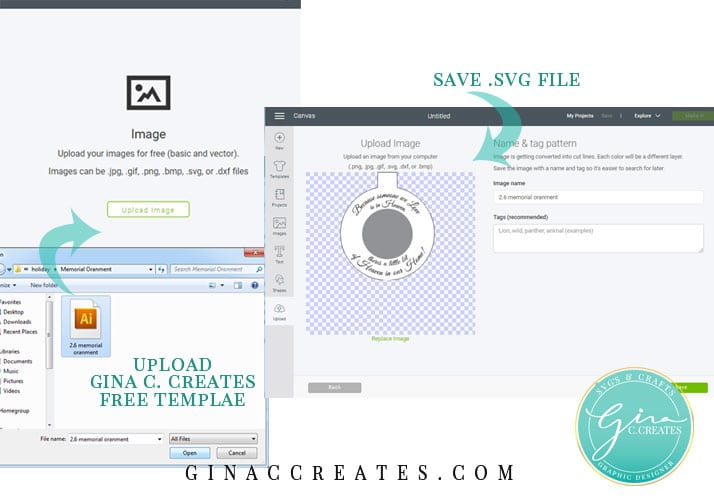
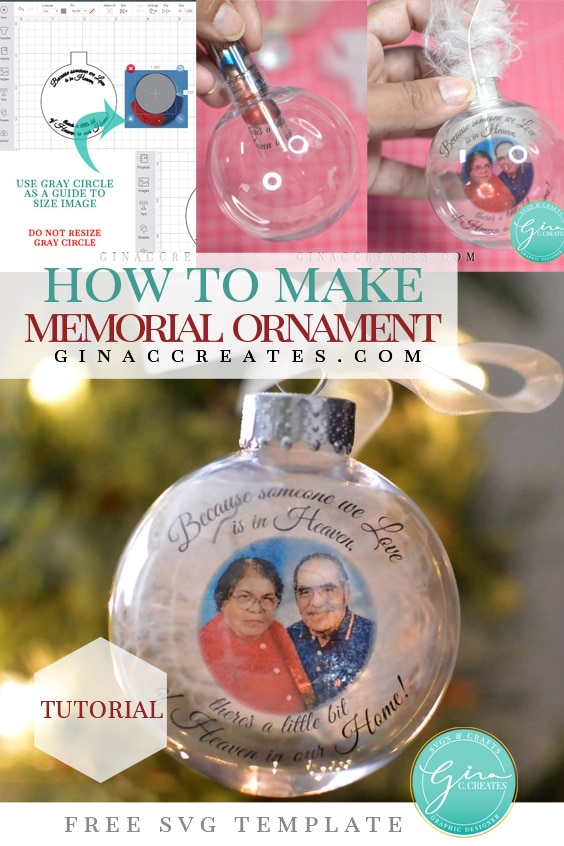
Import both files into your Canvas. The SVG will be size at 2.4 inch wide, no need to resize for a 2.5 inch ornament. The image will need to be scaled down to about 1.5 inches tall. You may need to play with image size to get the head and shoulders within the gray circle.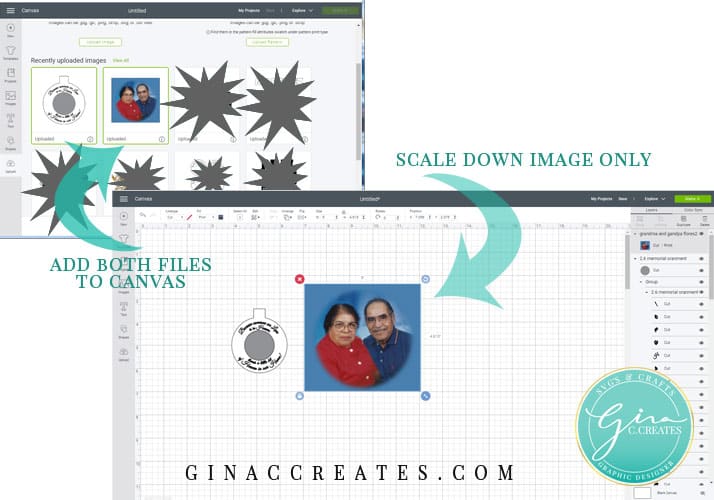
Ungroup the Memorial Ornament SVG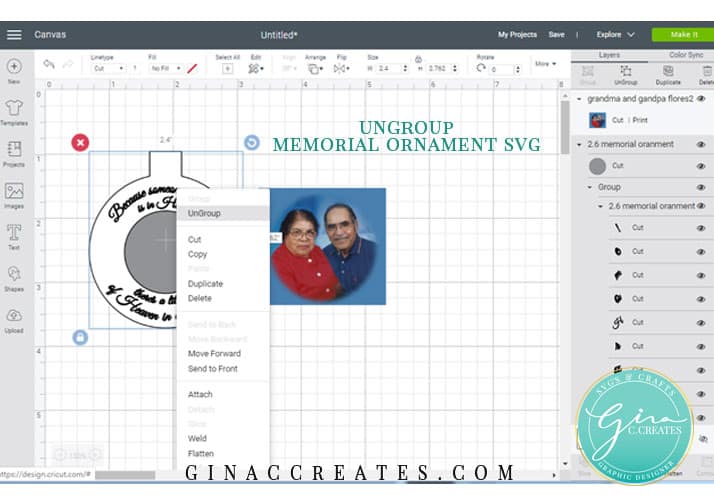
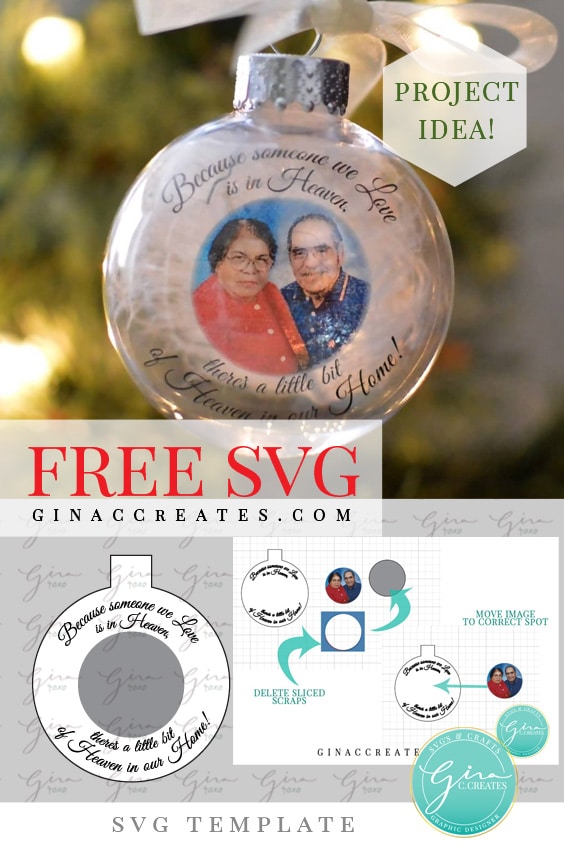
Drag the gray circle over the image and be careful on placement. Then select both layers (the image and circle), then SLICE. If you don’t like the cropping, undo and try again.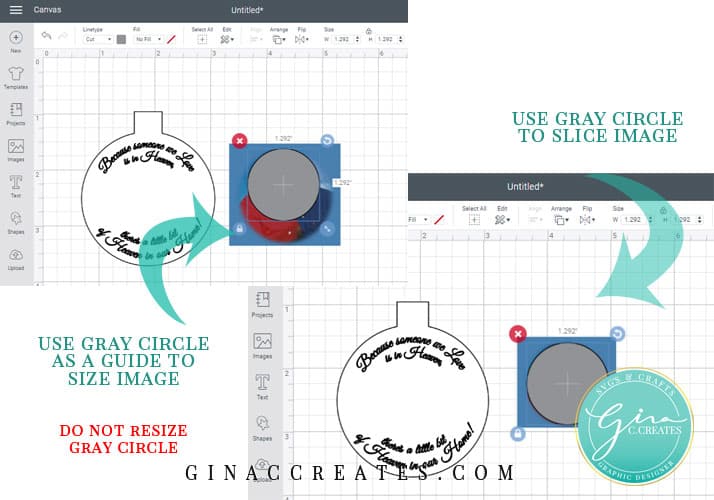
After you SLICE, delete the left over scraps. and move the circle image back to the middle, where the gray circle used to be.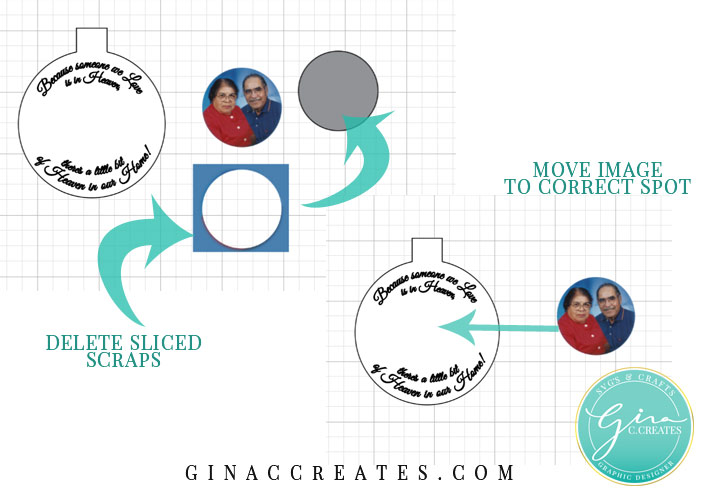
Select all the layers and click FLATTEN. Now you should have ONE final print & cut layer.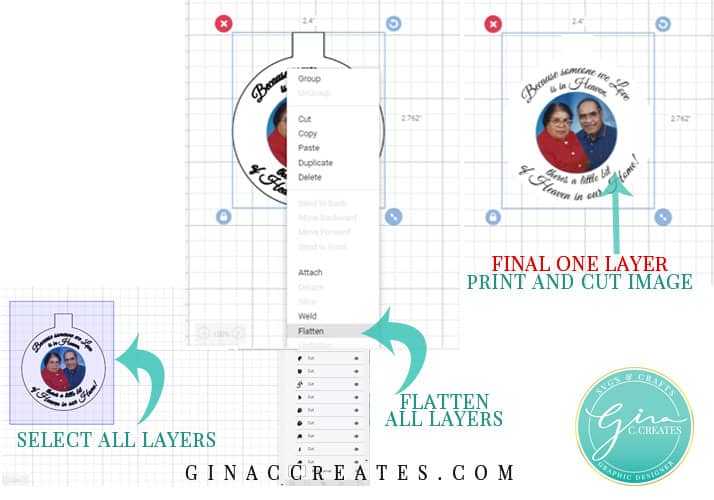
I test the size and cut by cutting on plain paper.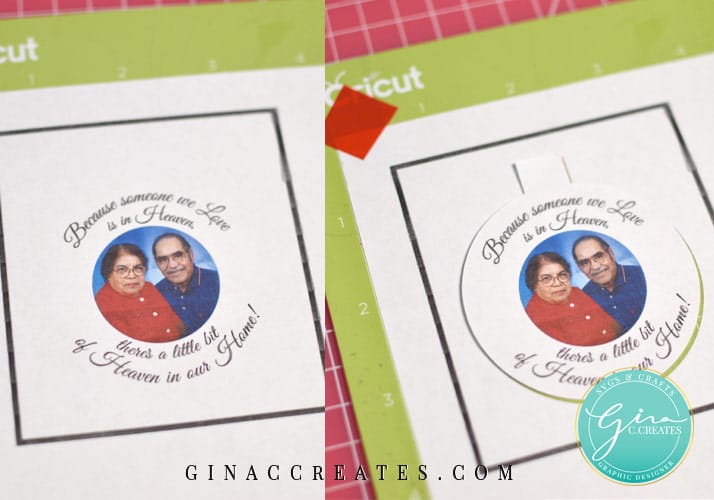
I roll long ways and use a stick to flatten out. Now I can see the size is perfect!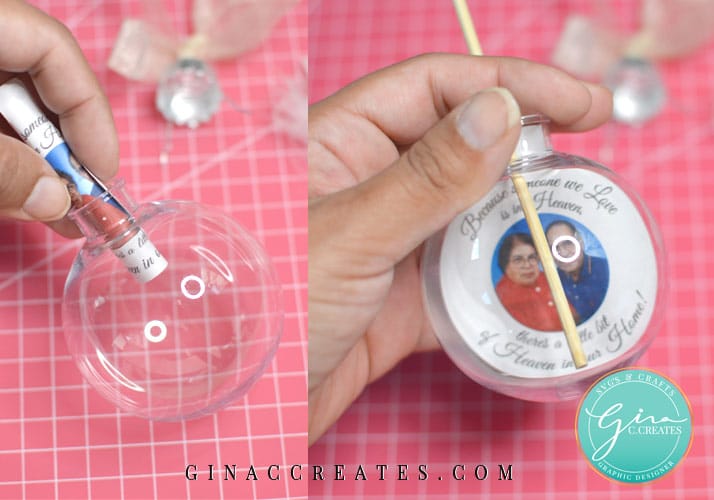
Now I send to the printer again and print on your transparency film. You will not see the template outline, this is because its white and it’s not going to print anything, only CUT. Turn off bleed and turn on Use System Dialog to change your printer settings. Change paper type and quality of print. I used photo matte and high. You can try these settings but depending on your printer you may need to play with your settings. Print on the filmy texture side.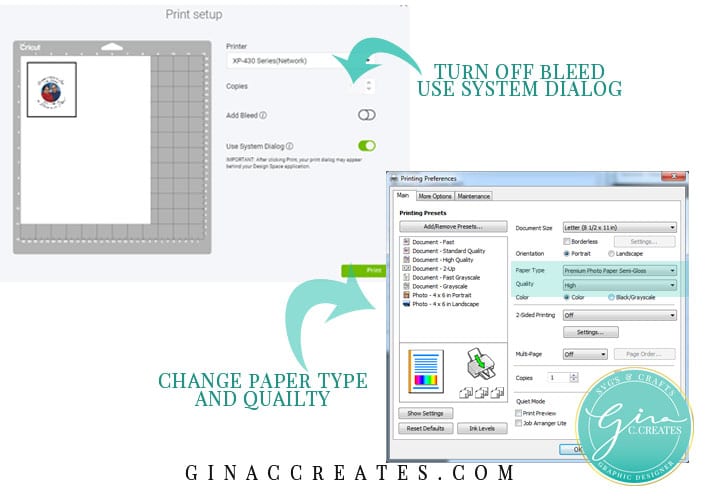
Let your print dry for 10mins before you cut it. Once dried you may cut and roll into your ornament. The film will pop open once dropped inside. Then add a white feather in the back of the film. This will help seeing the image better! And lastly add your choice of ribbon!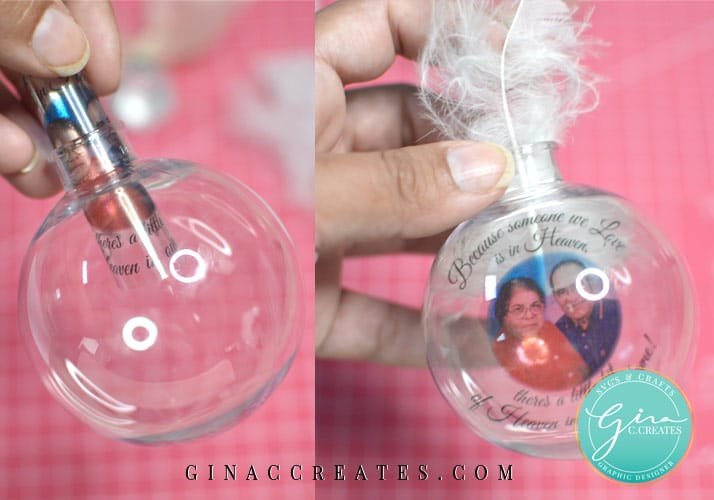
Now you have a beautiful memorial ornament you can treasure forever!


14 Responses
You amaze me! Such beautiful designs! Thank you!
Michelle
Hi Gina,
Could you use photo paper instead of transparency film?
Yes of cousre it will work the same, it just won’t be transparent. It will look like my TEST print out.
Hi, I love this design. I did everything in the computer but when I printed it on my canon printer and the ink never dried. It must be something I did but I don’t know what. Any ideas? You are an amazing artist.
Maybe you printed on the wrong side?
You have to print on the textured side not the smooth side for transparent flim. Also make sure the flim you used was for printing? You can email a private message and I can help you further. Send me a picture of the transparent flim package [email protected]
Hello! I’m new to cricut and I’m trying to make this ornament. When I get to the print test stage the template and the image print side by side and not as one image. I did the flatten and other steps. What am I doing wrong. Thank you, Karen
It sounds like you didn’t attach everything, send me a private email with pictures of your canvas and layers panel, and I will help further.
Just happened to stumble across your site. Thank you for sharing. I am excited (& nervous) to try this for the children of my friend who passed away last week.
So sorry to hear that! Prayers for your friend!
I love this project. I got it all complete and Flatten the image, sent it to print but it will not let me print. Any suggestions
Send me a private email and I can help you further. If you can include a picture of the problem I will be glad to help.
Hello, When I try to flatten my images it goes white and clears the image. I cant figure out what I am doing wrong.
How do you get the cri cut to cut the shape out?
Once you have the photo in place you select all and FLATTEN. Refer to the tutorial. I’m working on doing a detailed video Tutorial.