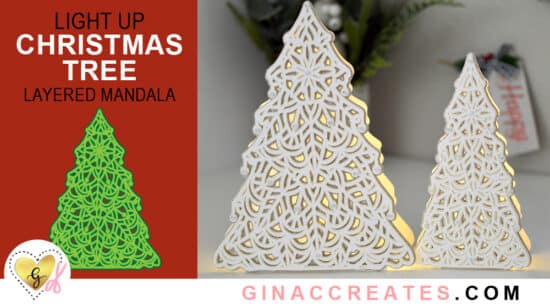
I have a wonderful Cricut Christmas craft for you this holiday season! My Layered Christmas Tree Mandala lights are the perfect DIY Christmas decorations. I designed this holiday Christmas tree mandala, and then thought it would look great as a layered paper mandala craft! Since my Christmas Tree Mandala has tons of holes, I thought it would be even better with lights shining through! In this post, I will show how to create my light up Christmas Tree Paper Mandala with your Cricut cutting machine!
This Christmas tree craft is versatile to many other Christmas decoration ideas: You can keep the front side only and add it to a shadow box or frame. Make a Christmas t-shirt with the top mandala layer. Or make Christmas Party Centerpieces with the double-sided tree!
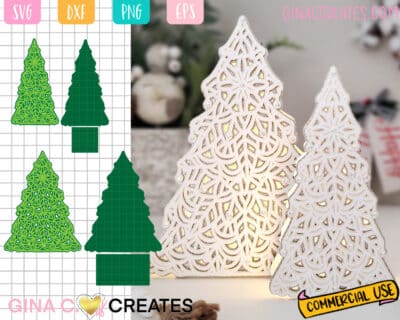
Please watch my video for the full detailed instructions, my free Christmas Tree Mandala download comes with 4 different SVG cut files. You will find a folder with ONE-SIDED trees, a 8.5″ skinny tree and a 10.5″ full tree. The other folder is for DOUBLE-SIDED trees, a 8.5″ skinny tree and a 10.5″ full tree.
To get started make sure you download my free Christmas tree mandala SVG, and upload the one-sided 8.5″ & 10.5″ Christmas tree SVG files. If you need help uploading the SVG file type to Design Space please read my Q & A Page.
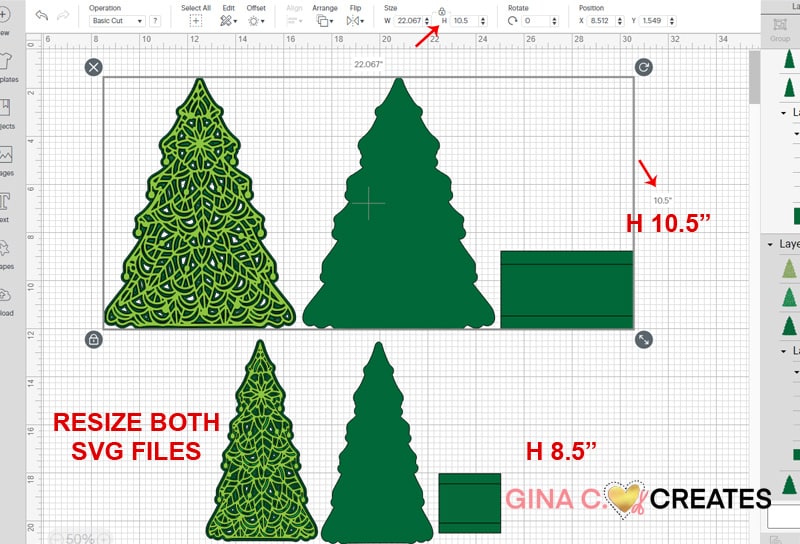
Insert the 10.5″ and 8.5″ tree into your canvas. Resize SVG files if they do not upload correctly. Design Space doesn’t always upload outside SVG files the correct size. The full tree should be 10.5″ height and the skinny tree should be 8.5″ height.
Ungroup each SVG, select the rectangle base shape and ungroup again.

Select the two cut lines and change them to score lines. Select the two score lines and rectangle shape underneath and click attach. If you don’t have a scoring stylus, you can delete this lines and I will show you later on in the post how to score them by hand.

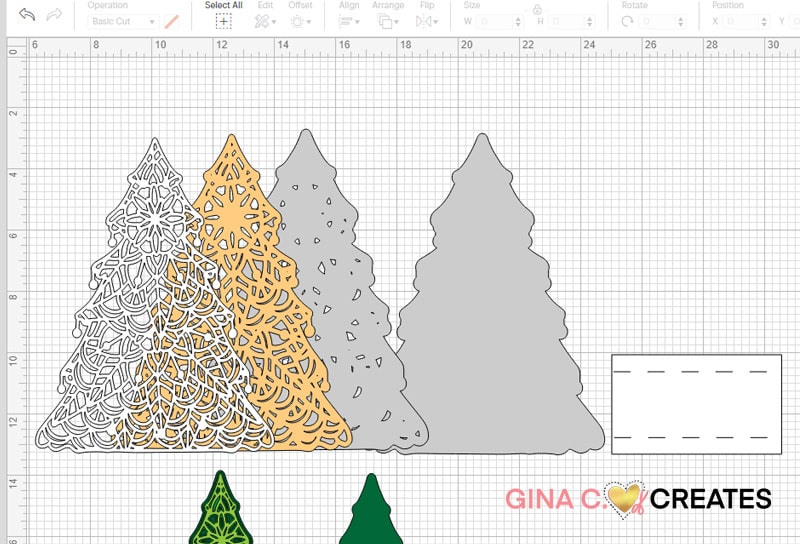
Select it each layer to change the color to match your cardstock and cut on cardstock +. If you are using glitter cardstock make sure to set your dial to custom >glitter cardstock.
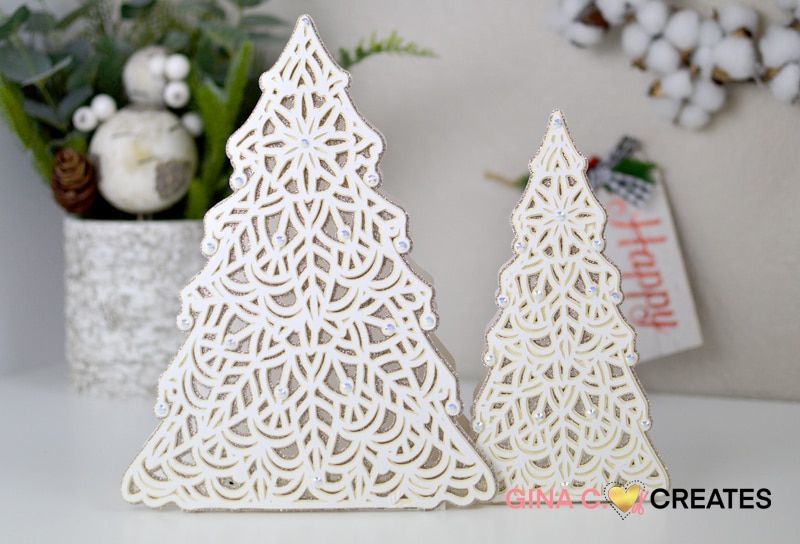
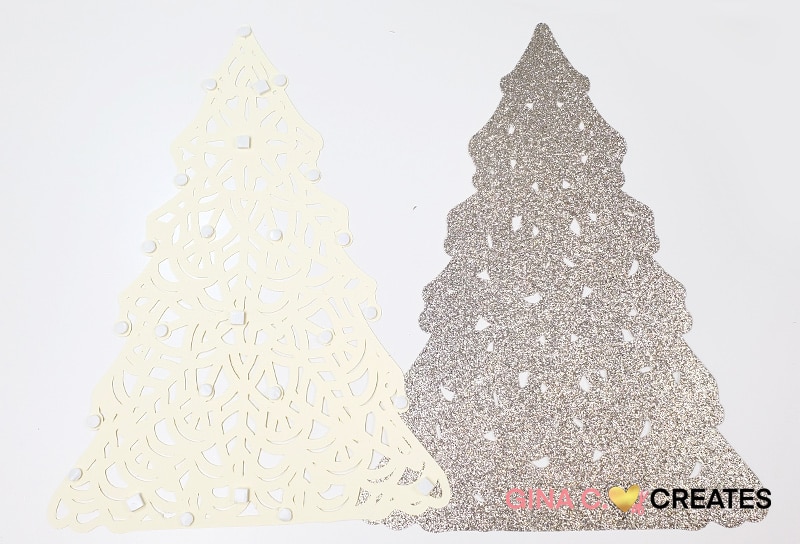
For my gray layers I’m using two 12×12 Champaign glitter cardstock. For the top two mandala layers, I’m using Two 8.5×11 ivory cardstock and two white cardstock. This will make two standing Christmas trees (8.5″ & 10.5″).
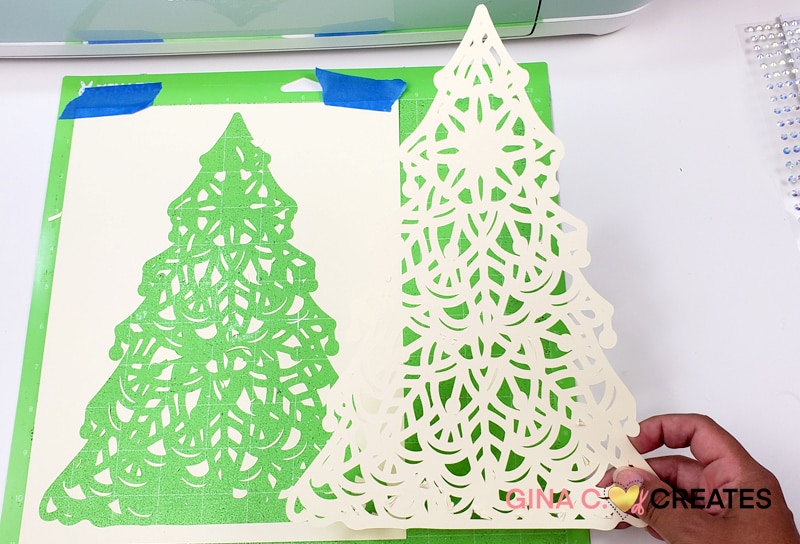
Cut out all your mats and weed off the excess cardstock.
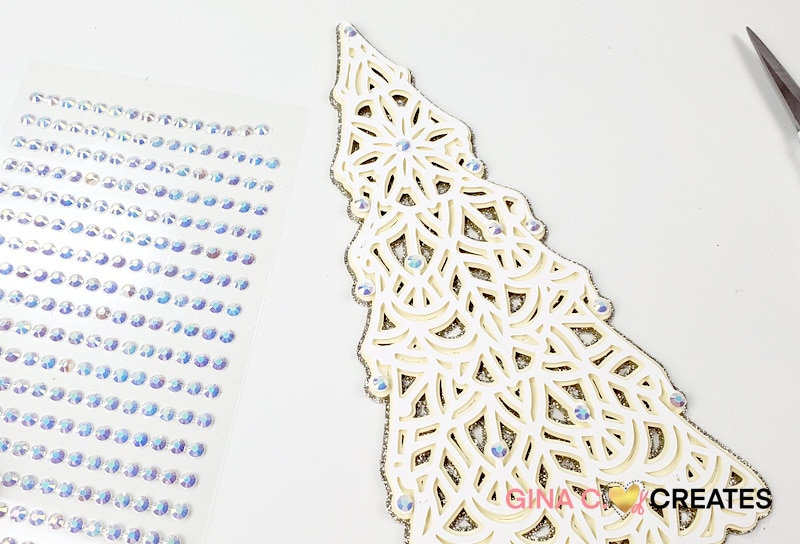
Use foam dots to layer the three mandala tree layers together.
Add self-adhesive rhinestones to each hanging ornaments.
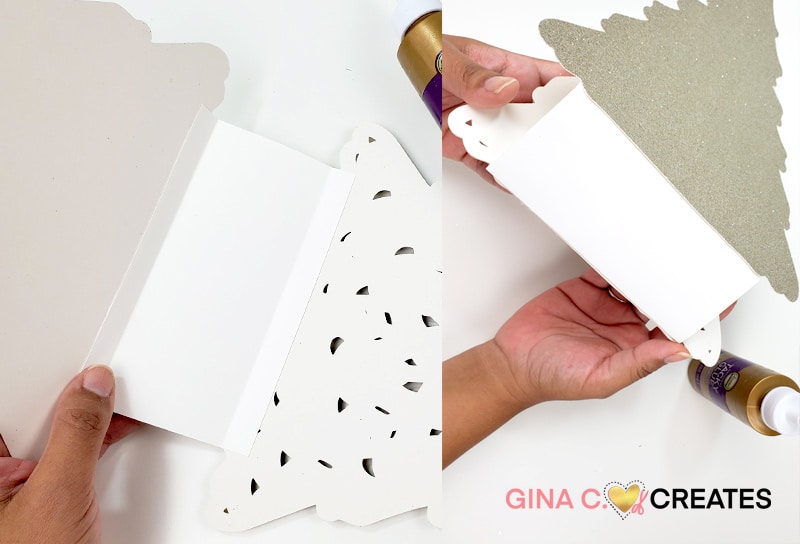
Here is how to score your base tabs by hand. With a ruler, measure a half of an inch from the top and bottom and make a mark. Do this to both sides. Then with your ruler line up the marks across from each other and more a score line with a sharp point. And fold along the score lines.


Apply glue to the outside surface of the tabs, glue them to the bottom inside of the front and back pieces of the tree.
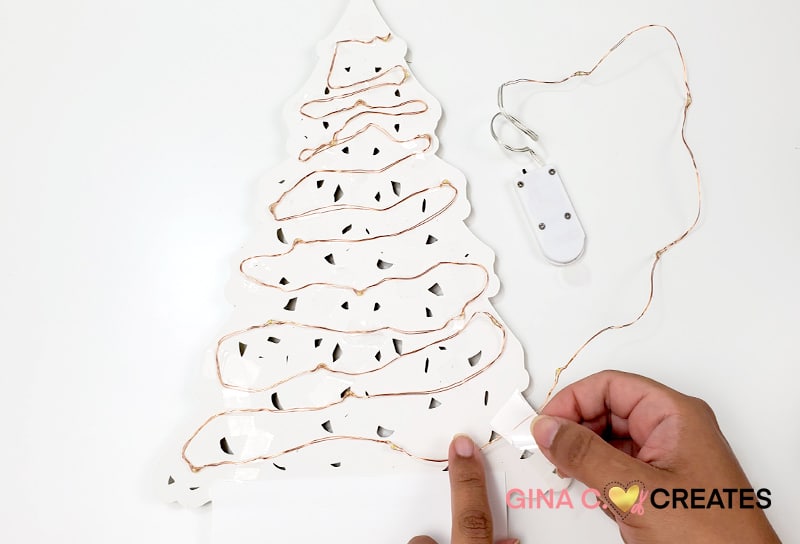
Tape down your string lights to the back of the Mandala tree. Then apply glue to the inside top point of the tree and seal it close to the back side of the tree. Let each glue application dry for 5 mins before touching.
Stand up your tree and your done! You created beautiful Christmas decorations that with light up your home! I hope you enjoy my Christmas Tree Layered Mandala Craft!


17 Responses
Thank You so much for sharing your talents and time with me!
I love these trees. Beautiful
I can’t wait to try some fun colour variations. Thank you for this file.
Thank you , these are pretty .
It would be nice if you would remove “FREE SVG” from the pictures at the top of your posts when they are no longer actually free.
I’m updating my pictures post by post. It does take some time to update my entire site. Thanks for understanding.
What weight card stock did you use
I used 65lb cardstock
Loved the trees. I think they would make great Christmas cards too.
I LOVE IT.
Beautiful can’t wait to make them
Beautiful ,thank you !
Thank you. Lovely tree.
This tree is lovely…
Thank you for sharing.
Beautiful layered Christmas trees! Thank you so much!!
Lovely – the step-by-step directions and pictures are very helpful.
C Falk
Thank you so much! This is beautiful, I can’t wait to try it!