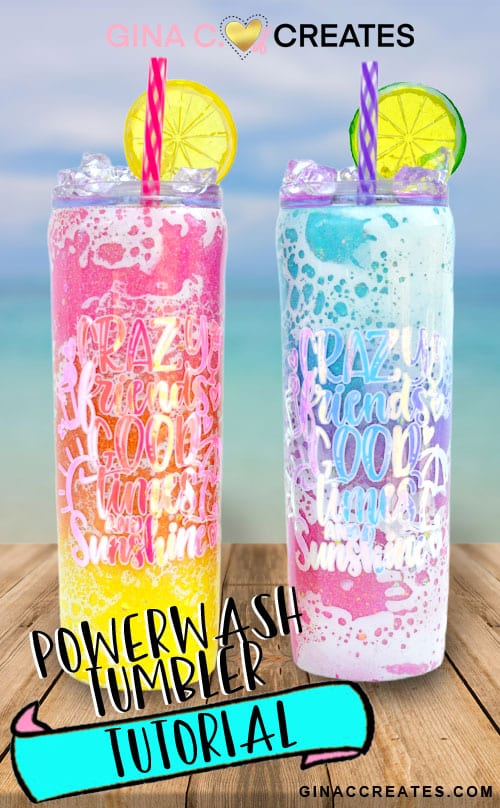
Tutorial Powerwash Glitter Tumbler with Ice Lid
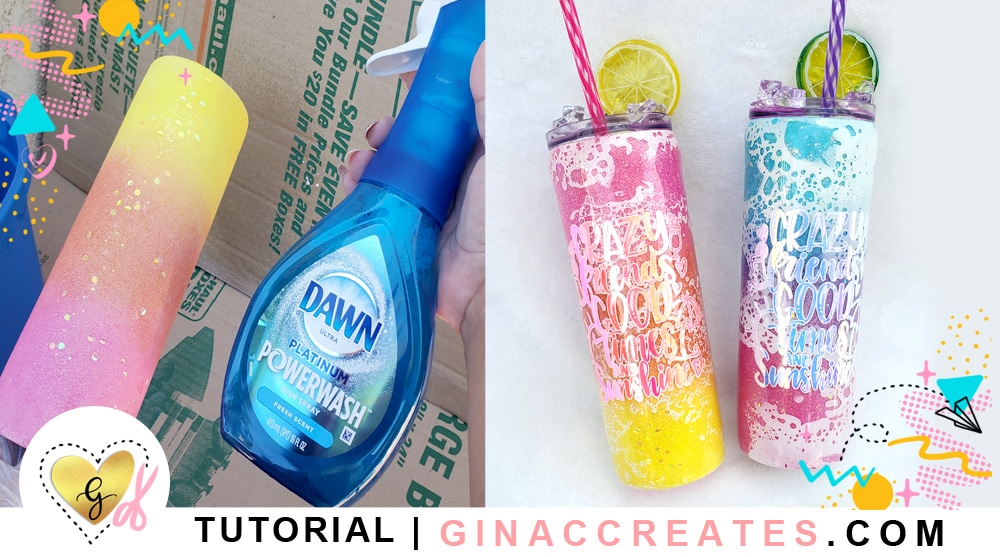
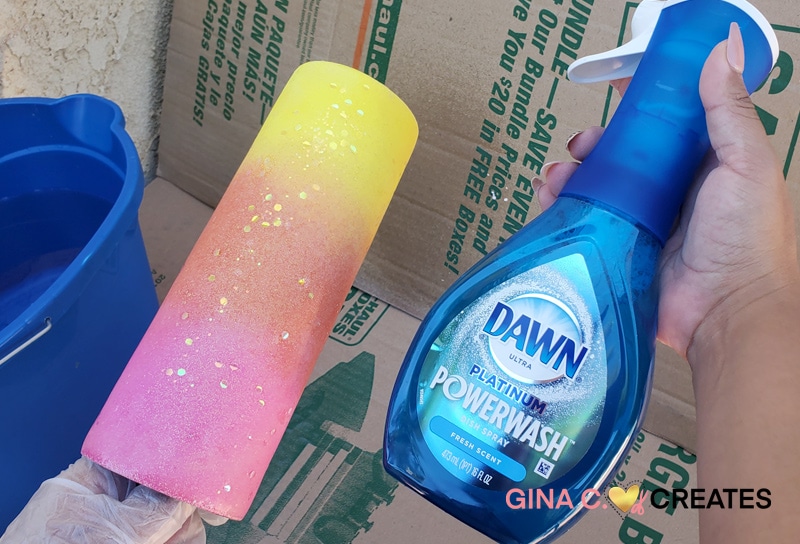
Welcome back crafters, I have a fun tutorial for you! We are gonna learn how to make this Dawn Powerwash tumbler with artificial ice lid. These are gorgeous for the summer time. And if you are somewhat familiar with making tumblers the powerwash method will be a breeze. Even if you are brand new to tumbler making, my tutorial video will be great for you because I explain it step by step, on how to make glitter tumblers!
Here is a list of supplies:
Tumbler
Lid
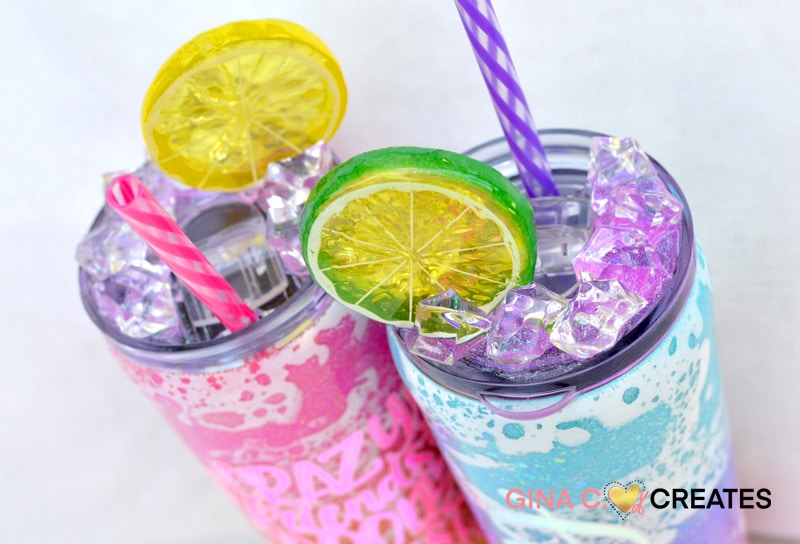
I was so happy I finally got to try out the Powerwash method, I had to share my process with my crafty friends! I hope you get a chance to try out this powerwash tumbler! Super cute tumbler for the summer time! The ice lid with a lime was my favorite part and not as hard as you think it might be. You can also try out watermelon slices, cherries, or strawberries, for a totally different look!

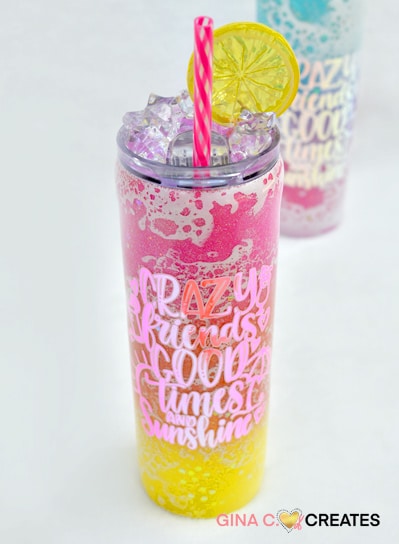
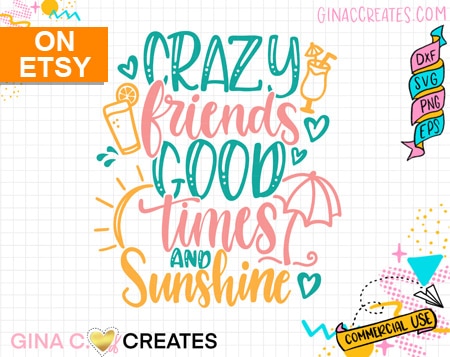
I hope you enjoyed my glitter tumbler tutorial with the Dawn Powerwash method! If you would like to use the my “Crazy friends, good times and sunshine SVG”, you can grab it HERE. For all my Full Access Members this SVG is included in your monthly subscription, find it here!