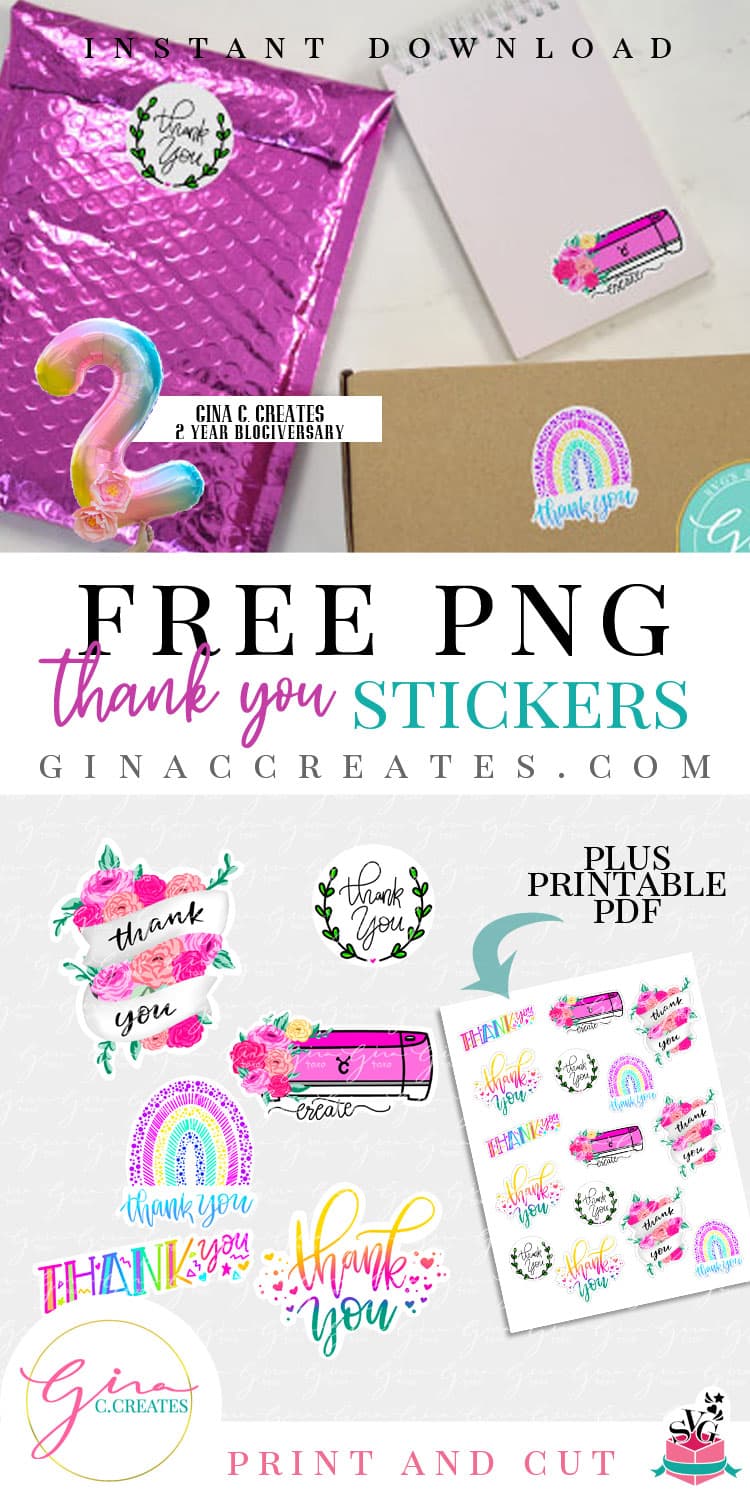
Free Thank You Stickers PNG with Print and Cut Tutorial
Celebrating Gina C. Creates 2 Year Blogiversary!
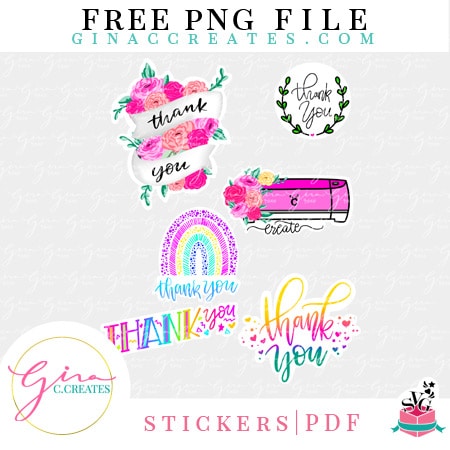
Hello to all my favorite Crafters! Today Gina C. Creates turns TWO! And I wanted to thank you ALL by designing some FREE “Thank you” sticker images! I also show you how to make these cuties using Cricut’s Print and Cut feature!
When I launched my crafting blog 2 years ago, I never thought it would grow so fast , nor did I know how many awesome people I would meet along the way! I’m so grateful for each and every one of my viewers! You Rock!
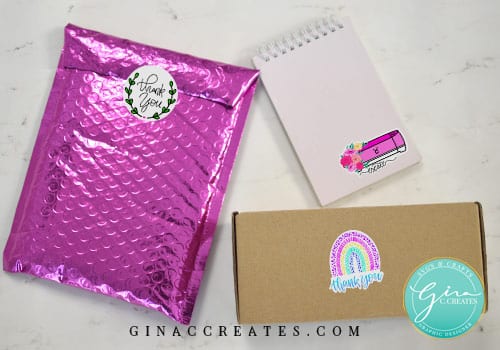
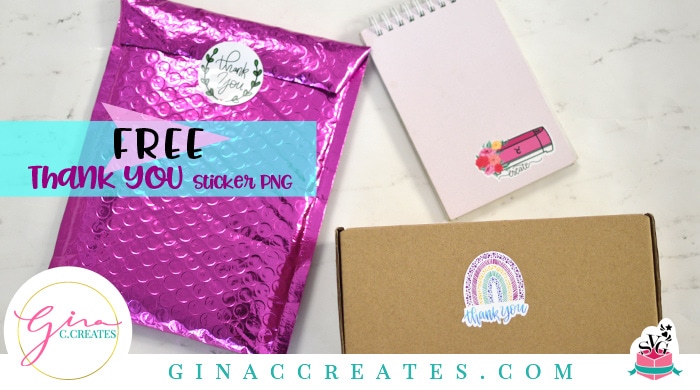
I hope you enjoy my sticker designs, you can get the PNG files along with a printable PDF in the download, at the end of this tutorial! They are FREE for you to make and use on your projects/orders! Add a special touch to your gifts or packages. I just ask you do not make them to sell or sell/share my digital files.

Make High Gloss durable stickers with my print and cut trick!
Here’s a list of supplies you will need:
Now I know what you might be thinking! High gloss paper with print and cut? Really? If you every tried gloss(shiny) paper with Cricut’s Print and Cut feature you will know that it doesn’t always read the registration marks. And that is frustrating, BUT I want to let know that you can now make high gloss stickers like a pro!
Now let’s get right to the project!
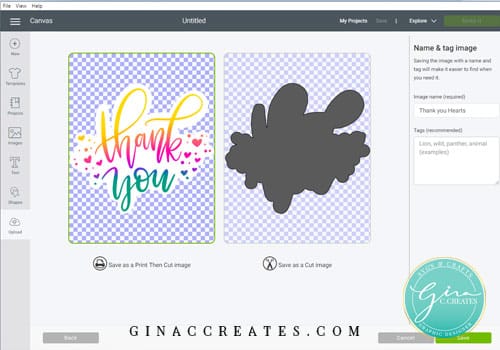
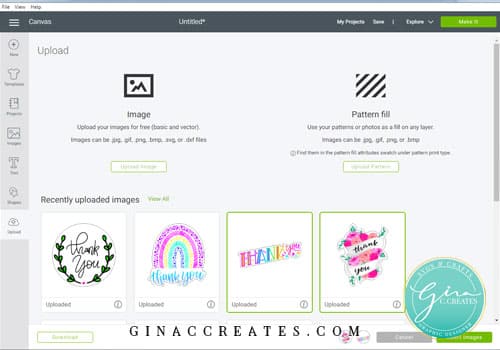
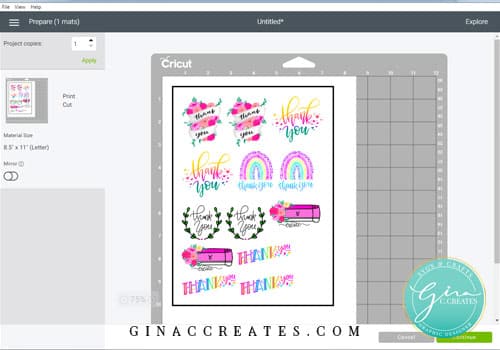
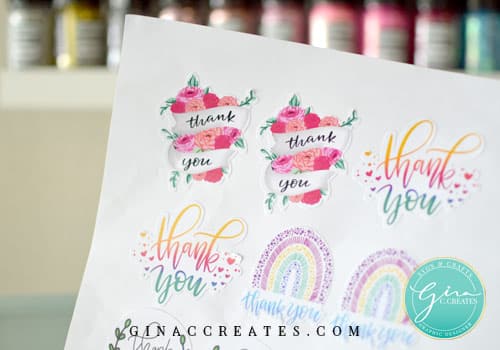
Upload each individual PNG image in the download. There will be a total of 6 sticker designs. Select Complex image.
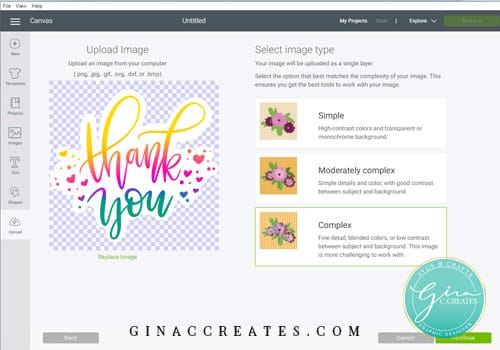
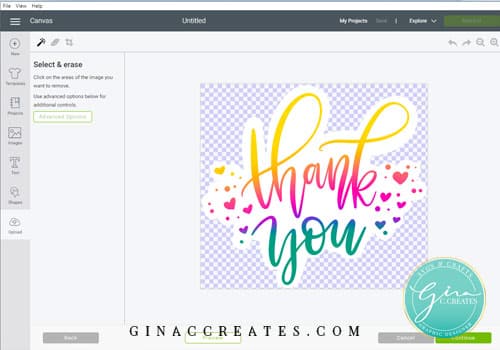
No need to clean up image, just click continue.
Save as a Print and Cut.
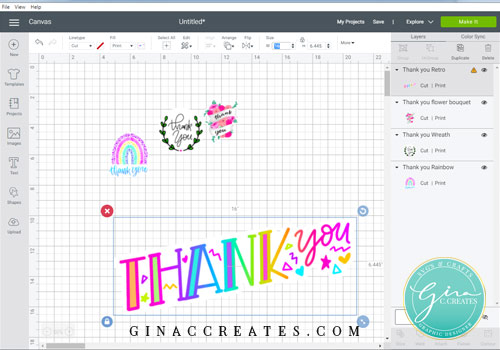
After you upload all 6 PNG images, insert 2 stickers at a time into your canvas, so you don’t freeze up Design Space.
Resize the sticker image to 2 inches, or any size you prefer.
Once I resized all 6 stickers, I copy and paste to make more. I like to fill my printable area, so I don’t waste paper.
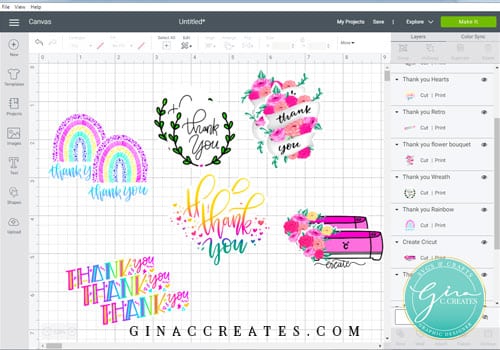
Now you can click, Make It. Then continue.
When you send your page to the Printer, TURN OFF BLEED, & TURN ON SYSTEM DIALOG. Change the paper type to photo glossy and quality to high.
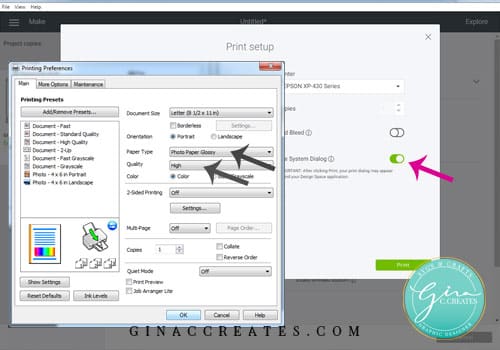
Then Print.
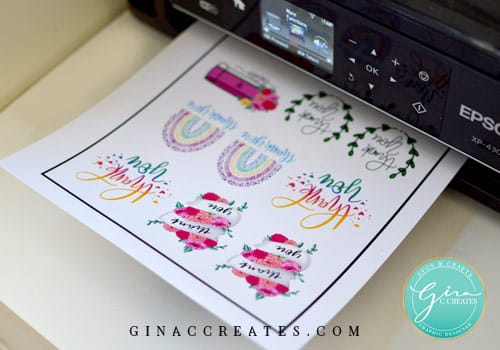
Line up your paper on the Cricut Mat.

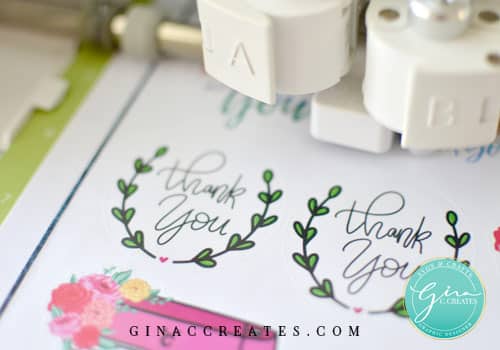
NOW here is the TRICK! To get your registration marks to read, rub an eraser over the black line all the way around. Another great hack is to place Scotch tape over the black lines so it will make them look matte instead of glossy!

Voila! My Cricut Explore can read the registration marks on glossy paper! And starts to cut my stickers. I set my cut dial on Vinyl+.
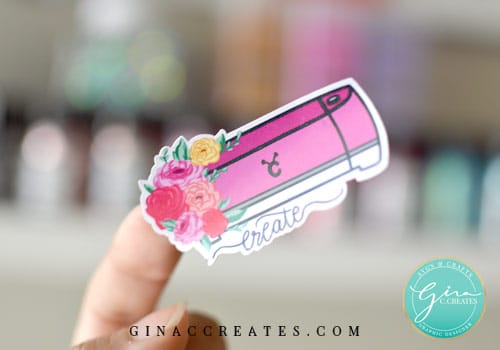
Once it’s done cutting, I peeled off the excess of the sticker paper.
Now your ready to start sticking!
I really hope you enjoyed this tutorial and have fun using my stickers on your next project! I can’t thank you all enough for supporting me through my creative journey!


5 Responses
OMG!! thank you so much! you dont know the struggle i’ve had with printing stickers! that eraser hack did the jOB!!!
Thank you so much for the beautiful Thank You stickers!! I love them!!
Thank you for sharing how to make them love them 🥰
You’re Welcome! 🙂
Thank you so much for sharing this with us!! They are super cute! I work at Sephora and I’m using this for my employees swag bags!