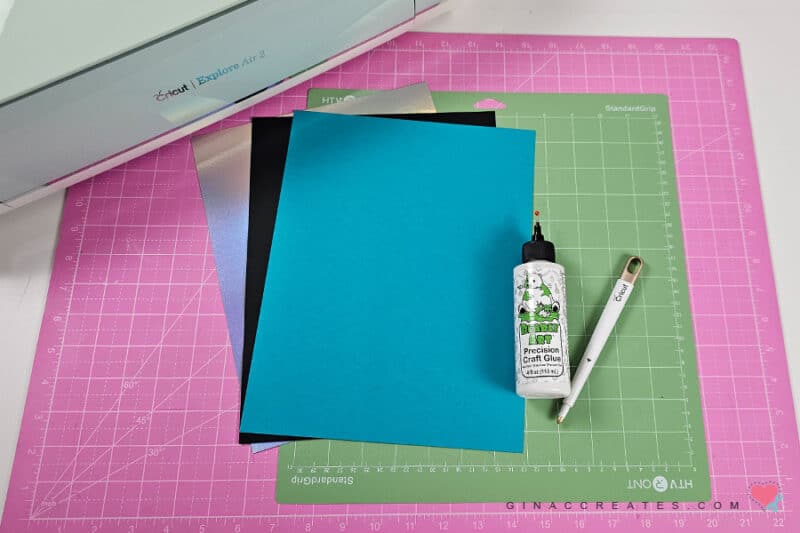
Welcome to a creative and practical tutorial for crafting a memorable graduation gift card and money holder using your Cricut machine! In this step-by-step post, I’ll walk you through the process of creating a stylish holder that’s perfect for celebrating this milestone moment. Whether you’re congratulating a high school graduate or celebrating a college achievement, this DIY project adds a heartfelt touch to your gift-giving.
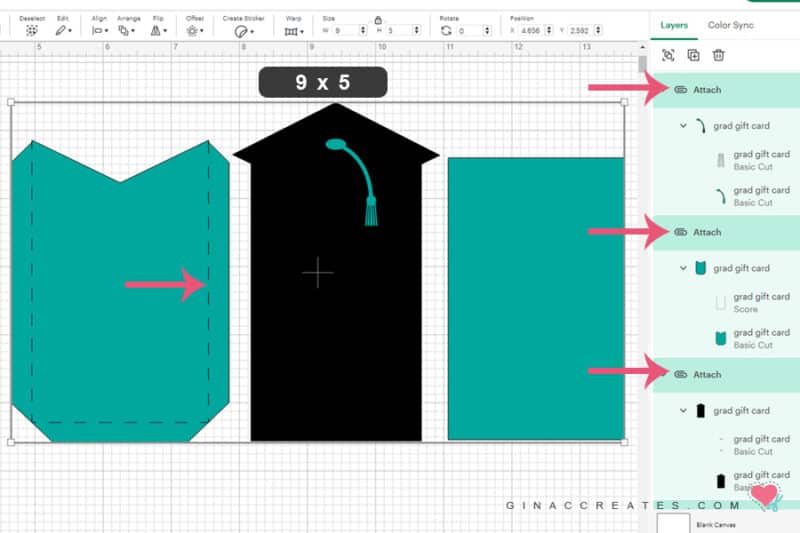
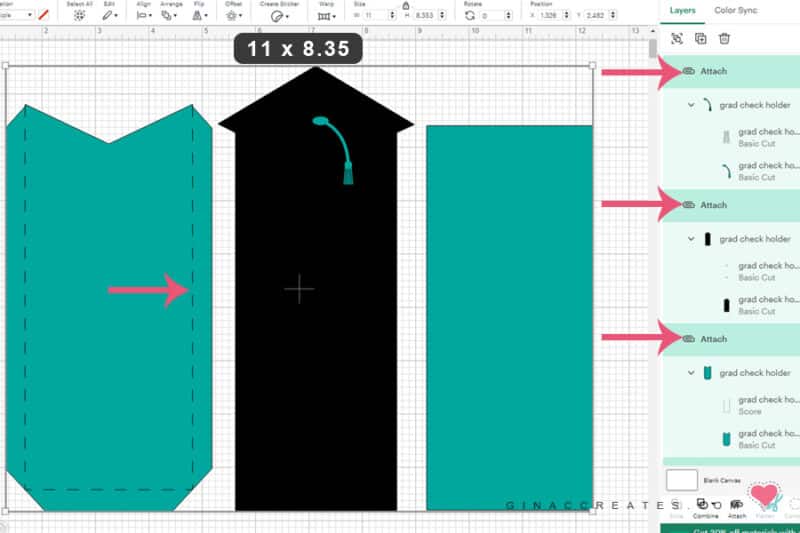
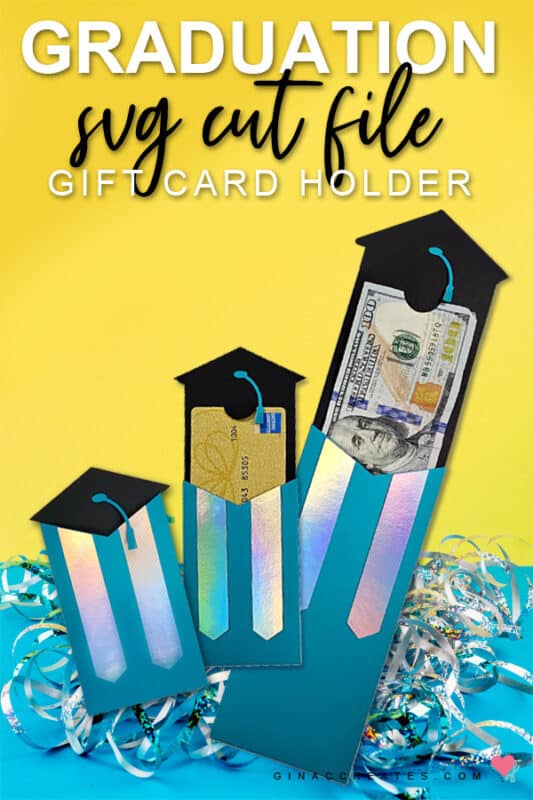
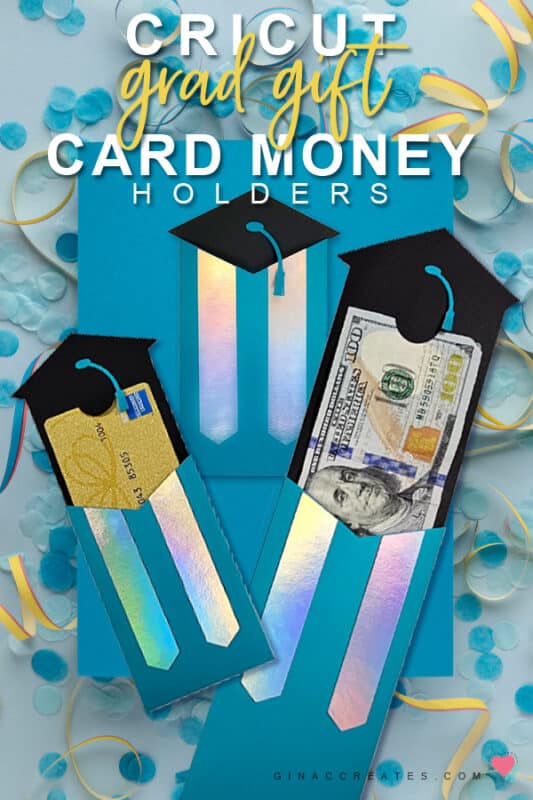
My Graduation Gift Card Holder SVG is designed for standard 2.125×3.37 gift cards. And my Graduation Money Holder will fit US bills and personal checks. There’s no video tutorial for this craft because it’s incredibly simple to follow and doesn’t require extensive guidance. Be sure to check out my other graduation crafts.
Graduation Gift Card Holder Supplies
- Cricut Machine
- Graduation Gift Card or Money Holder SVG
- Colored Cardstock 65lb
- Bearly Art Glue
- Scoring Stylus
Gift Card Holder SVG Size
- To make the graduation gift card holder, upload the SVG file to Cricut Design Space and make sure it is sized to 9×5 inches.
- Ungroup the SVG, to select each layer. Change the colors to match your graduate’s school colors.
- On the far left cover, change the U-shape cut line to a score line, then attach to the group.
- Attach the the other two groups, (tassle and insert), so their cut lines will cut on top of it’s shape.
- Save project, now your ready to cut on Cardstock+.
Money Holder SVG Size
- To make the graduation money holder, upload the SVG file to Cricut Design Space and make sure it is sized to 11×8.35 inches.
- Ungroup the SVG, to select each layer. Change the colors to match your graduate’s school colors.
- On the far left cover, change the U-shape cut line to a score line, then attach to the group.
- Attach the the other two groups, (tassle and insert), so their cut lines will cut on top of it’s shape.
- Save project, now your ready to cut on Cardstock+.
How to Assemble
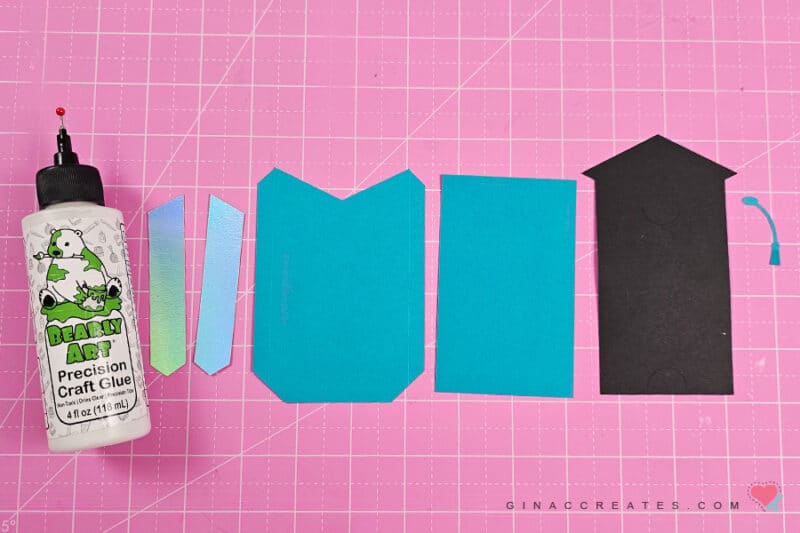
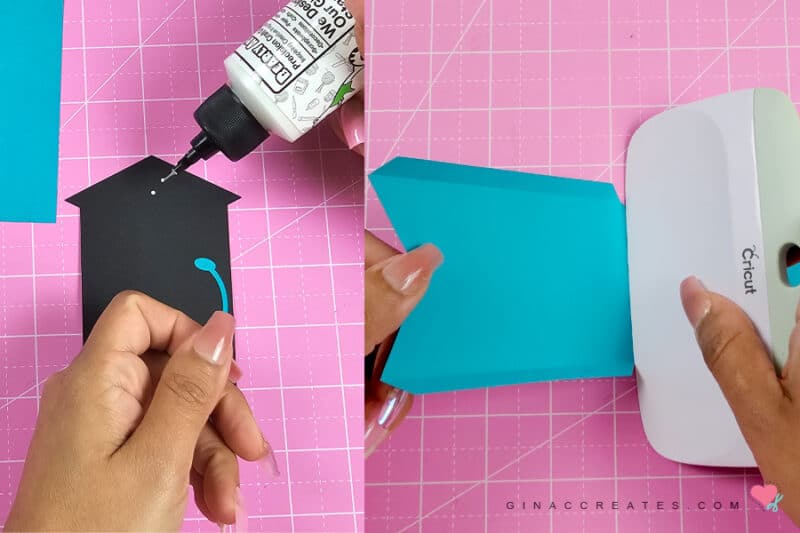
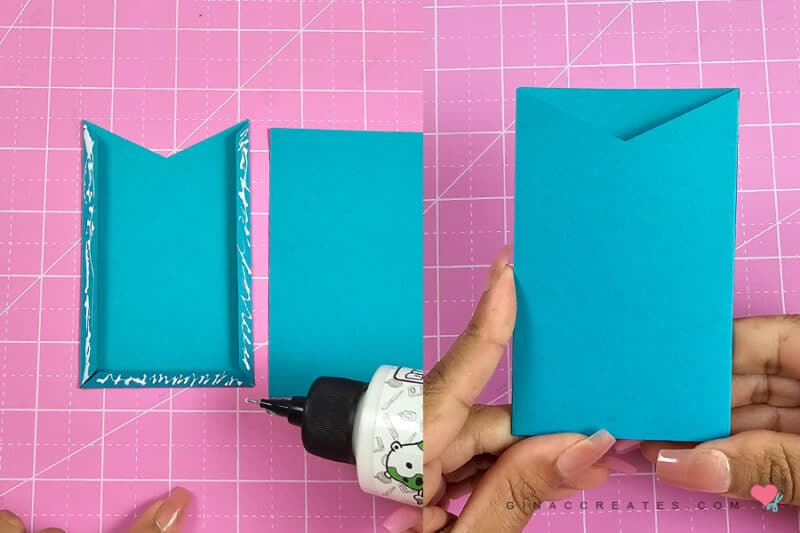
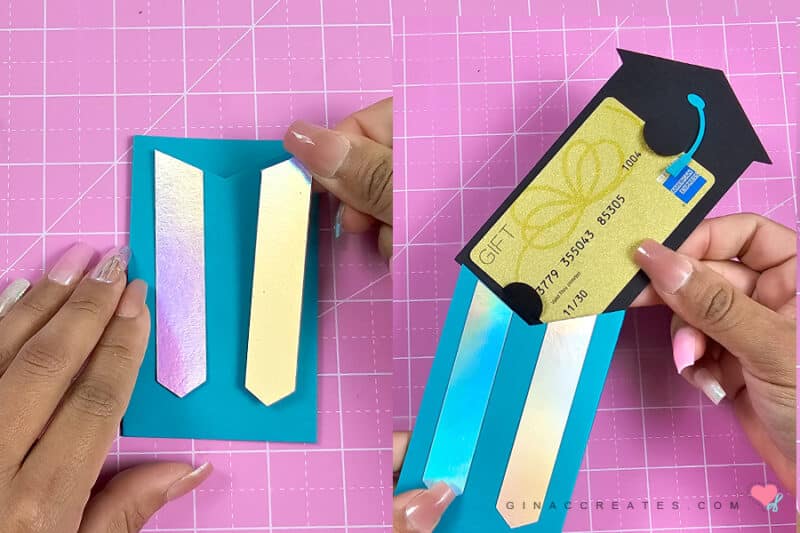
Once you have all your pieces cut out we can begin to assemble the gift card or money holder. Below you will see instructions for the gift card holder, but the directions are the same for the money holder as well.
- Apply a small dot to the middle center of the graduation cap and place on tassle.
- Use a straight edge to fold over the tabs on the front cover.
- Place glue all over back of tabs and lay on the square back piece.
- Hold down all edges until dry.
- Decorate the front cover with the graduation stole.
- Insert gift card into the circle tabs and slid the sleeve into the pocket, making sure the tassle is on the outside.
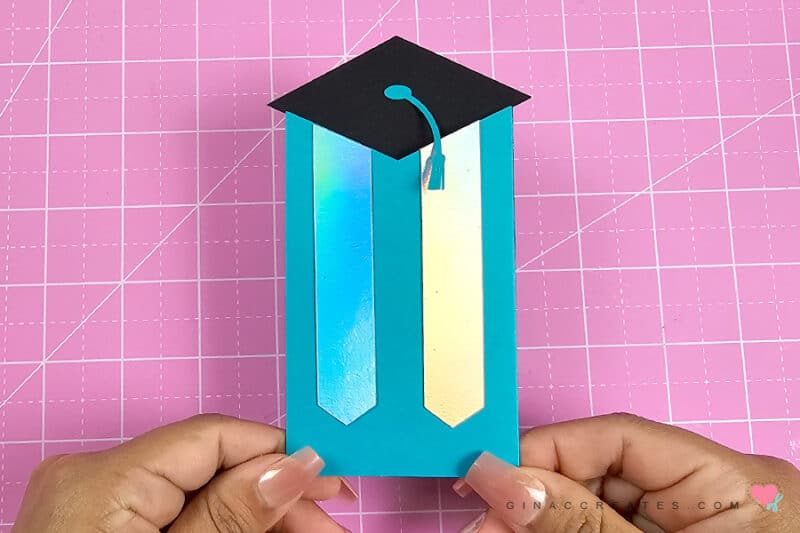
Now your down with this adorable Cricut Graduation Gift Card Holder!
Crafting a graduation gift card and money holder with your Cricut machine not only adds a personal touch to your gift but also showcases your creativity and thoughtfulness. Explore other creative graduation crafts with your Cricut machine, so you can continue to enjoy the art of crafting meaningful gifts. Congratulations to the graduate, and happy crafting!