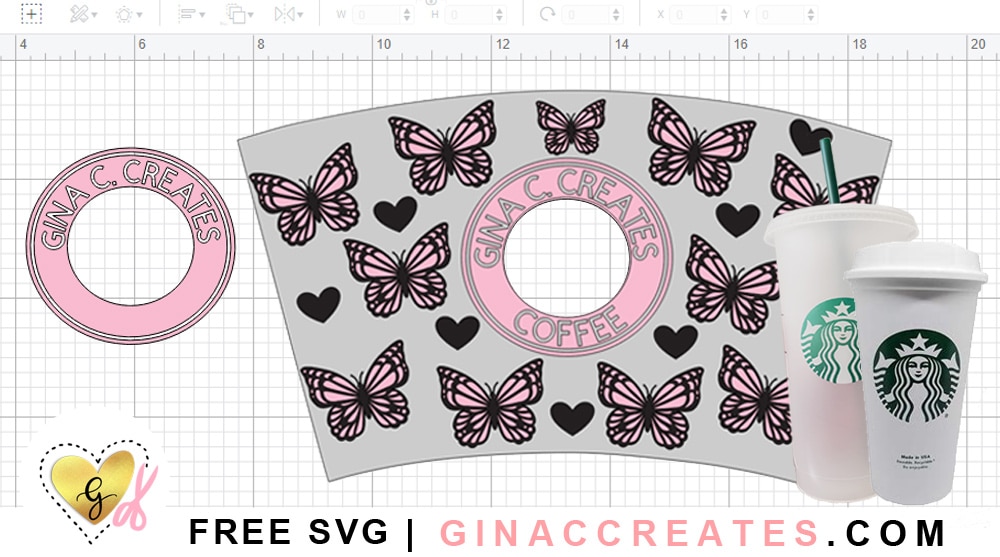
Hey Crafty People, Let’s make some customized Starbucks Cups! Get my Free Starbucks Templates, 24oz and 16oz, for your Cricut machine. Learn how to create your own custom design using my Free SVG Template in Cricut Design Space.
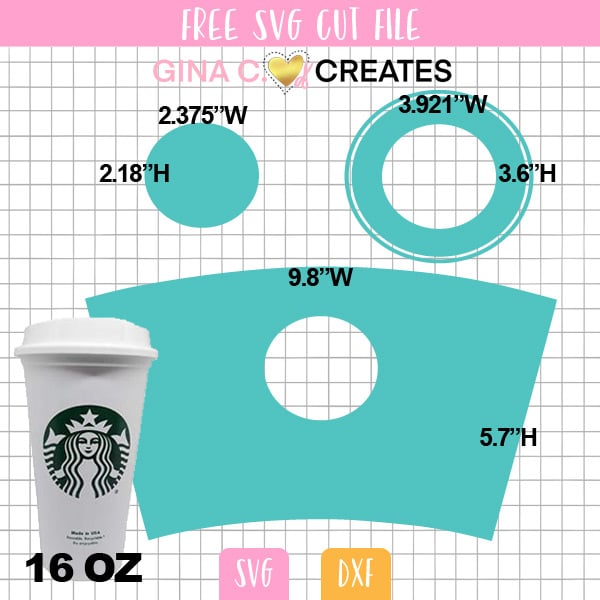
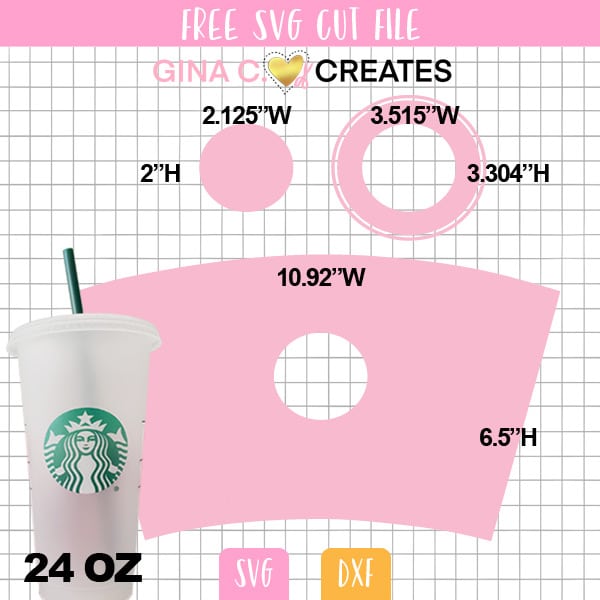
Get the free template wrap, logo template size, and circle frame for the 24oz and 16oz Reusable Cups. Scroll down to the bottom of this post to view dimensions for each cup. The Starbucks templates, come blank ready for you to add your own designs and texts! The 24oz SVG wrap will also fit these blank cold cups, if you prefer colored cups.
I have a full video tutorial on how to create your own Starbucks Wrap at the end of this post.
First you will need to download the Free Starbucks Cup Wrap Template which is also at the end of this post. Then upload the SVG files to Design Space. I used my Butterfly SVG and free Hello Fall SVG for this tutorial.
You can find these Blank Starbucks Cups from your Local Starbucks Coffee Shop for $4 each, however if you order online they might be a little higher in price.
Create a new canvas and insert the 24oz pink Starbucks SVG and the 3 small Butterflies SVG. Ungroup both SVGs and delete the 2 bigger butterflies. Make sure the Starbucks SVG uploaded the correct sizes, view image at bottom of post to get the correct Width and Length for each element.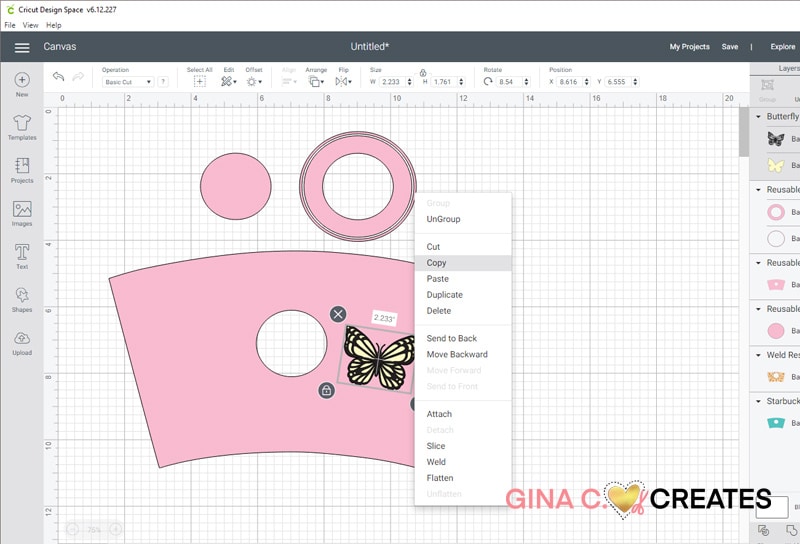
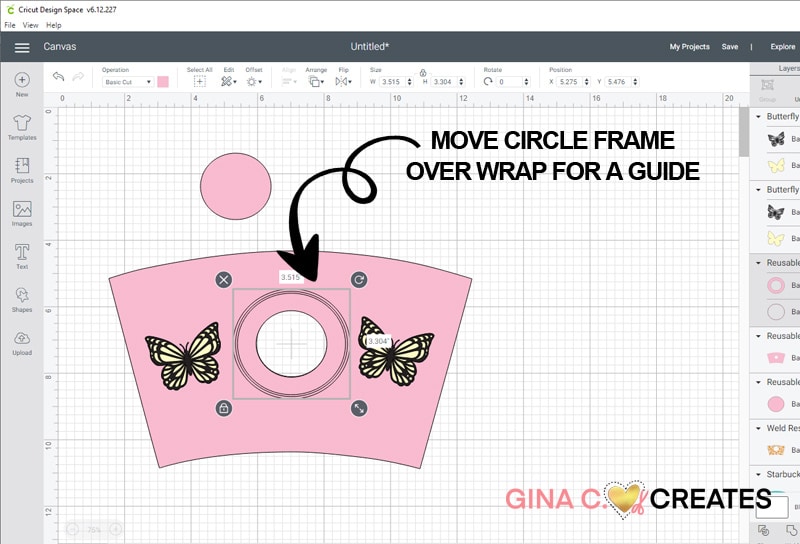
Next, place the Circle Frame over the wrap template, this is only if you decide to use it in your design. This will help with placement.
Then, copy and paste the butterflies over the wrap template until it is full.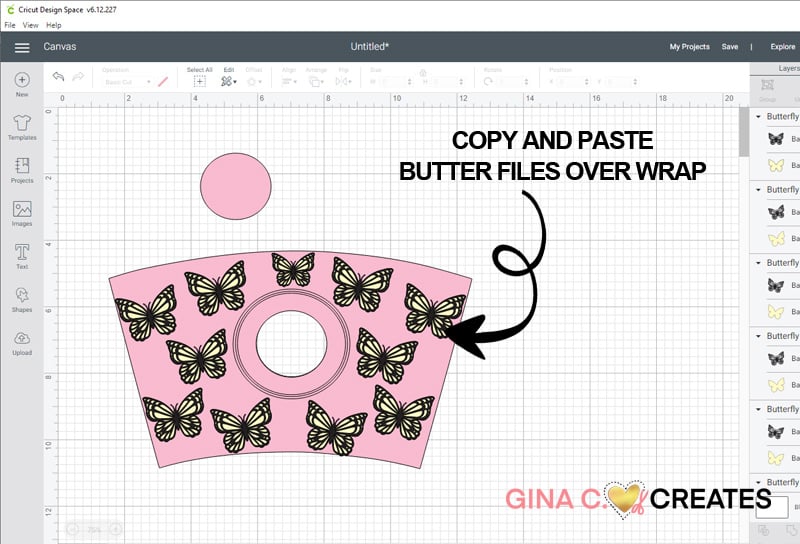
To fill in the empty spaces, use the shape tool to add hearts to the wrap.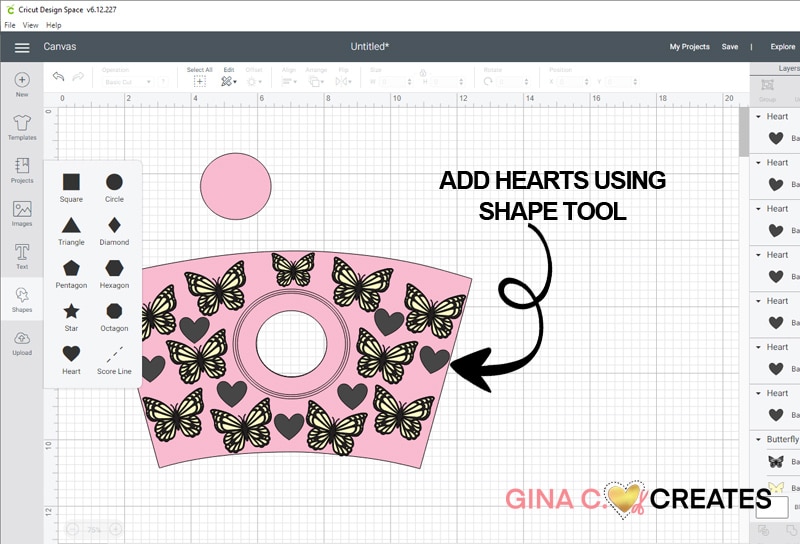
Next, we are going to add text to the Circle Frame. Use the Text Tool and change the font size to 30PT. Then Curve the text it fits within the frame. You may need to change the Letter Space as well and you can ungroup the text and move it letter individually to perfect the placement.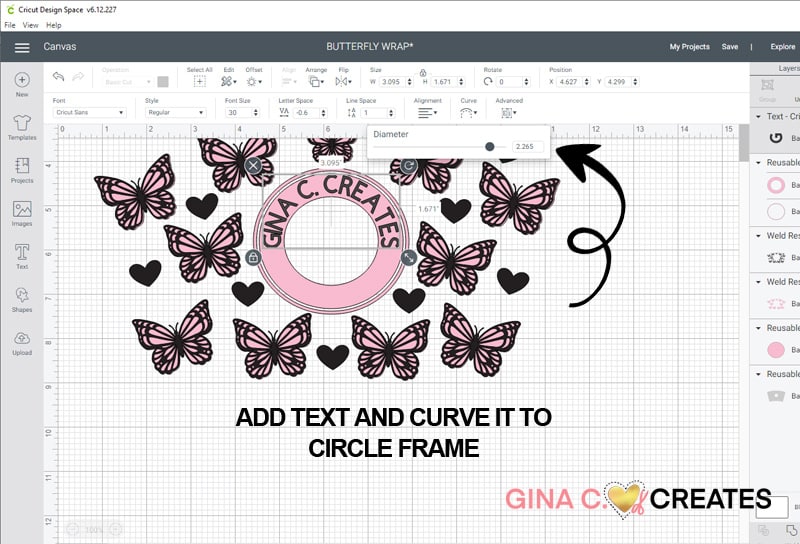
Next, Weld all the text to one layer and Slice it into the Circle Frame, delete the scraps. Then select all the pink layers and Weld it to one layer, and do the same to the black layer. Now you are ready to Cut.
Here are my two decal layers after I weeded them.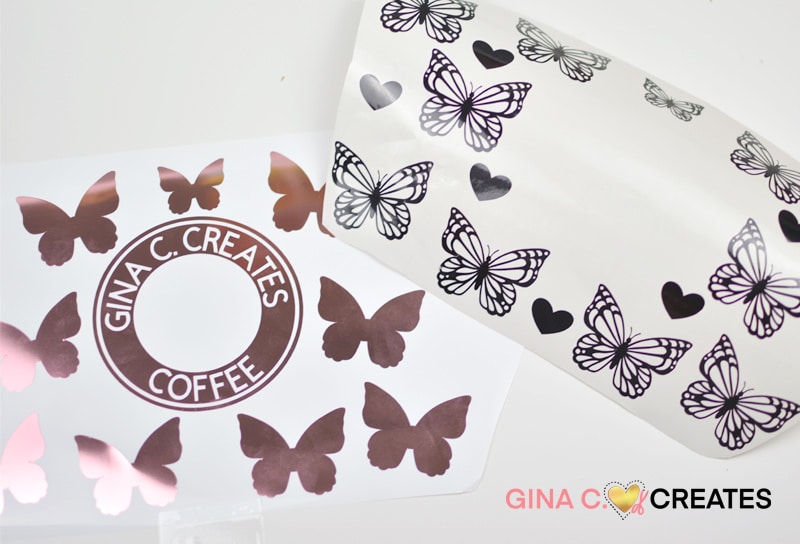
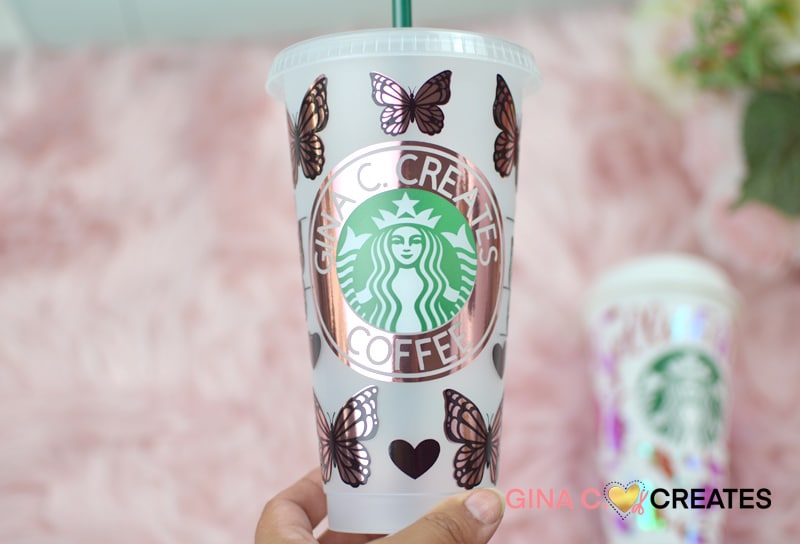
Use transfer tape and parchment paper to apply to your Starbucks cup! Please watch my video tutorial to get full instructions on how to make this and the Hello Fall 16oz Travel Cup!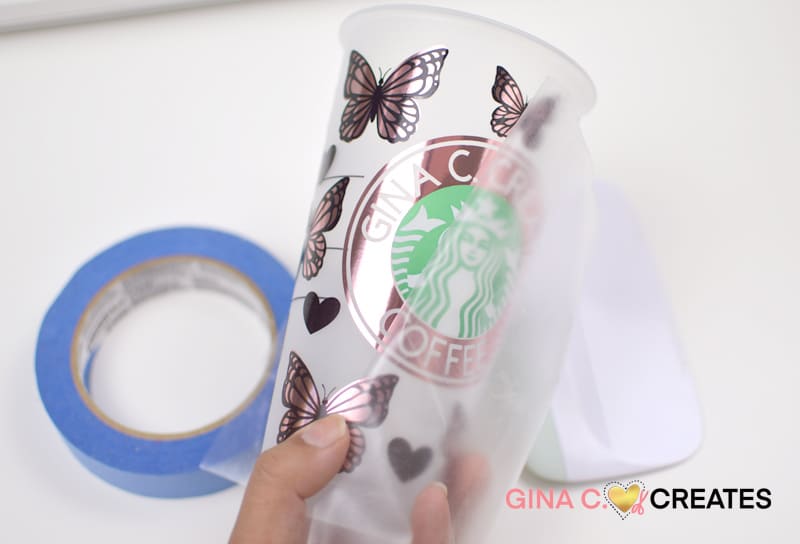

Please share post to Pinterest, by using images below, to help other crafters find this, and it also helps me keep my SVG files FREE!


3 Responses
Both downloads for the Starbucks are 16 oz. cup only. is there one for the 24 oz. cup?
Yes, there are two download buttons on this page. the 24oz SVG is underneath the 16oz one.
i love your page