
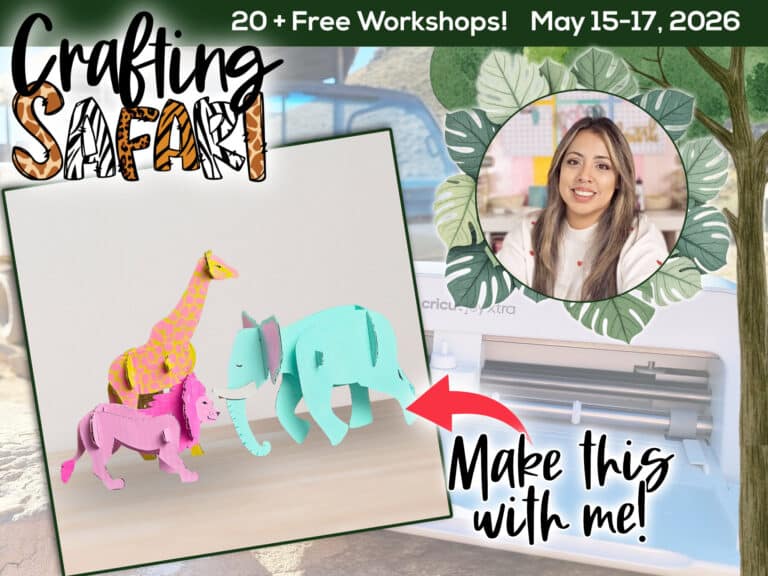
How to make a Peony Paper Flower | Tutorial
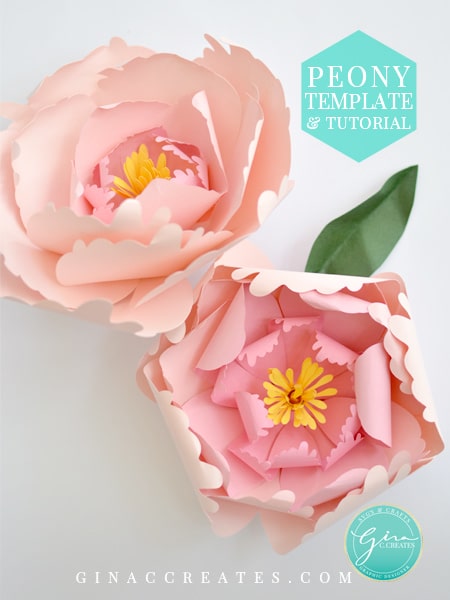
I absolutely love Peonies, and since my Paper Flower Templates were such a hit, I decided to create one of my favorite flower too! I designed two versions, a 6 inch Peony and a 16 inch Giant Peony. Today, I will be showing how to make my 6 inch Peony.
Supplies needed:
My Peony Paper Flower SVG, is pre-sized and ready to make! However, Design Space doesn’t always upload it the correct size, so please double check the size before you cut. The overall SVG should be sized at W24.06xH15.99. The final size flower will be 6 inches wide. You may scale down to fit your needs but I wouldn’t know the actual size.
For Peonies, I like to use 4 different shades of one color to give it that realistic look! For the two skinny petals, I used the darkest shade then with outside layers I went lighter. (I colored coded the SVG as well, so all you need is your 4 shades of card stocks ready-to-go).


After you cut out all your flower petals, start with the 2 darkest skinny star shapes and curl inward with your pen. Fold petals upward at the center.


Do the same to the thicker star shape. Next, curl all 10 of the single petals and cut a slit like image shown above.


Once all 10 petals are curled, use your glue gun to overlap each slit like image above. Do this to all 10 single petals. Next, roll your yellow center strip, and glue it to stay in place, then bend the top outward.
Now, we are ready to assemble the Peony flower. We are going to start with the center and go outward. Use your glue gun to apply hot glue to the bottom of your yellow piece, then place it to the center of your skinny star shape. Place the 2nd skinny star shape underneath and attach with glue. Flip over center and apply glue and center it to your thick star shape.
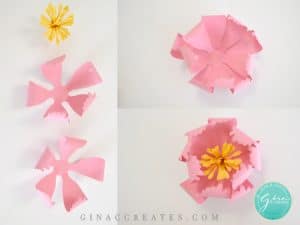

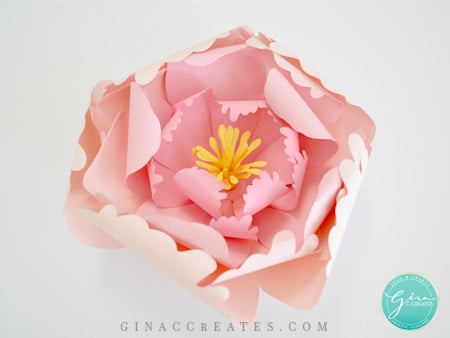
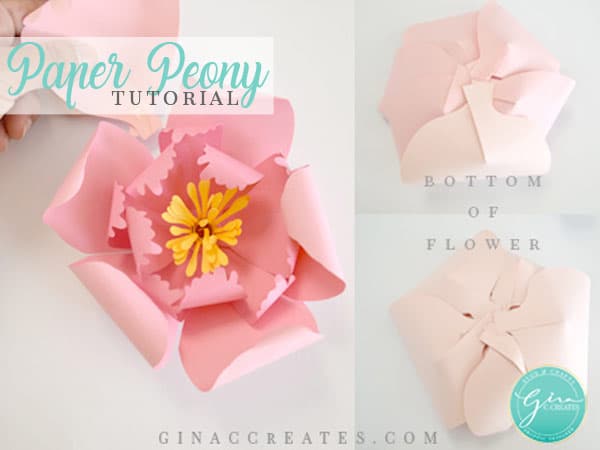
Next you are going to place 5 small petals all the way around center pieces. Do the same with the next layer, using the big petals. Refer to the bottom of the flower image to see how I applied.

Now you have your finished Peony! Isn’t it gorgeous??
Thanks so much for visiting! I hope you download my new 6in Peony Templates, and enjoyed my little tutorial! To download please visit this post!


One Response
Hello!
Thank you for your generosity!! I want to make all of the files! You are so talented and very sweet to share them.
Can’t wait to start! Thank you!
Jan