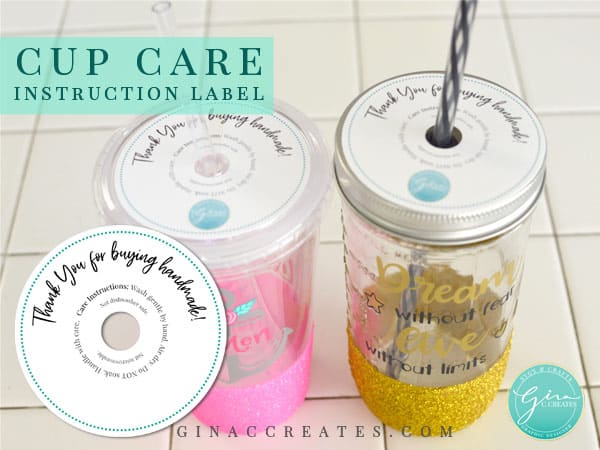
Hello everyone! I’m going to show you how to use these unique custom care instruction labels with your Cricut, using the print and cut feature! These are great for standard to-go cups, mason jars and acrylic tumblers.
Whether you run a small business or making a custom tumbler for a friend, it is always a great idea to include cup care instructions with your tumbler. I used to verbally let people know how to care for there vinyl cups but can easily be forgotten. That beautiful tumbler ruined, Eeekkk!
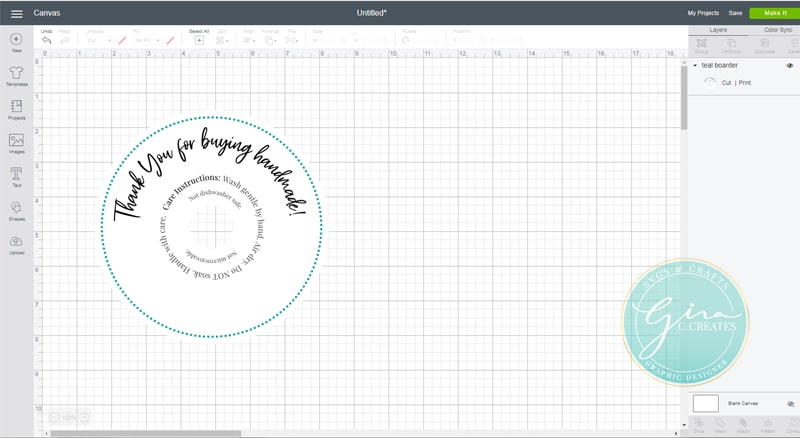
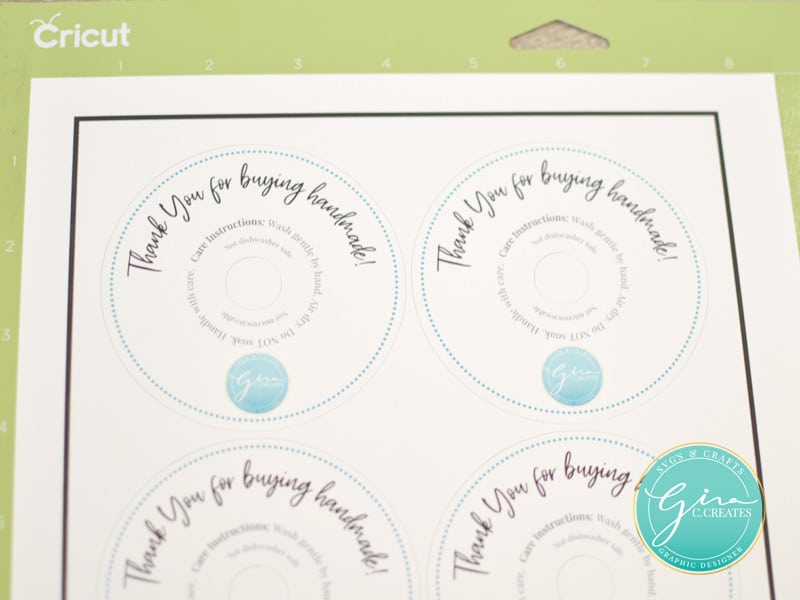
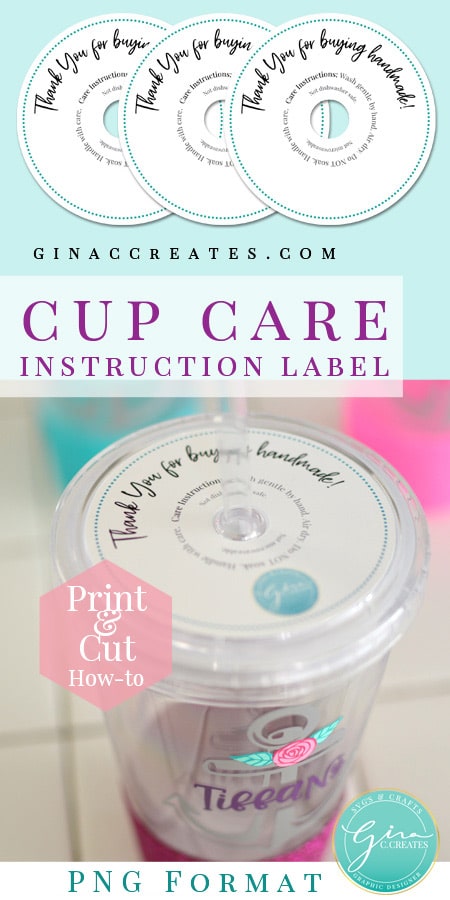
My Care Instruction Labels seem to be effective when a person receives their one-of-a-kind tumbler! Gives a professional look to your handmade item. File has be updated to read: Wash gently by hand. Air dry. Do NOT soak. Handle with care.

To use the print and cut feature working with a JPEG or PNG is ideal.

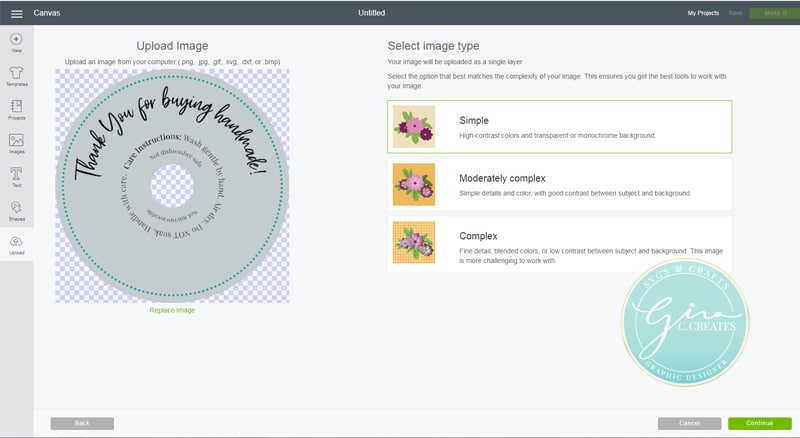
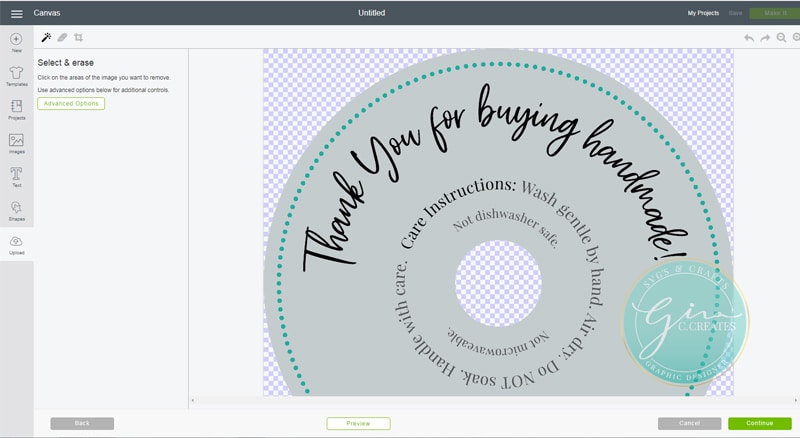
With a JPEG file you need to use the magic wand tool on the left top. Click in the background area that you do not want. The magic wand works by erasing a single color at a time. Once background is removed click continue.
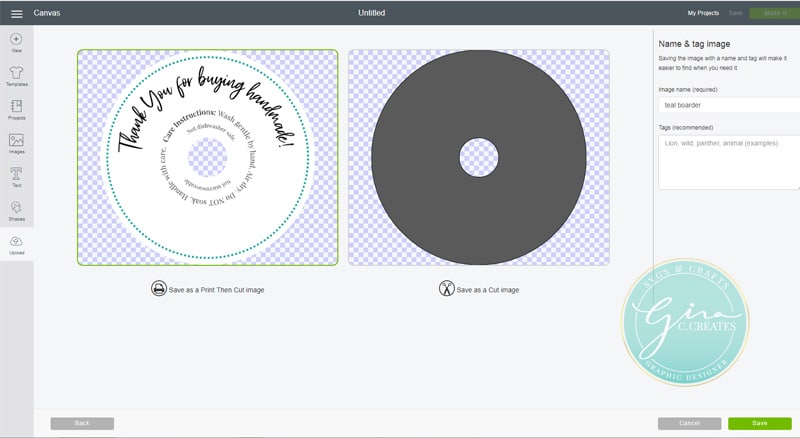
To leave as is, skip to step #8.
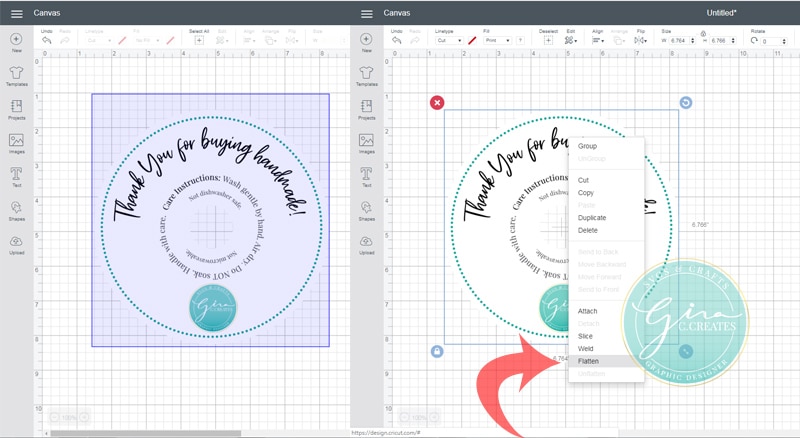
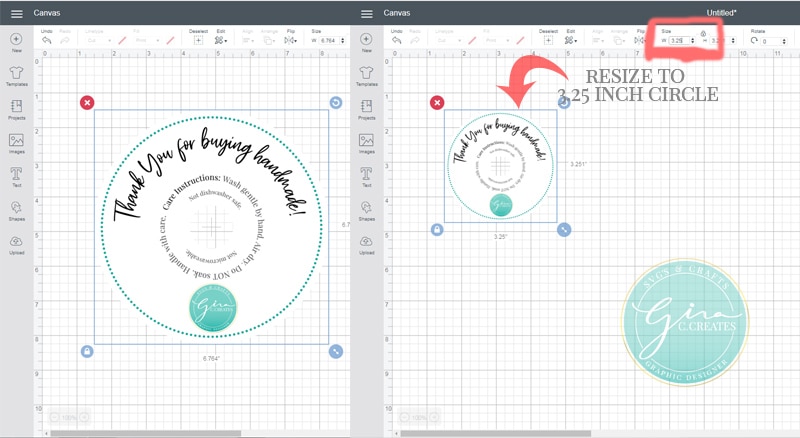
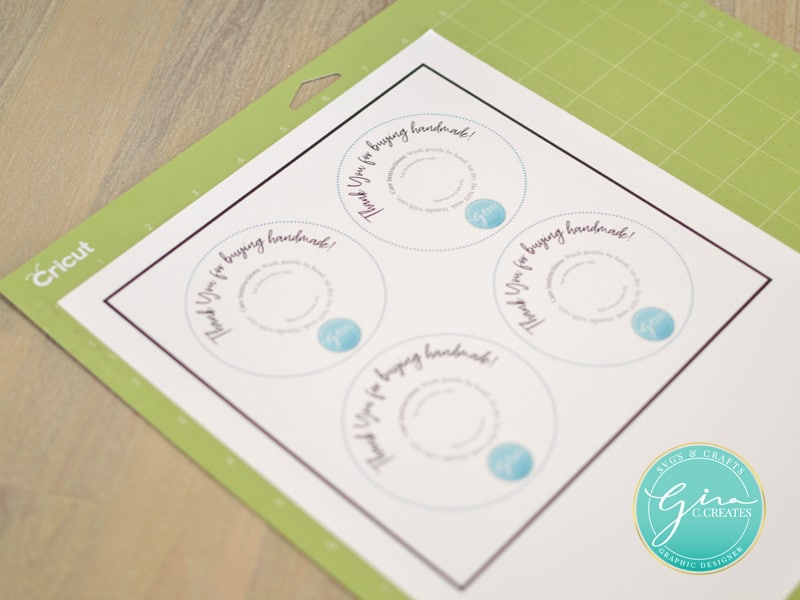
Print and Cut’s Max print area is 9.25×6.75 inches. You may copy and paste to make 4 labels to one 8.5×11 page.
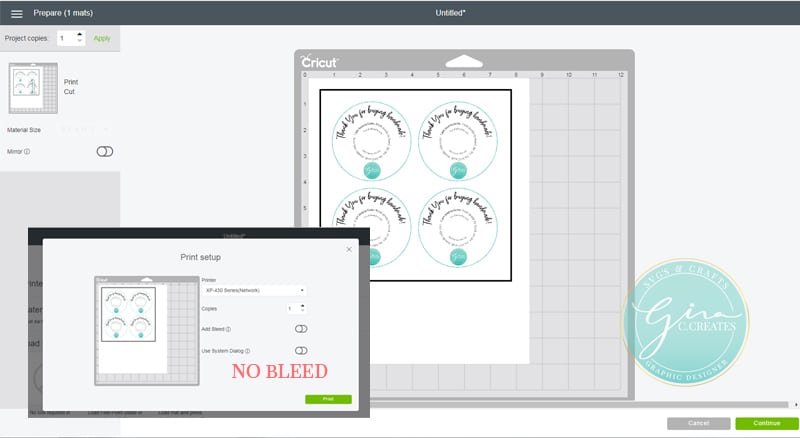
For an image that is printing in a color, I recommend a bleed. It will make the lines to be cut look blurry but this is fine because it will be cut off.
(It will print with a black box around the print and cut area)
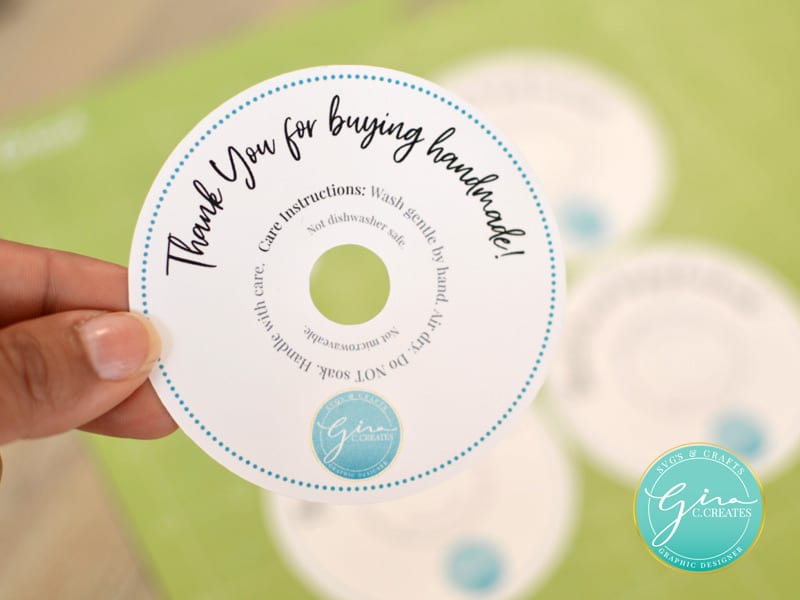
Here is how your cut should look off the mat with is product. Final print and cut label.
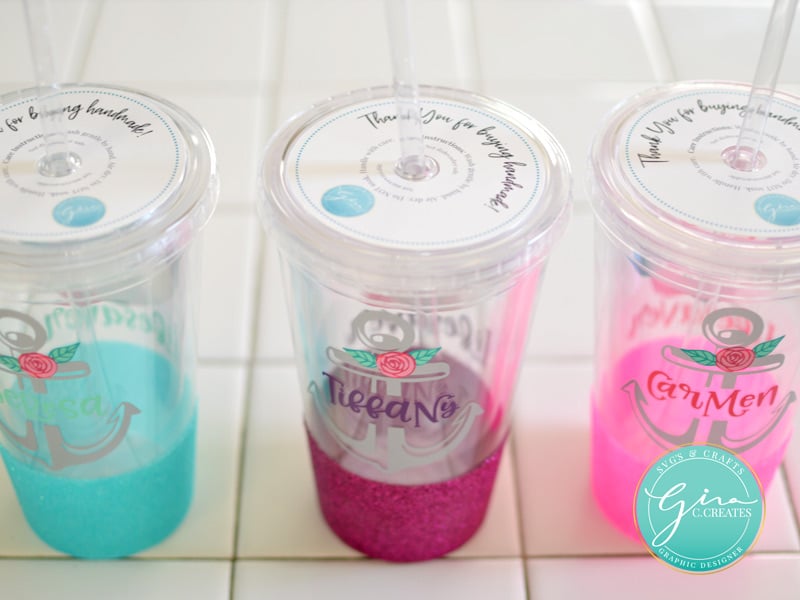
How cute and professional do these labels look on custom handmade cups! A great way to add important information about your product!


One Response
hello!