Hello crafters, over the weekend I received my printable vinyl by Craftables, (from Amazon) and today I will be showing you how to use them in Cricut Design Space.
I have been really anxious to try out this particular brand because it says it’s waterproof!! I love the idea of it being waterproof because there are so many possibilities that I can you use it for. The main thing being able to use the print and cut feature on my Cricut Explore Air™ 2 machine! I have been designing tons of cute graphics/illustrations to be used as clip art. NOW that I found these, I can finally use them on cups, tumblers, cars, windows, etc. Pretty much anything that can hold a sticker.
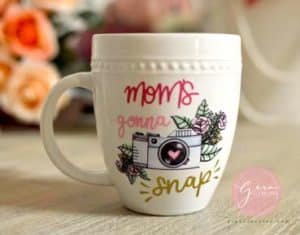
This is the first cup I made using the waterproof printable vinyl. The design I used is Mom’s gonna snap SVG/Clip art design and a white mug from Target.
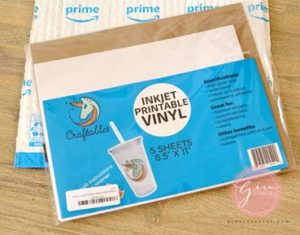
These Craftables printable vinyl are available on Amazon prime, I ordered them Friday and got them early Sunday morning. They come with 5 sheets of 8.5×11 for $10, which seems to be the norm for printable vinyl. After opening the package, you might get a little confused on which side to print on. They look rather similar but the best way to tell is the smooth matte finish is the side to print on and the shimmer jagged edges side is the back. Note that the package states high gloss, it is a matte finish.
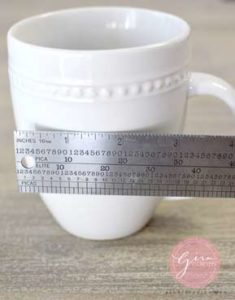
First take your ruler or measuring tape, and measure the surface of where you would like the design to go. As you can see here, my cup measures 3×3 inches.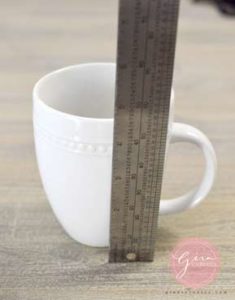
After you know what size you need your design to be, upload the svg and clip art to design space. The svg of Mom’s gonna snap, should automatically save to your gallery, for the clip art PNG file it will look like the images below.
Select simple image and continue.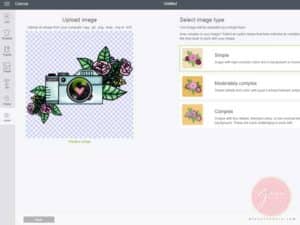
Zoom out to view image, no need to clean up, hit continue.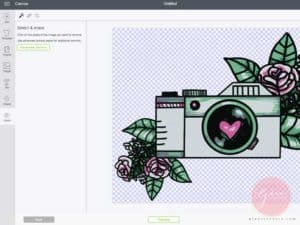
Save as a Print and cut image.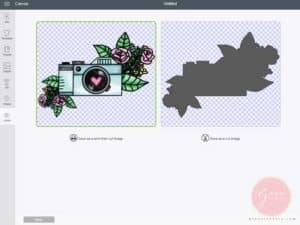
Add both SVG and Clip art to your project.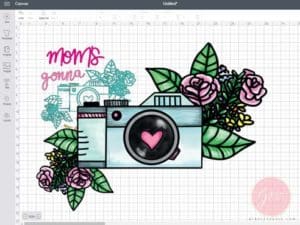
Size the clip art down to match SVG size.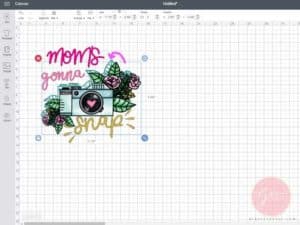
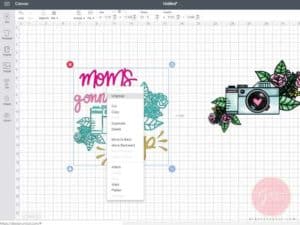
Ungroup SVG and delete camera to replace with clip art.
Move Clip art into the right spot for design.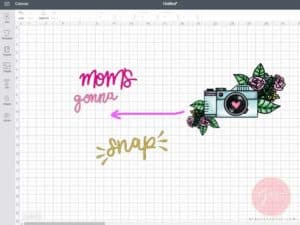
Attach the word snap to design clicks.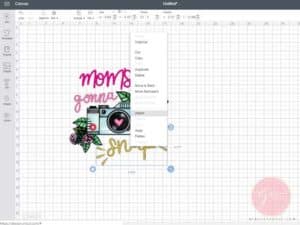
Select all layers.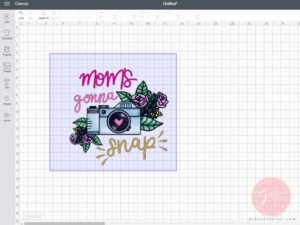
Resize the design as a whole to 3 inches on one side. As long a design doesn’t go over 3 inches we are good!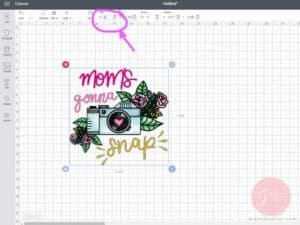
Now it should be the correct size and you can click Make It.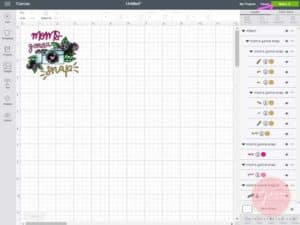
This how your mats should look. Cut your print and cut on card stock setting.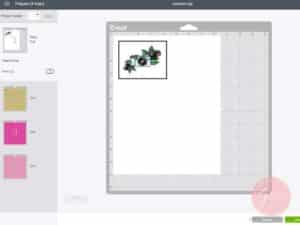
Click print, then advanced options, then preferences, then adjust your paper and quality setting to high and matte paper. Then Print.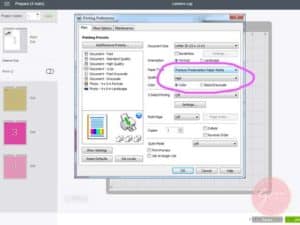
Printed Clip art with bleed.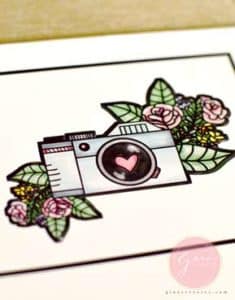
After you print lay face up on the mat and line up the edge of the paper to the outer white lines on the mat. Cut on Card stock Setting. Then finish cutting your colored 651 vinyl on vinyl setting. Once you have everything cut and weeded, you may apply to the mug.
All separate pieces after cut and weeding, Ready to transfer. I apply the camera clip art first and work my way around that. Do NOT apply transfer tape to the printable vinyl.
Simply peel back like a sticker. Gently peel back the backing of the clip art like a sticker.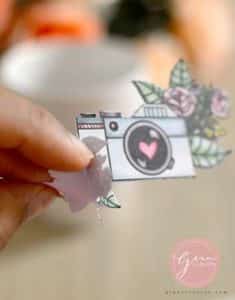
Apply a tad below the center.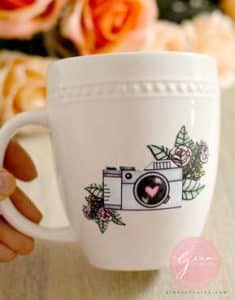
After you may apply the rest of the design with transfer tape. Be sure to apply each word separately without the transfer tape touching the sticker.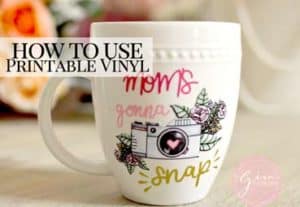
Finished Product! Beauty!
After working with this printable vinyl, from Craftables, a little bit more, it’s best to use it for simple and one piece shapes. I don’t recommend cutting intricate words with this. Also avoid touching the print until it has had about 15 minutes to dry to avoid smearing.
After a day of letting my cup sit, I ran it under cold water and it is still good as new, no ink ran off. So I can say it passed the water-proof test! But I would still be gentle and not let the sticker soak in water.
I hope you enjoyed and found my tutorial helpful! Please share and pin to Pinterest!!
Happy Crafting!


3 Responses
Super cute design and project. Could you use Tim Holtz Multi Media paste over the sticker to help reinforce the waterproofing? I have ised it on envelopes I have printed with graphic designs (except the postage area) and it has insured rain drops and such won’t ruin the artwork when my recipient walks from the mailbox back to he house. ??
Hi, I did this last night for my sons silly cup…and he peels it right off!!!
What can I use that is not epoxy to seal his cup so he can’t peel it off?
Hello Vanessa, thanks for letting me it’s not child-proof. Sounds like my one year old, her tiny little fingers can open anything. ? As for the sealer, unfortunately I don’t think any are kid friendly sealers for a toddlers sippy cup since they are toxic. My only advice is to let the printable vinyl sit for a few days so it has time to adhere to the cup. But even then with toddlers those tiny little fingers are unpredictable. Best of luck.