Hey Crafters, are you ready for another year of our monthly themed FREE SVG Collections!? I’m so excited to be working with all these talented SVG designers! If your new to my blog, each year a group of crafty bloggers and I team up to give you the best of themed Free SVG Files every month.
We are bringing you a collection of free Valentine’s Day SVG Files, a little early this month. But you can expect a monthly themed free SVG collection every 3rd Friday of the month this year.
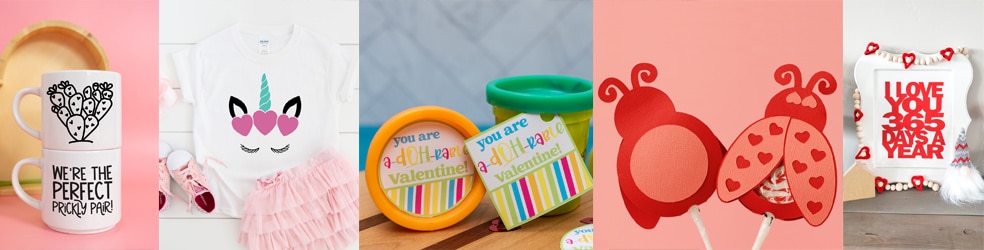
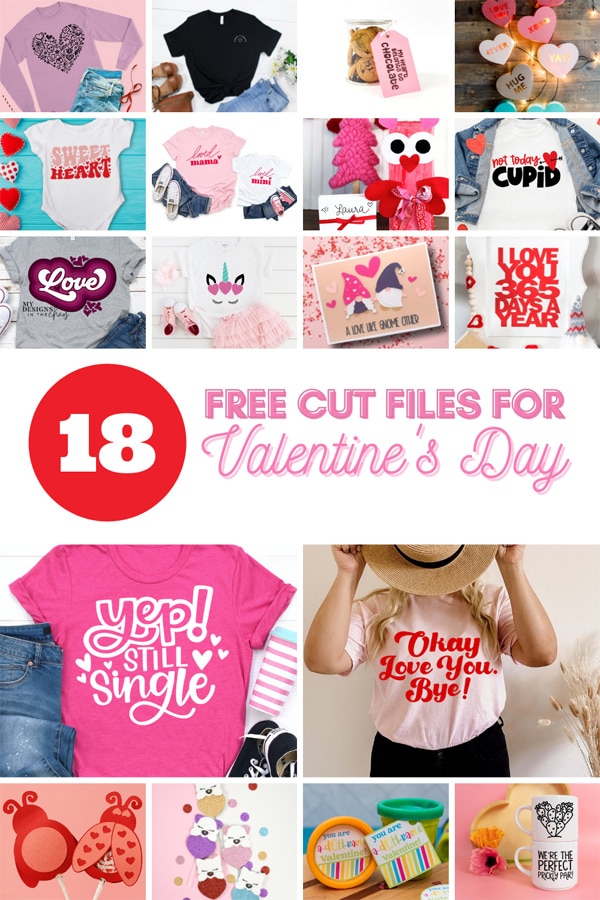
Take a look at some of the Free Valentine’s Day SVG’s that are available as an instant download. You can find links to each blog post at the end of this tutorial. Just click each text link at the end of this post to view, they will let you know how to download from each bloggers.
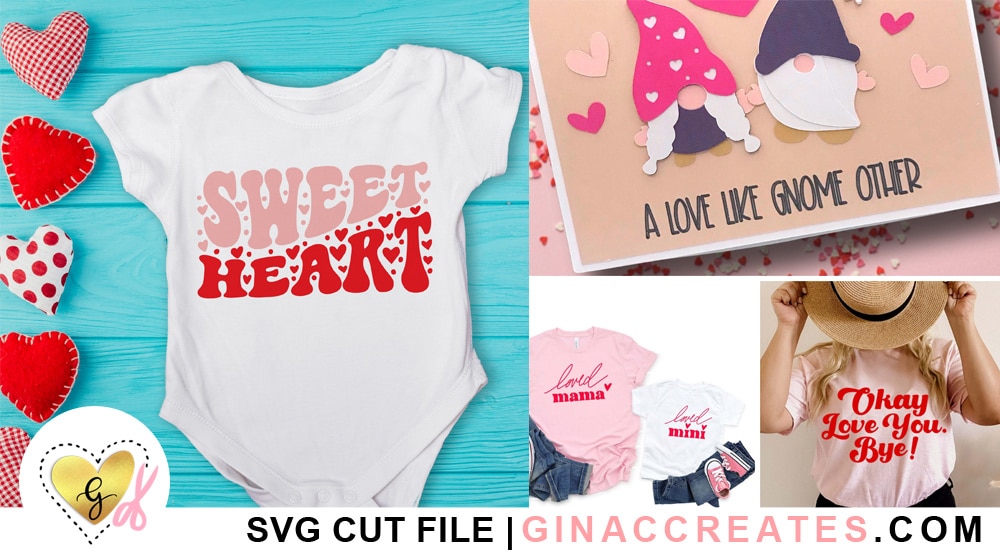
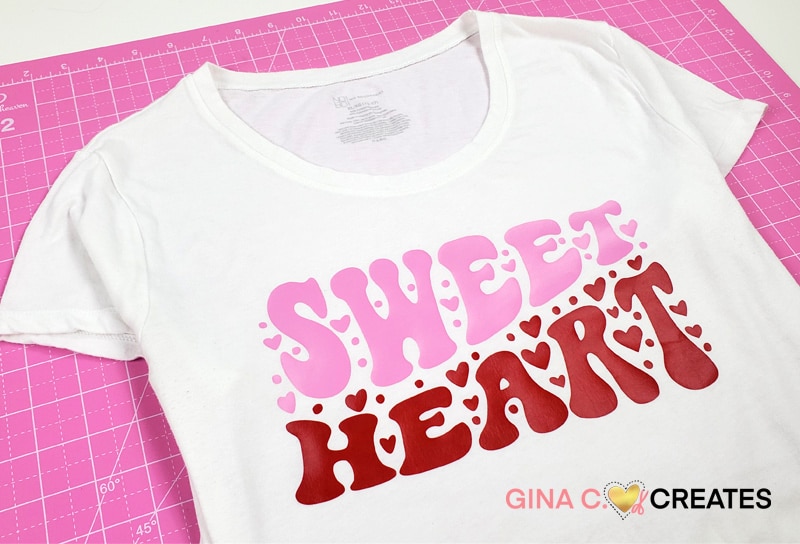
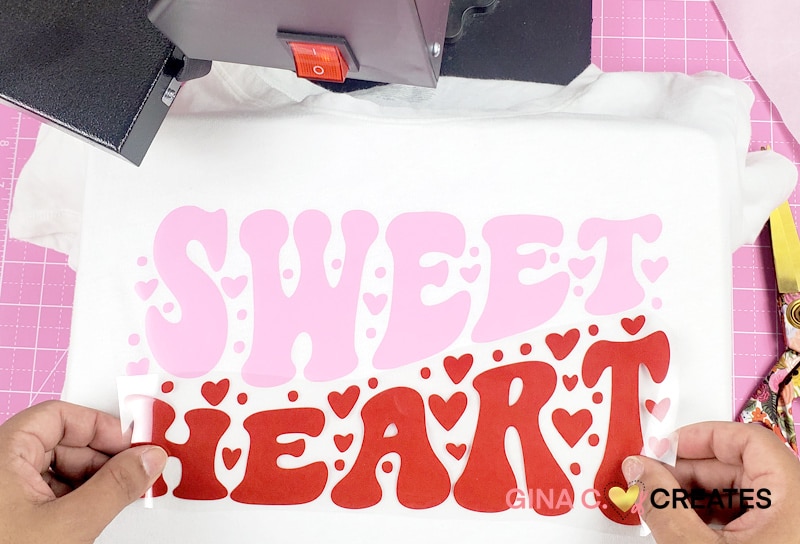
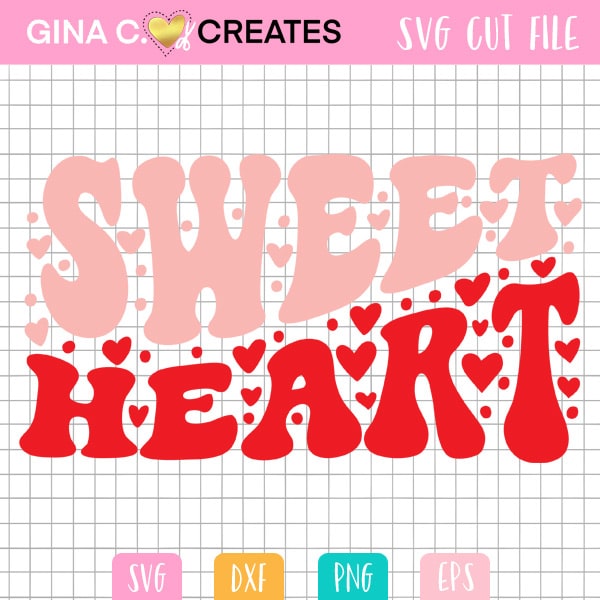
I designed this Retro Sweet Heart SVG for Valentine’s Day and I’m going to show you how to make a shirt with iron-on vinyl! Keep scrolling to view tutorial. To download my Sweet Heart SVG file, scroll to the end of this post, click the pink download button.
If you love this Free SVG file, you may love my Retro Read Your Heart Out Free SVG!
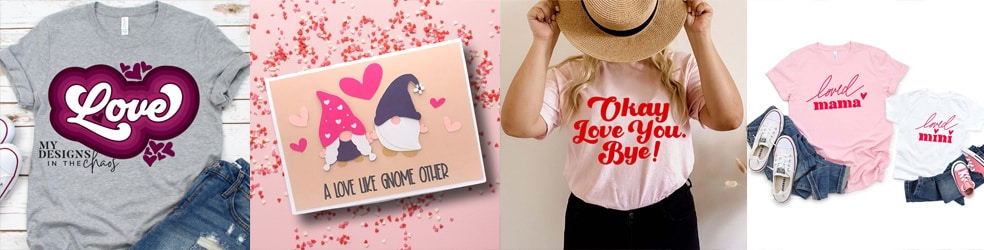
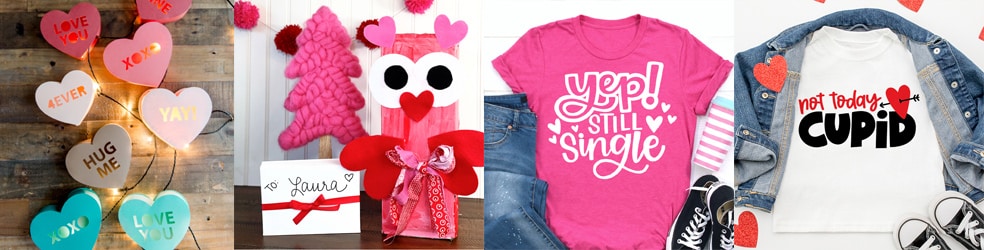
Here are some more Free Valentine’s Day SVG files! These files are so cute and I’m sure you can find a cut file you would like to try for Valentine’s day! To grab these free SVG files, keep scrolling down to the bottom of the post.

Here are few supplies you will need to make this shirt:
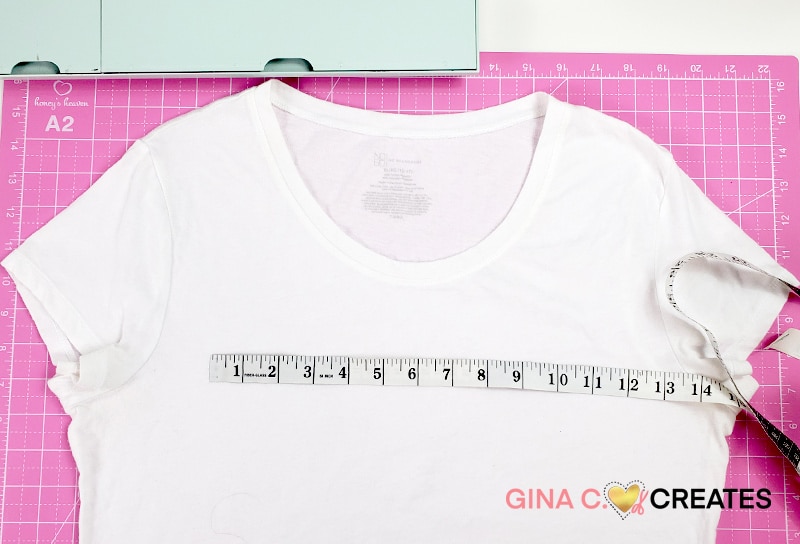
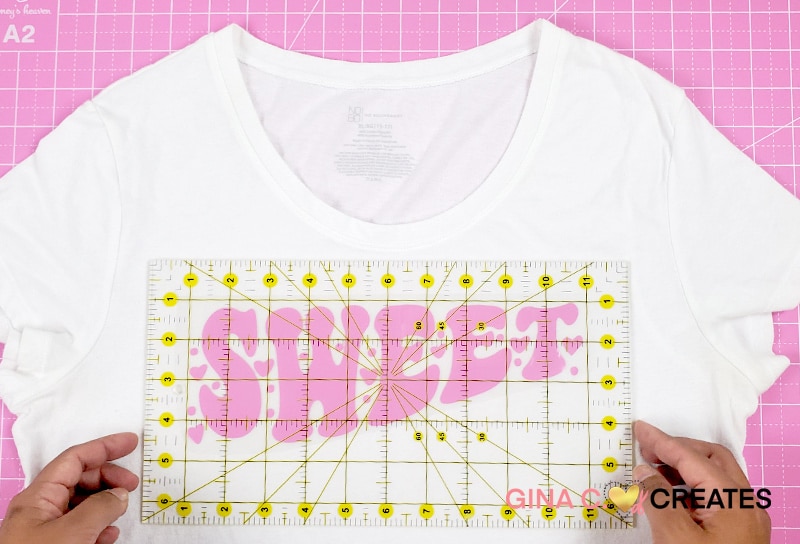
First thing to do is figure out what size you need your design to be. I use a ruler or measuring tape and lay it across my garment. I want my design to be in the middle of my shirt and run across the chest. So it seem like 10 inches is a good size for this XL women’s shirt.
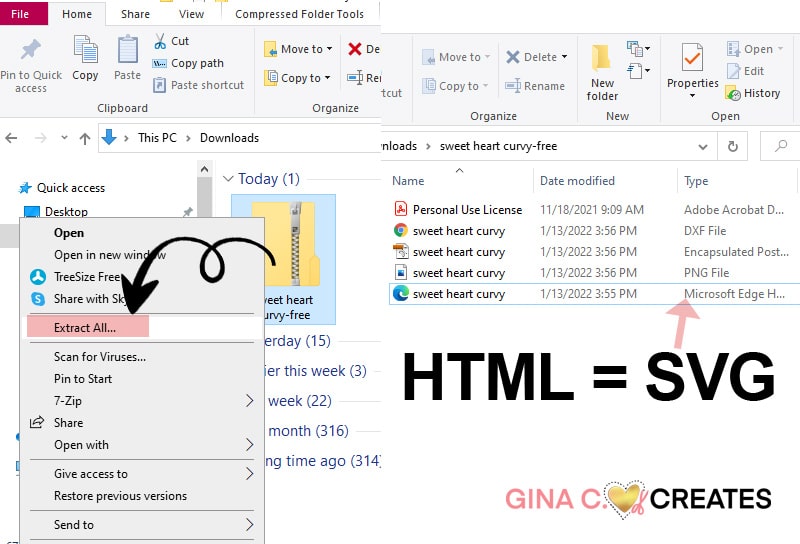
Next, you need to download my free Valentine’s day file at the end of this post and Extract All. The SVG file will show up as a HTML doc if you are on a Windows Desktop Computer. If you need more help on finding SVG file, please read my Q & A Page.
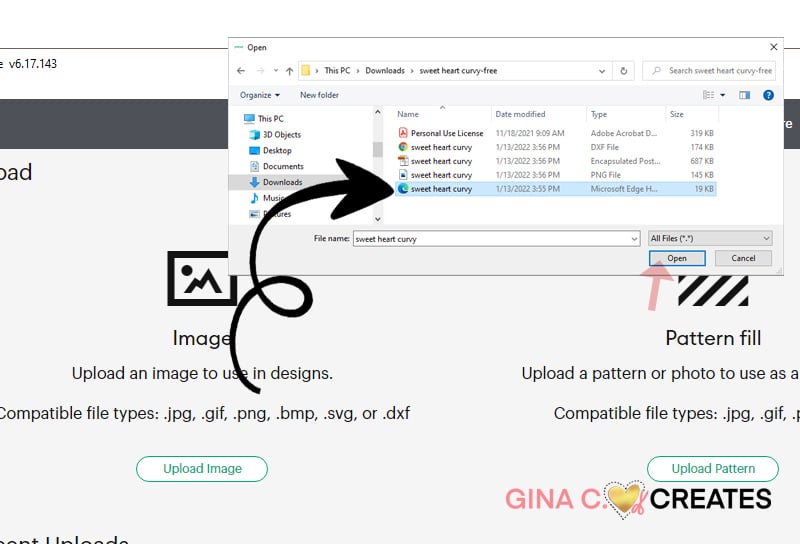
Open up Cricut Design Space and start a new project. Click upload image and go to your downloads folder to find my Sweet Heart Curvy folder. Then select the SVG Cut file (or the HTML doc file if on a windows pc).
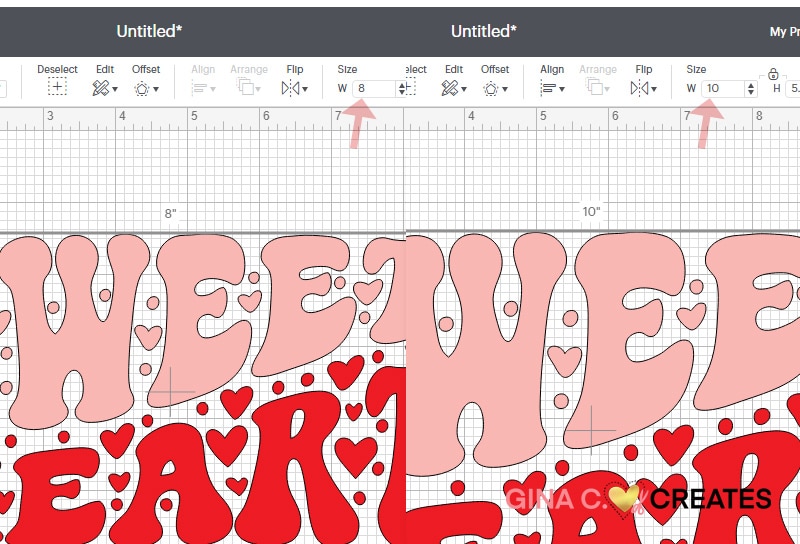
My SVG file is sized at 8 inches width. You are going to want to resize it to match your shirt size. So enter the new size width in the Size section.
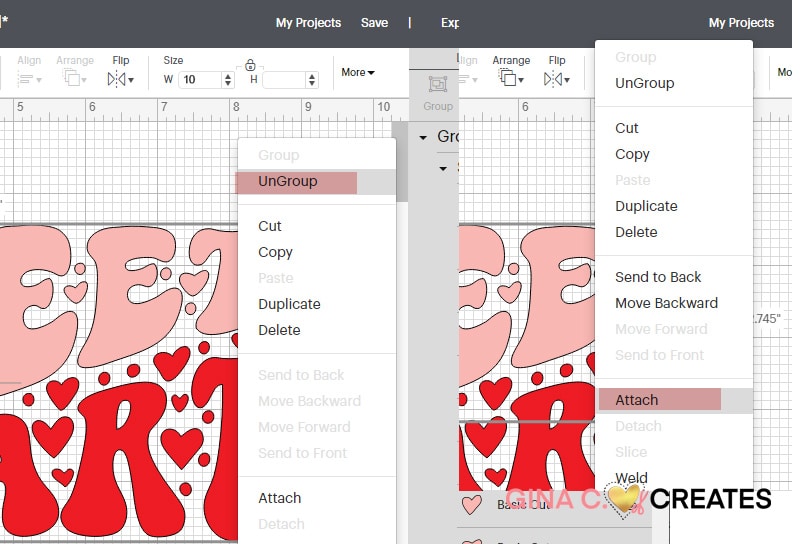
Now that you have it the size you want it, you can ungroup the SVG files to get it ready to cut. After you ungroup you can select the pink layer group and right-click and hit Attach. This will cut all the pink layers as one piece. If you don’t Attach then, all the letters and heart will be mixed up on the cutting mat. Do the same to the red layer group.
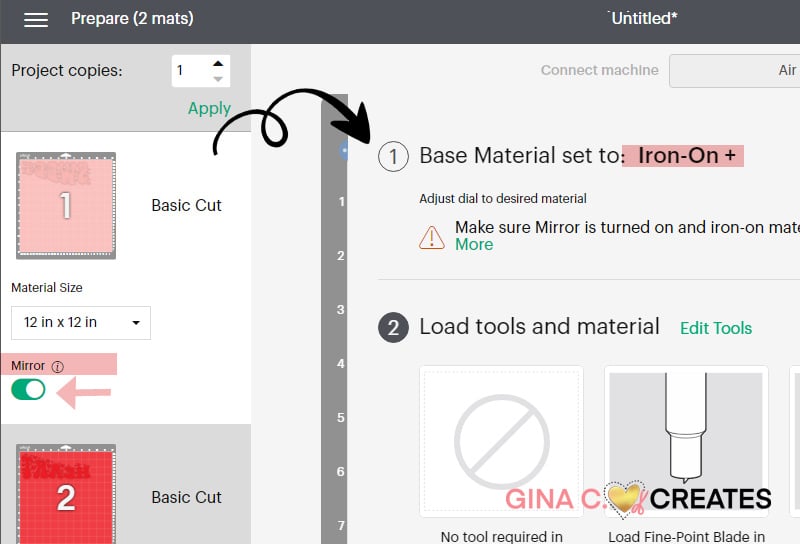
On the next page after you click MAKE IT, you will need to turn on mirror, on both mats, since we are working with HTV. Turn on your Cricut and set the dial to IRON-ON+. I am using red and bubble gum pink Siser easyweed HTV from 143vinyl.com.
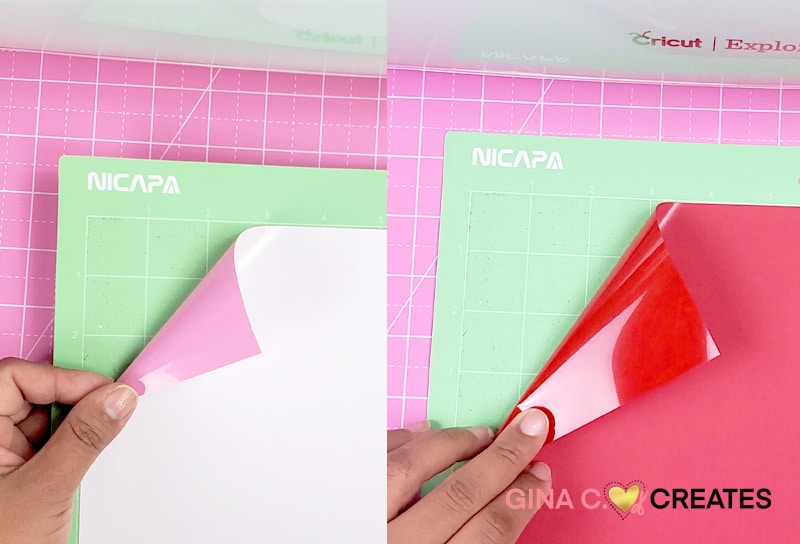
Make sure to lay your HTV/iron-on vinyl shinny side face down on your mat. Load each mat into your Cricut and cut.
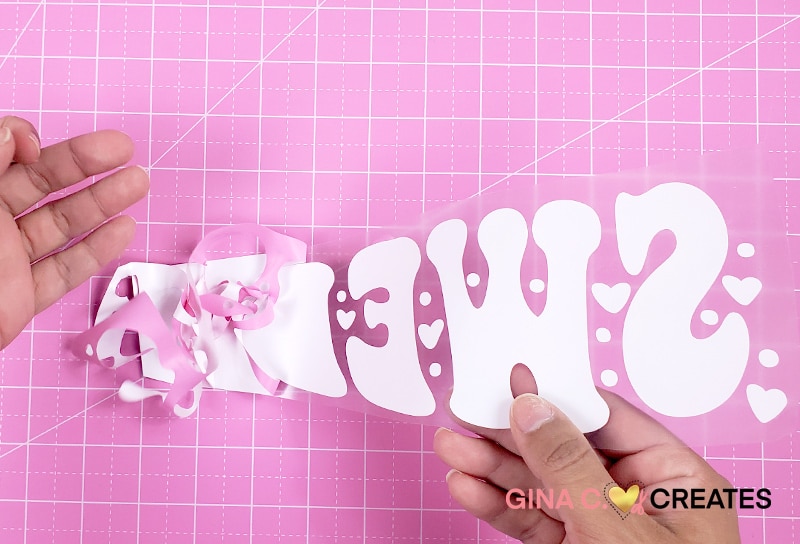
Next, you can trim and weed of your excess vinyl. Do this for both your pink and red layers.
I use this transparent ruler I got with my 24X18 pink cutting mat, to measure and evenly space my design on my garment.
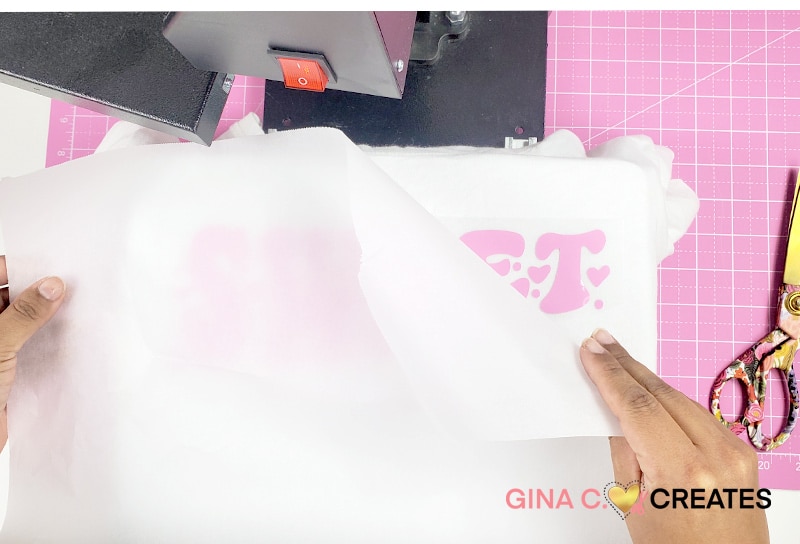
Once you have the placement correct for the SWEET pink layer, you can place it into your heat press or press down with your iron. I use a piece of parchment paper to protect my design and shirt. I use my heat press on 350 degrees and press for 15 seconds at a time. I press a total of 3 times for each layer.
For my second press, I take off my clear transfer tape off and place my next layer on.
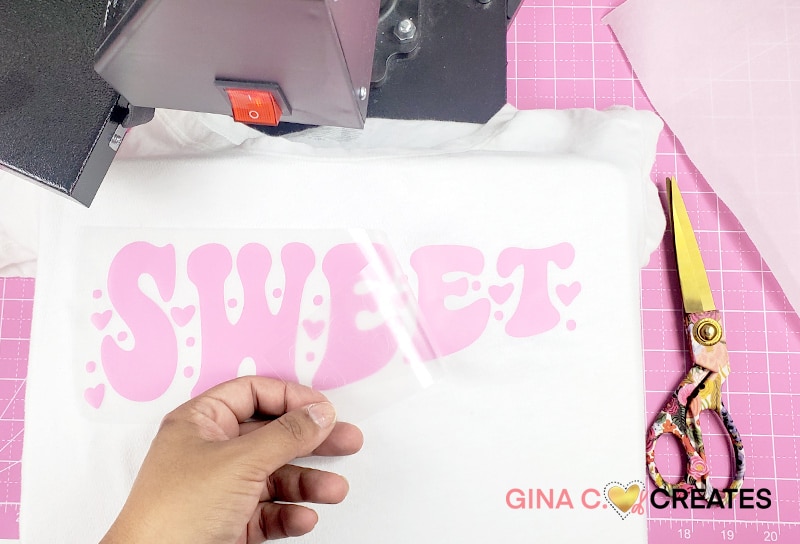
I press each color layer separately, so I don’t have any vinyl over lap on the clear transfer sheets.
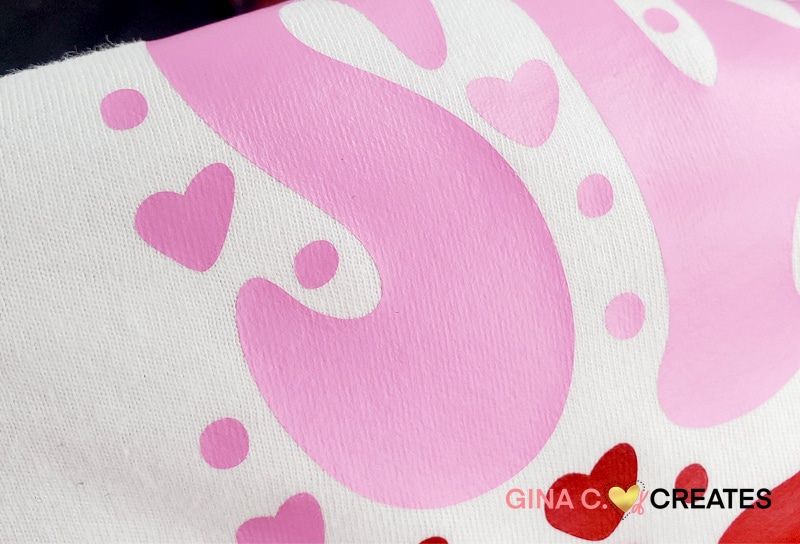
Make sure you press firm enough, so you can see the texture of your material through the vinyl. This is an important step, so your vinyl doesn’t lift up after washes.
I hoped you enjoyed this tutorial on how to make a Valentine’s Day shirt with your Cricut! Don’t forget to join the Gina C. Creates community and become a member to enjoy my free SVG Files.
Visit each link below to download more Free Valentine’s Day SVG Files.
Please share this post to Pinterest to help other crafters find my free SVG Files!