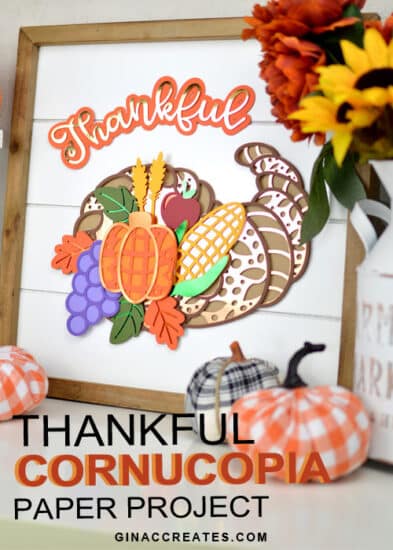
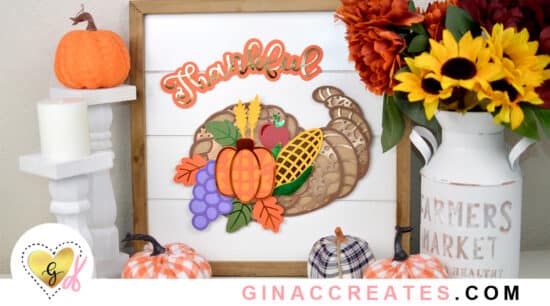
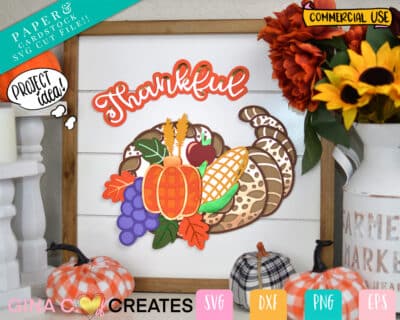
Cornucopia Thanksgiving Cricut Project with SVG Cut File
Hello Crafters, you are in a treat today! Let’s celebrate the fall season, by creating a Layered Cornucopia Sign for Thanksgiving! In this post I will show you the steps to make this fall Cricut project! You can find more layered mandala designs here!
I designed this Cornucopia SVG cut file on my iPad Pro, where I drew it by hand and then converted it to a SVG in Adobe illustrator on my desktop. Now I get to share this Thankful Cornucopia SVG with you, my fellow crafty buddies!
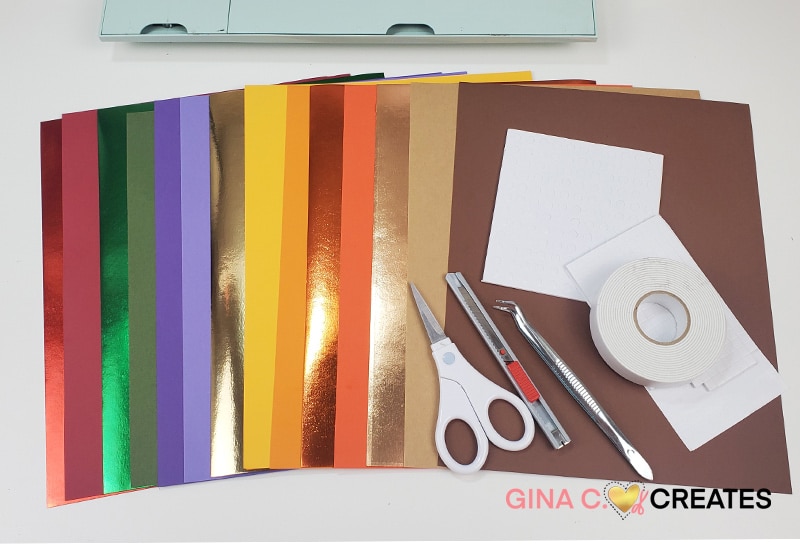
Here is a picture of the color cardstock I used. I used a totally of 14 colors and 5 of them are chrome colors, Here is a list of the Chrome colors I used: Chrome Red, Chrome Green, Chrome Gold, Chrome Orange, and Chrome Rose Gold. For the Solid colors: red, forest green, purple, lavender, yellow, light orange, orange, tan, and brown.
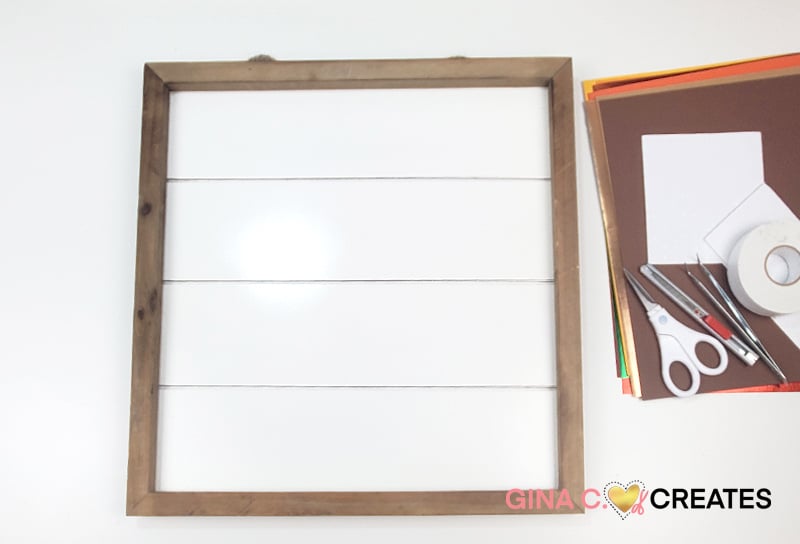
I sized the SVG to fit on a 14.5×14.5 inch surface, however my sign is 16×16 with the boarder. I got it at my local Walmart in the craft aisle. You can find similar signs here.
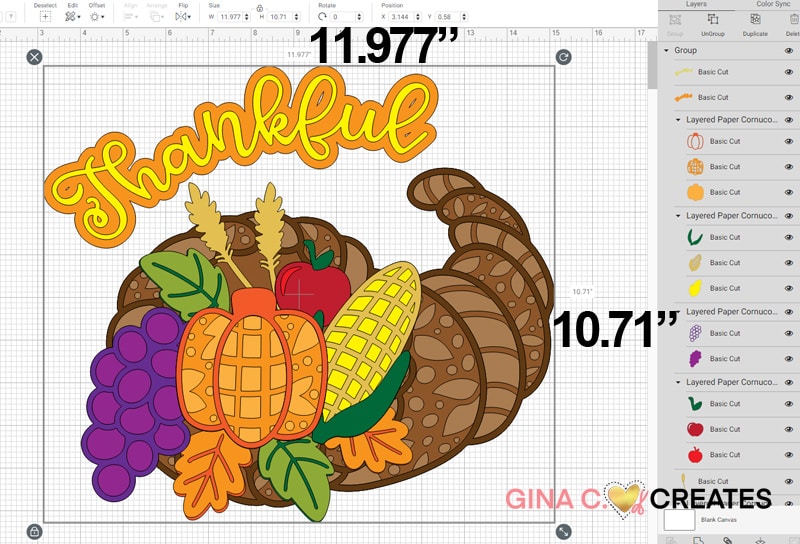
Open up Cricut Design Space and upload the SVG file type. If you have trouble uploading the correct file for layers, please watch my tutorial video below for the full instructions.
Once you have the Cornucopia SVG uploaded to Design Space, make sure it is the correct size. Ever since March 2021, Design Space’s new updates doesn’t always upload an outside SVG the correct size. So you will have to resize it to the measurements below. If you would like to make the project just like mine you the SVG is ready to click Make it. Or you can resize it to fit your sign and change the colors to your liking.
Place the cardstock on your mat and hold it in place with painters tape. This is optional, depending on how sticky your mat is. Cut on Cardstock for regular 65lb Cardstock and cut on Cardstock + for Chrome Cardstock.
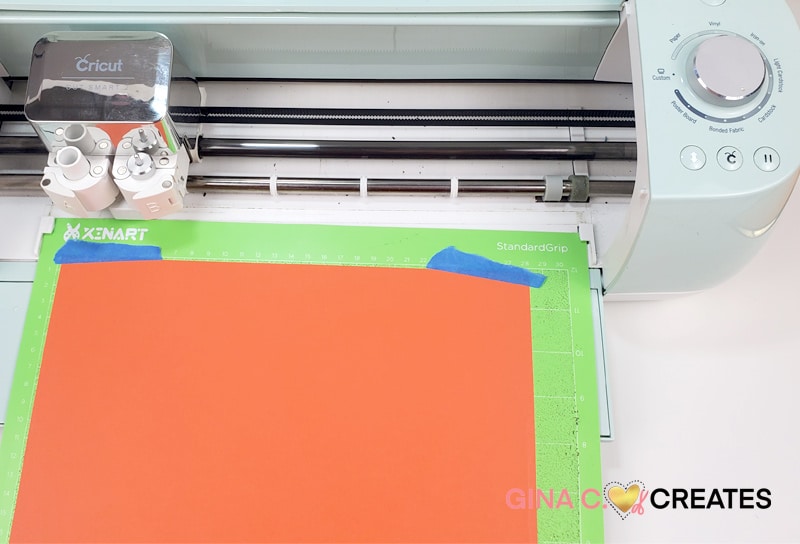
Cardstock should cut out nice and clean. If your paper keeps ripping you might have particles on your mat. Make sure it is a clean mat.
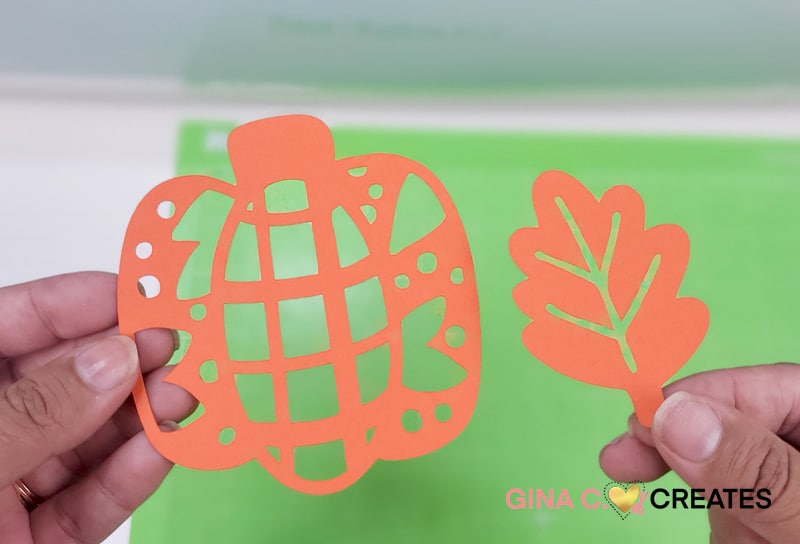
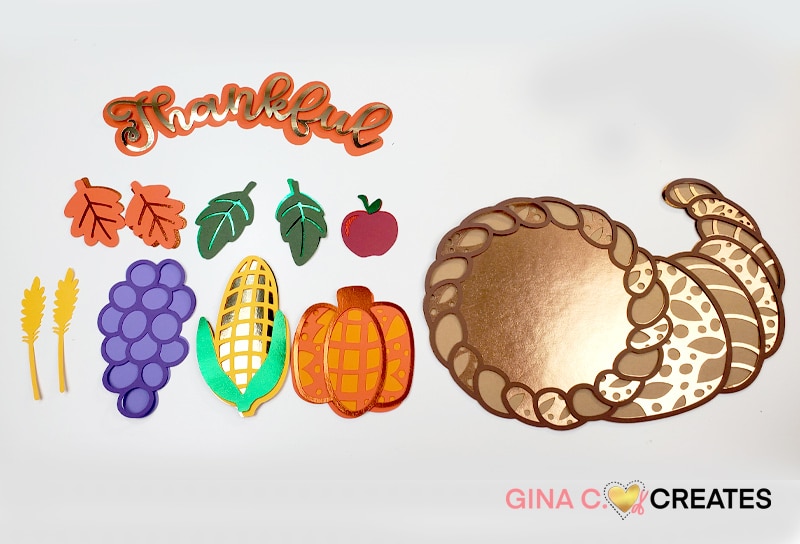
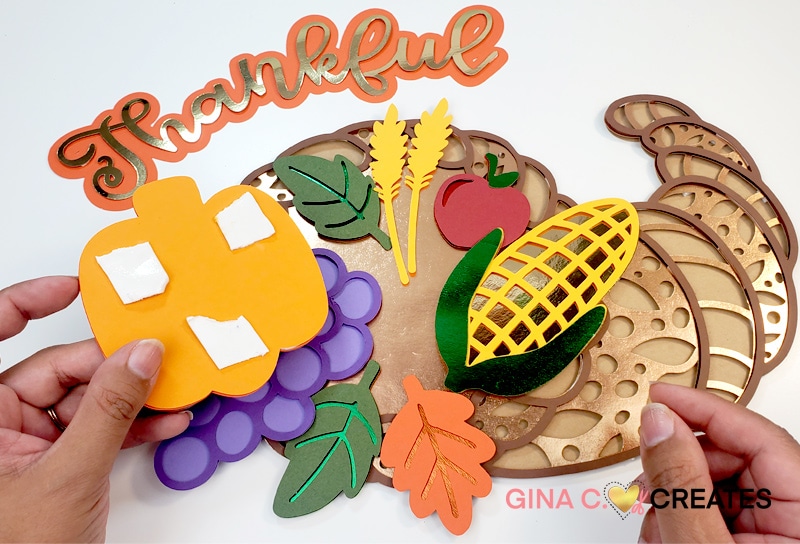
Once you are finished cutting out all your cardstock, you can begin to assemble each item. I like to lay out all my cut outs and organize them by each item. Here is a picture of everything laid out so you can refer to it when making you fall project. You should have a cornucopia horn, Thankful word, pumpkin, corn, apple, 4 fall leaves and 2 straws of wheat.
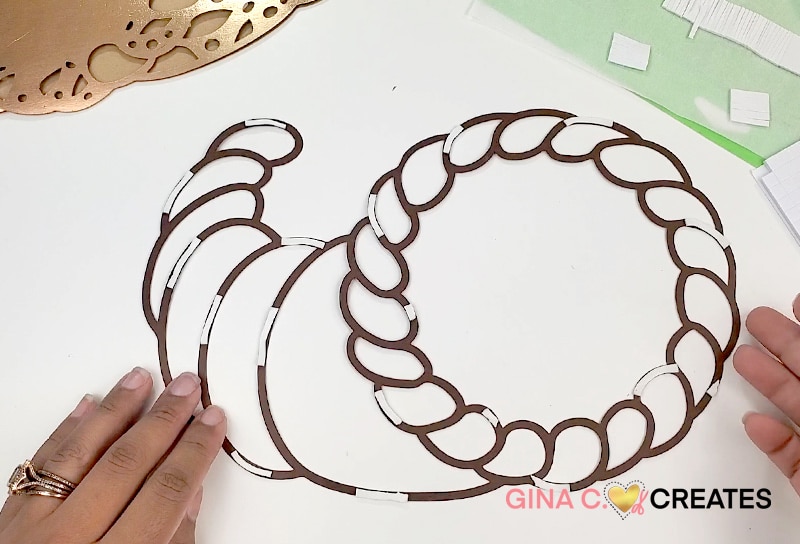
Place foam tape on the back of the top layers and arrange them together.
 .
.
Here is the Layered Cornucopia.

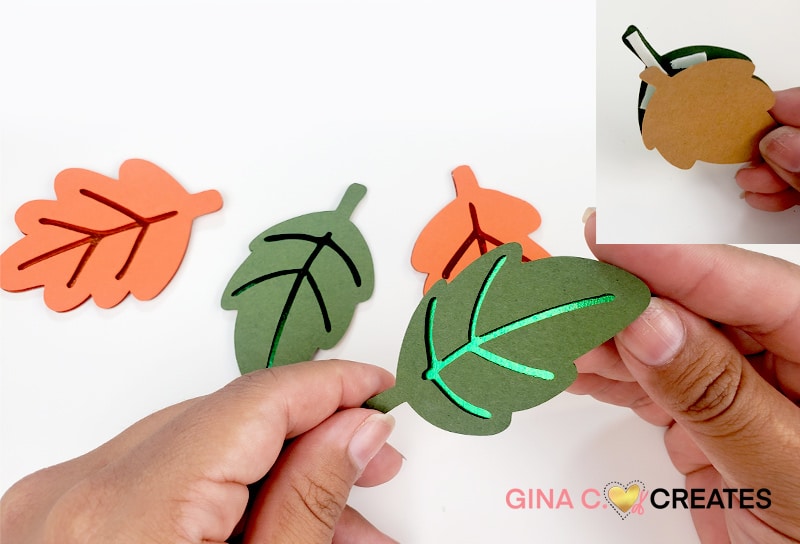
Layer the paper fall leaves, fruit & vegetables with foam tape as well.
After you have each item layered together, it’s time to tape them to the horn. You can place them however you like or use my picture for reference.
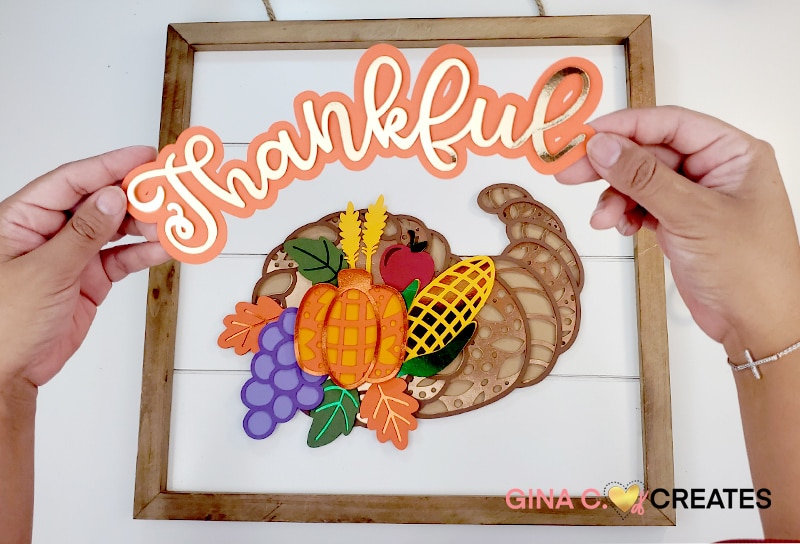
Next, you are going to attach the paper cornucopia to your sign. I used foam tape for this as well but depending on your frame you can use hot glue.

Place the Thankful wording above the Cornucopia, now you a cute Fall Project for Thanksgiving! Make sure to watch my tutorial video below for full instructions!
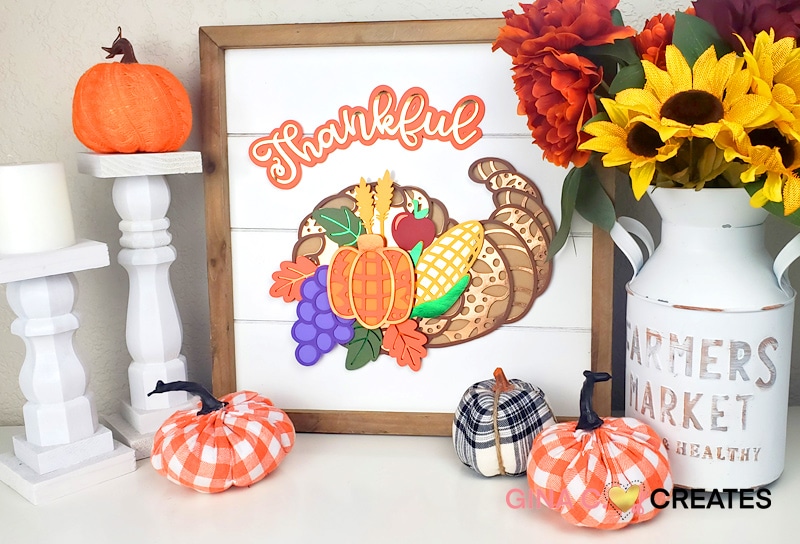
Enjoy your Layered Cornucopia sign for Thanksgiving! I hope you enjoyed this tutorial and download my fall Project today!
Watch this video on YouTube!


3 Responses
This file is so beautiful!! Sarah from Craft with Sarah featured your design & that’s how I found you. 🧡
That’s awesome! So glad you found my site!
Thank you this is so beautiful can’t wait to make it. Our Thanksgiving was last Monday however I’ll still make it once my craft room is finished.