
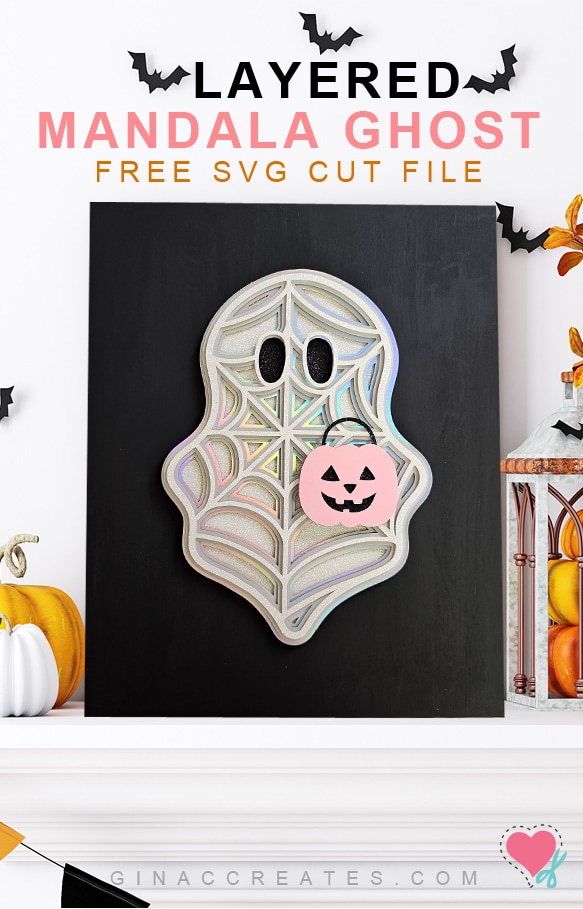
Hey there crafty friend, today I want to share a layered paper craft with you for Halloween! You can use this layered paper ghost in so many ways to decorate your home or as a party decoration! Add the paper ghost to shadow boxes, frames, wreaths to make a adorable Halloween sign! Check my layered paper crafts for more ideas to use with your Cricut!
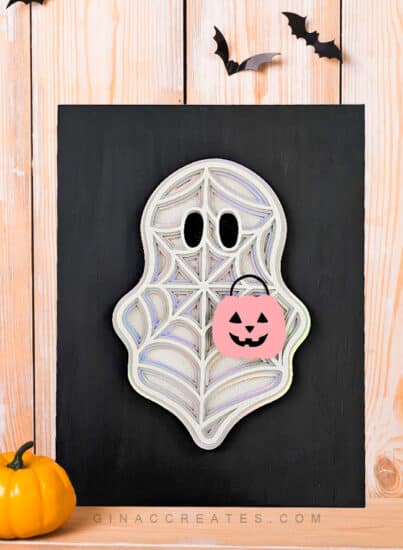
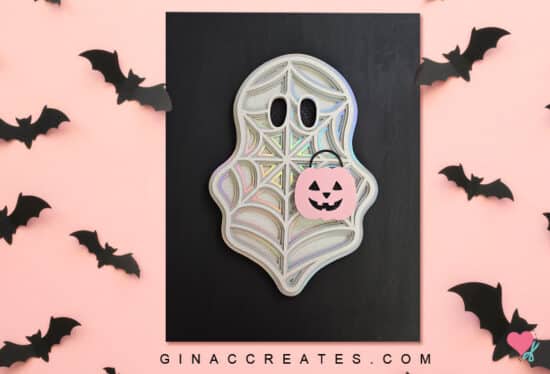
I created this layered mandala ghost for home decor sign using 11×14 inch wood painting panel. It makes a gorgeous sign for Halloween decor! You can download the free layered ghost SVG file below!
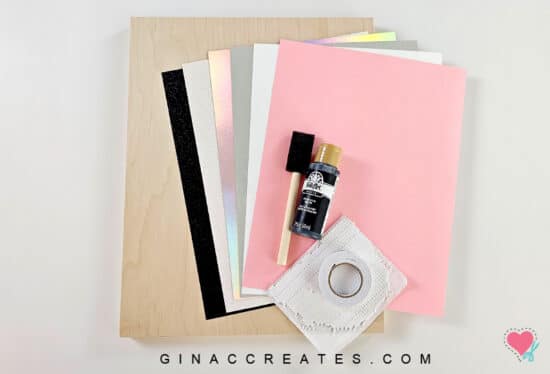
Here is a list of supplies you will need to create this 11×14 sign. However, feel free use a frame of your choice!
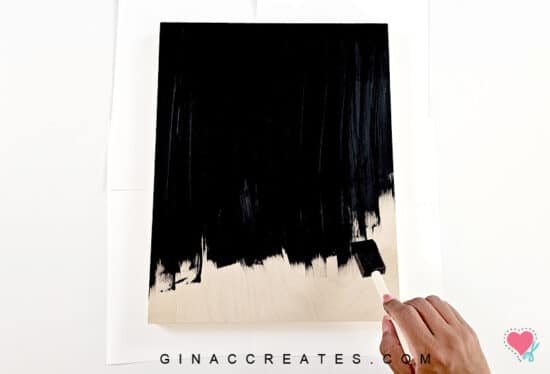
Paint the wood panel with thin coats. Make sure to cover all sides that are exposed. Let completely dry before using.
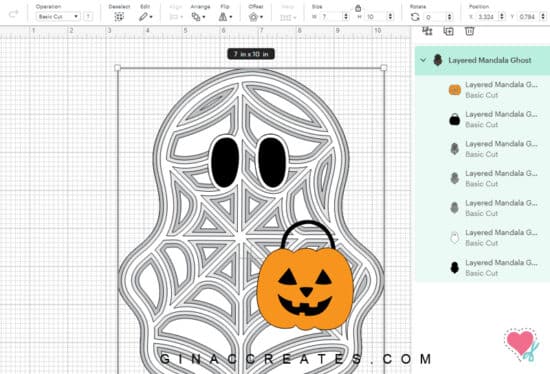
Open up Cricut Design Space, then select the SVG file type in the download. Save it to your library and add it to your canvas. If you need help finding the SVG file type, please read my FAQ. Ghost over all size should be 7×10 inches to fit on the 11×14 surface. Please resize to fit your project!
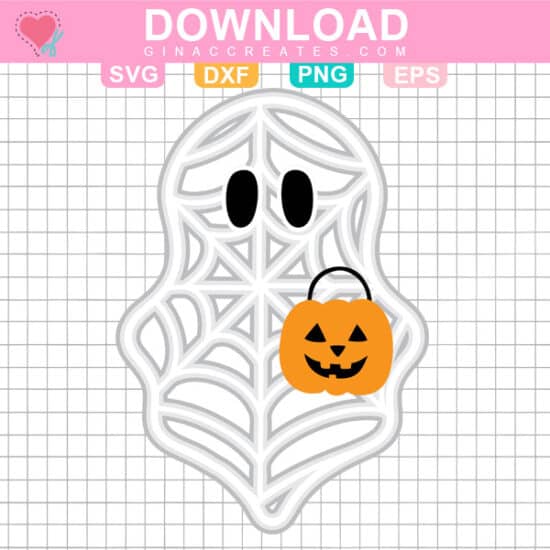
This Ghost free SVG is ready to cut if you don’t want to change the colors.
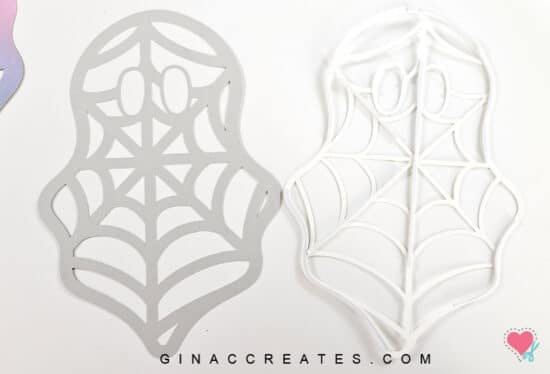
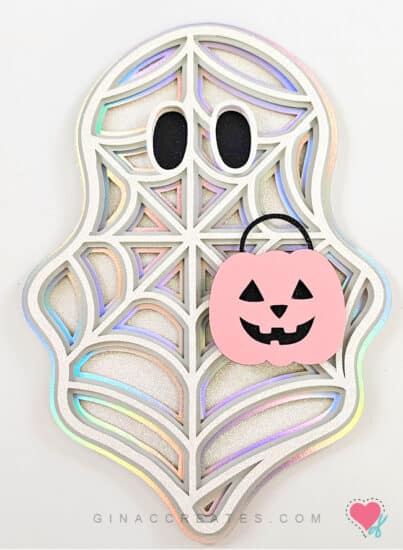
Once all the layers cut out, we can begin to assemble! Take a look below to see the order of how the layers are stack.
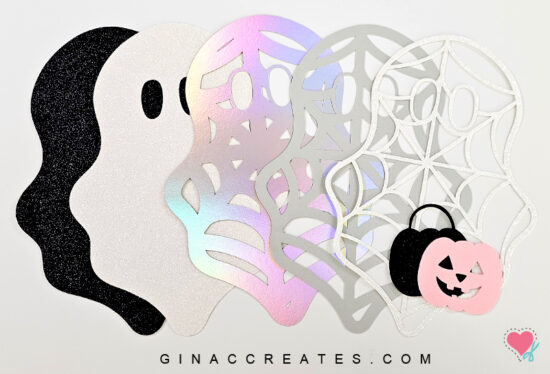
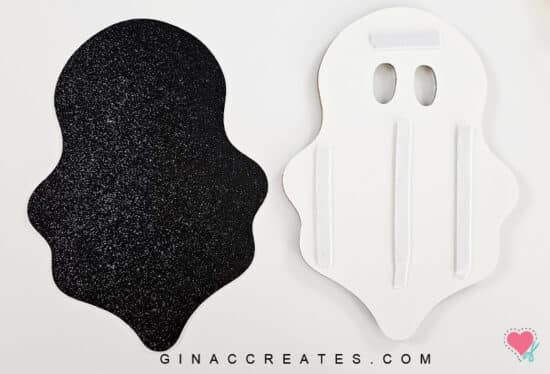
Use foam tape on the back of each layer. If you don’t have thin foam tape you can cut it into strips using a cutting blade. The white top layer is placed on top of the gray cut out.
The gray layer is placed on top of the holographic layer.
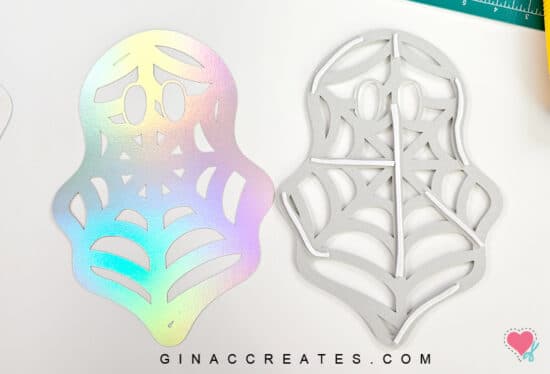
And the holographic layer is placed on the glitter white cardstock.
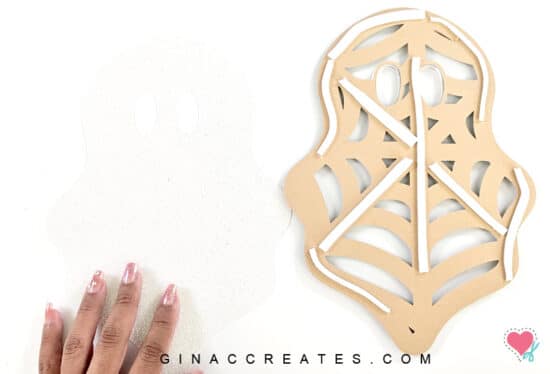
Next, place the white layer on top of the glitter black layer.
Layer the pumpkin bucket together with foam tape as well.
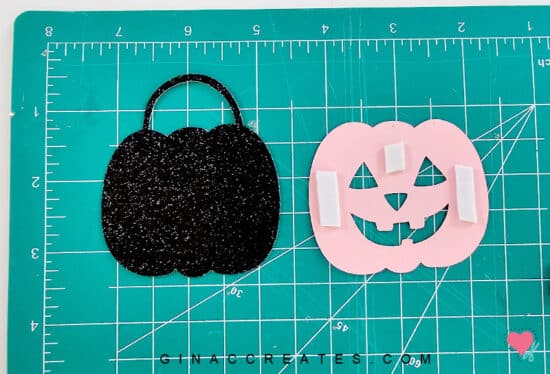
Place the pumpkin bucket on the ghost anywhere you like.
Use more foam tape to stick it to the center of the black wood panel. That’s it! Time to enjoy your cute layered ghost Halloween sign!! Try adding your own text to the sign, to make a greeting message. Thank you so much for visiting, I hope you enjoy this Halloween craft, let me know how you will use this cute little ghost!!
Love cute ghosts? Check out my viral Dollar Tree Ghost DIY, the most affordable way to make Halloween decor. You may also like my DIY Ghost Earrings!
Please share post to Pinterest, by using images below, to help other crafters find this, and it also helps me keep my SVG files FREE!


7 Responses
THIS IS SO DARLING.
So cute! Can’t wait to make it!
Tqvm gina
This little ghost is SO STINKIN’ CUTE! I downloaded it and resized it for a 5″x7″ card. Then turned it into a side shaped card. PLUS, I used glow in the dark paper for the back layer. It turned out so CUTE! My grandchildren are going to love it. I wish I could send a pic for you to see.
Thank you so much for posting this freebie, as well as all your others.
What a great idea! Sounds so cool!
I click download and it’s this really long looks like html code. How can I download it? It’s just me I’m not selling theme I’m making one for my house.
Try opening it in a new browser window. It shows code when you connect from a app like facebook, Pinterest or tiktok.