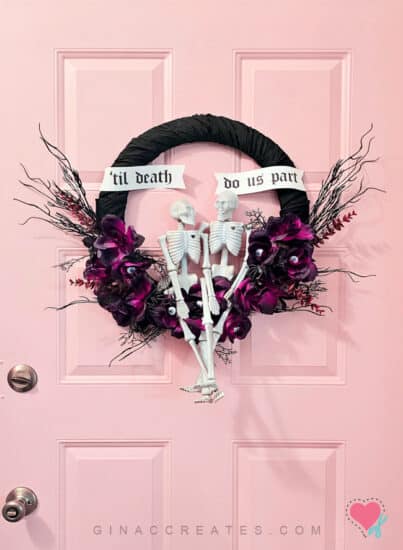
Spooky season is in full bloom and I have a quick and easy DIY Halloween craft for you!! Decorate your home with this spooky but cute skeleton wreath from Dollar Tree!! This ’til death do us part couples skeleton wreath is a fun Halloween twist for a romantic wreath!
You can grab most from the supplies from Dollar Tree store, with the expectation of the paper banner ’til death do us part, that you can print out using my free banner printable. The wreath supplies from Dollar Tree cost $15 plus tax which is pretty affordable for a 18 inch wreath that cost any where from $30 to $80.
Tools to Use

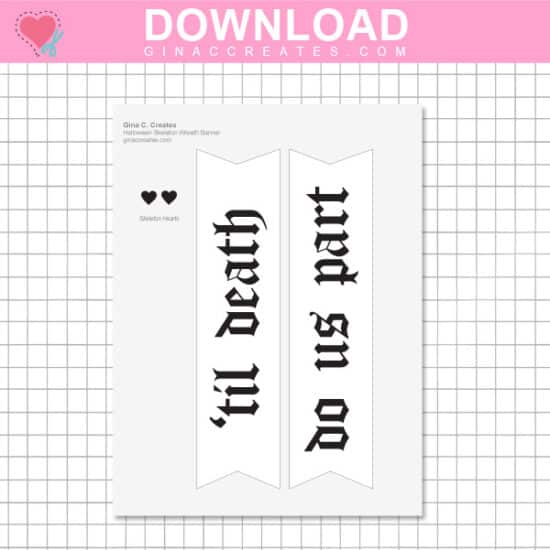
Below, I will show you quick steps on how to make this Dollar Tree Halloween Wreath! You can also find the full instructions in my video tutorial. Grab the free ’til death do us part printable below to complete your skeleton wreath. However, the banner is totally optional, you can chose to use it or not. The skeleton wreath will still look great with or without it.
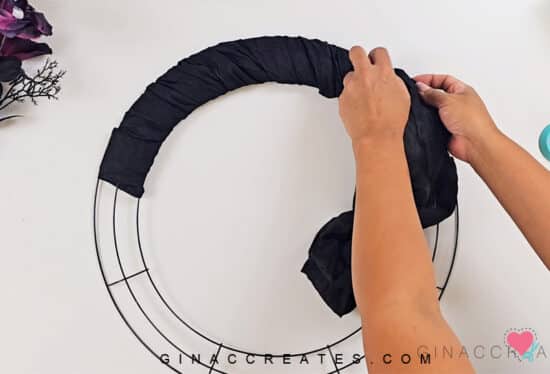
Start with wrapping the black scarf material around the top half of the wreath ring. Use hot glue to secure it into place, hiding the glued edges in the back.
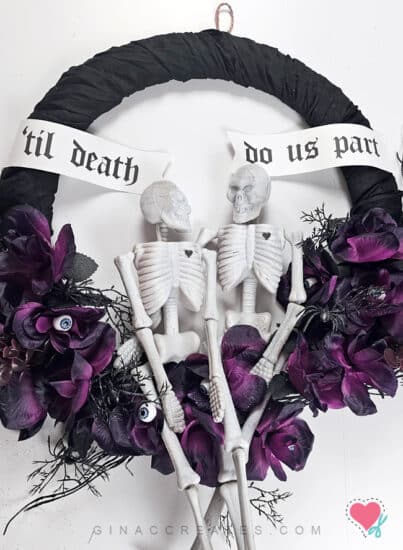
Next, clip off all the rose stems, glitter branches and red eucalyptus, so they are detached from the branch. Place 4 roses in each of the wreath rings sections on the bottom.

Twist the rose stems around the rings and space them out evenly. Use hot glue to keep them from turning the wrong direction.

Now, you can add in the spider branches into the gaps in between the roses. Add the black glitter branches and eucalyptus to the sides and around the bottom, use hot glue to hold together. You will also need to add a piece of twine or ribbon to the back to hang your wreath. You can also use a wreath door hanger.

For the plastic skeletons, you will need to clip off the hanging ring at the top of the skull. Next, if you prefer, you can give it a light coat of white paint. this is optional. Hot glue a popsicle stick to the bottom of the skeleton’s back.

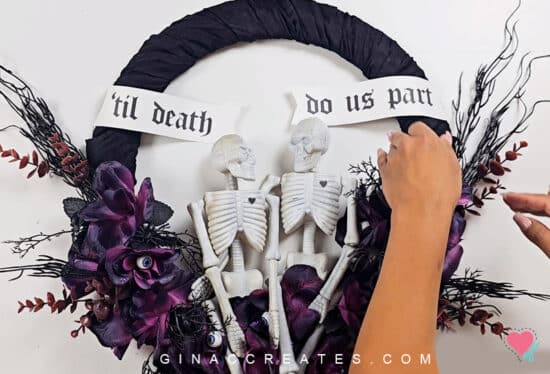
Make sure to print out my ’til death do us part banner, if you wish to add it to your wreath. The printable also comes with mini black hearts you can glue to your skeleton’s chest.
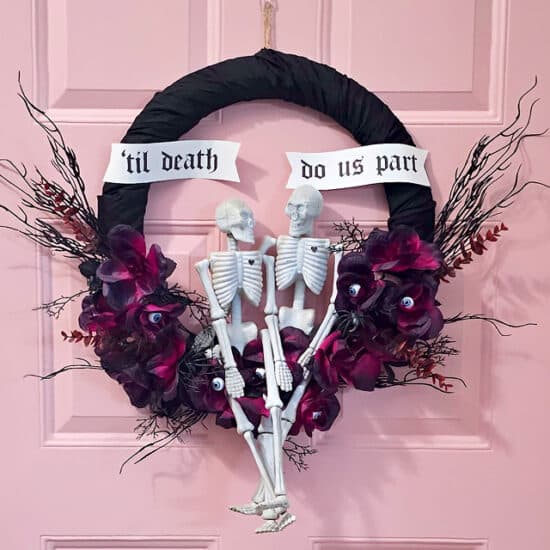
Place the skeleton stick behind the top ring and slip the stick in the bottom ring, to keep it from falling over. Use hot glue on the sticks to keep them from moving. Also, apply hot glue under the skull to keep the head from turning.
Hang your wreath and enjoy!! I hope you like my ’til death do us part Halloween Wreath from the Dollar Tree! Please let me know down in the comments if you are going to make this $15 DIY wreath!
Don’t forget to watch the full tutorial video below and download the free banner printable!