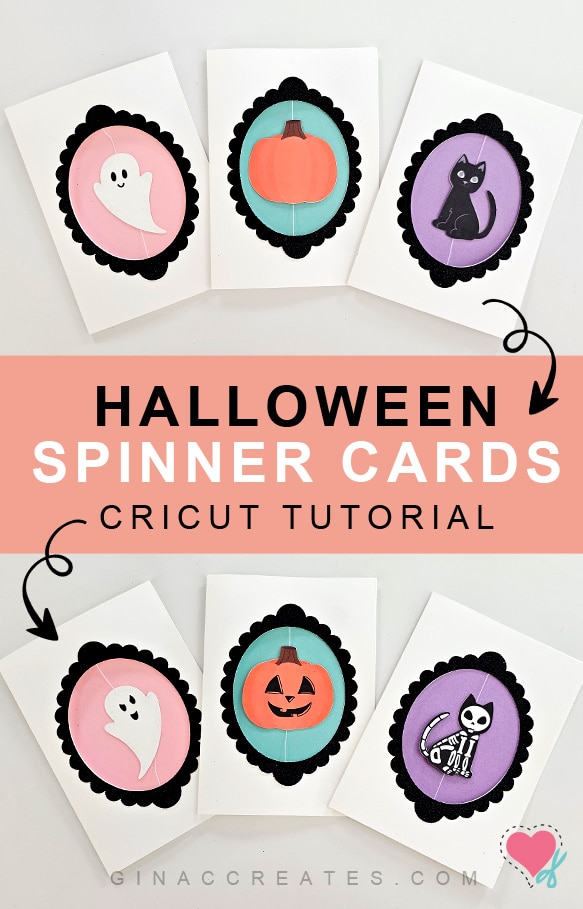
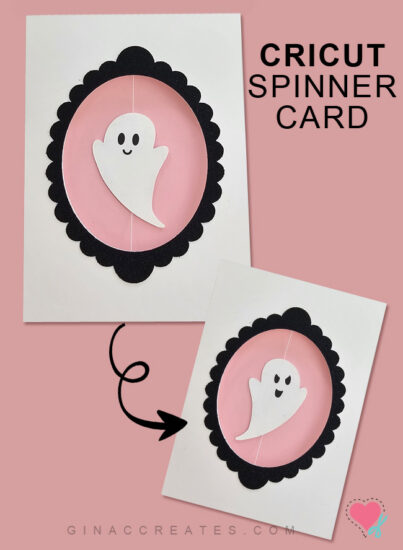
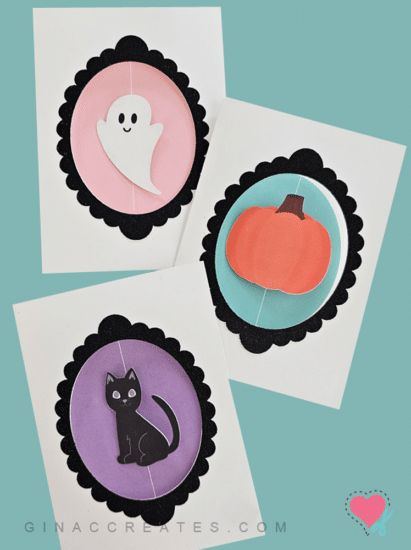
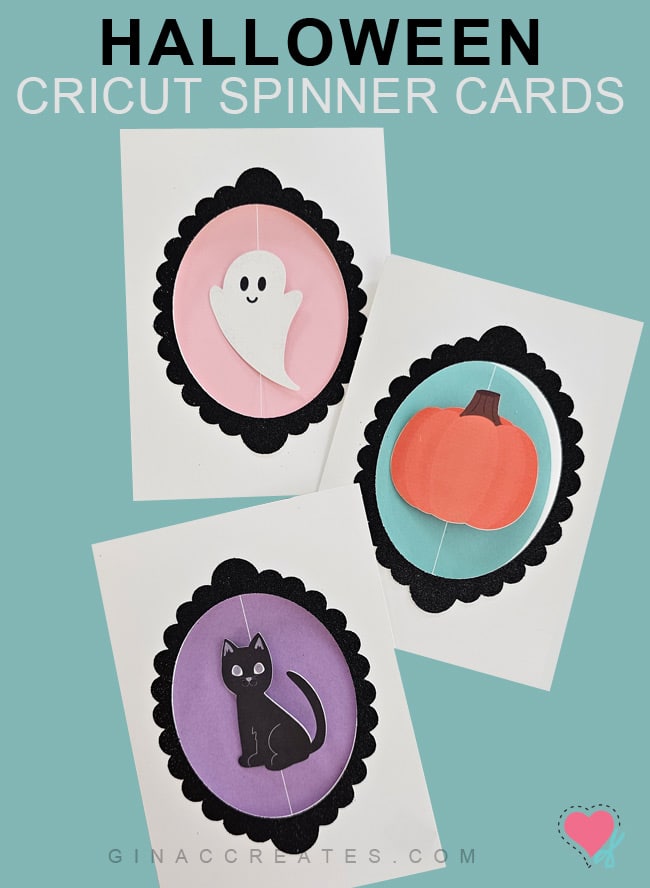
Hello Crafters, have you ever wondered how to make a spinner card? Well, I have the cutest Halloween tutorial for you! I will show you how to make my easy Halloween Spinner Card with my template and a Cricut! Watch my tutorial video at the bottom of this post!
These Halloween cards will be a fun project for the whole family! Have the kids join in on the fun, when assembling the Halloween spinner card! My daughters enjoyed playing with these and watching them spin!
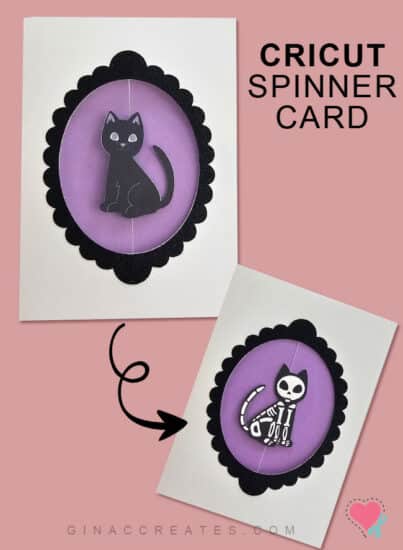
You might be asking what is a spinner card? Also, known as a spinning card. It is a greeting card that has a spinning element when you open the card. Usually, spun by a piece of string or twine. A spinner card will have a cut out for the moving element to be able to spin without getting caught.
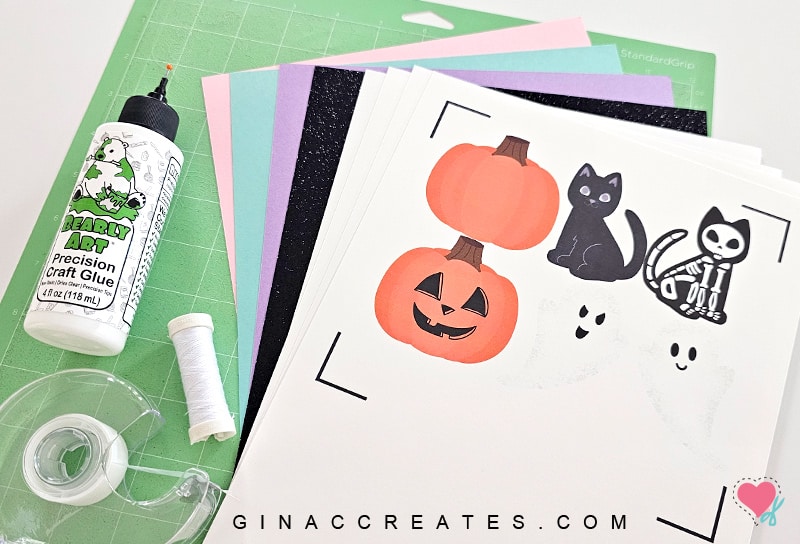
You can make a spinner card with cardstock, paper and string. You can create your own template and cut everything by hand, or you can use dye cuts. Best way to create a spinner card is by using a cutting machine with a SVG template.
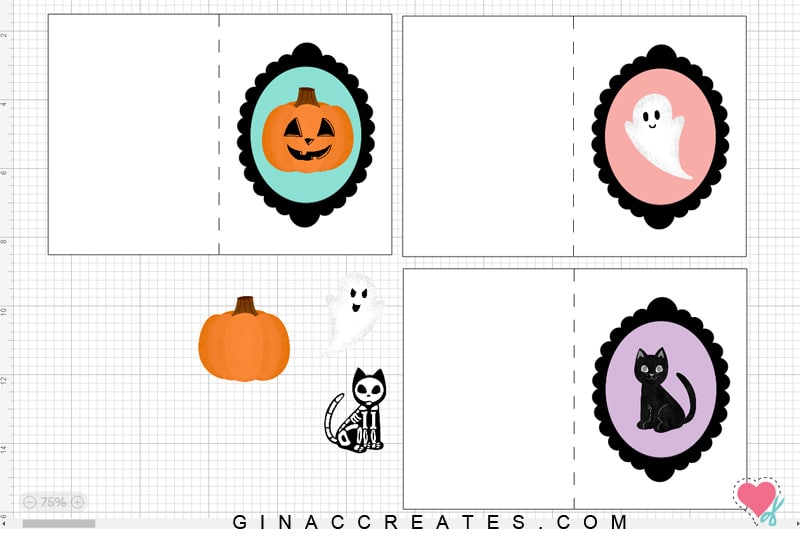
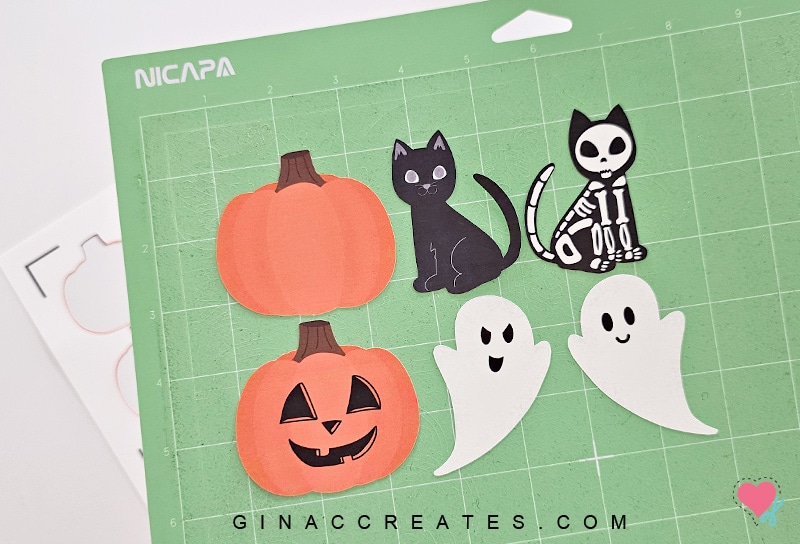
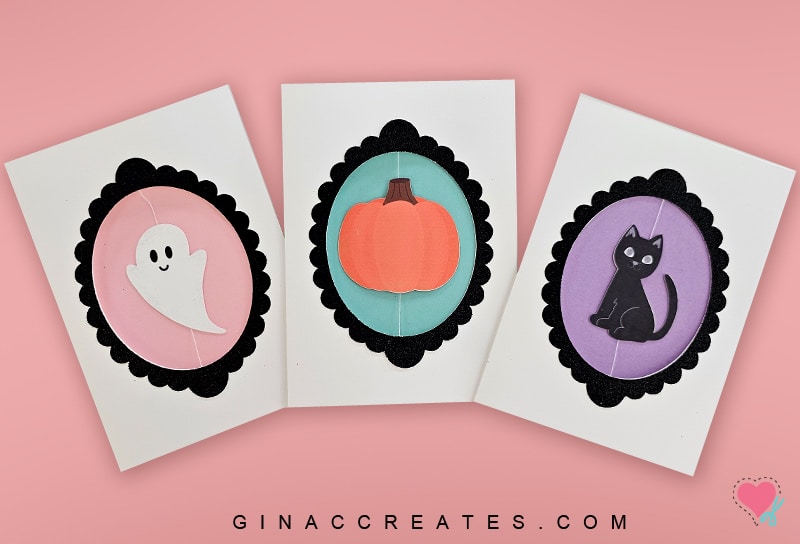
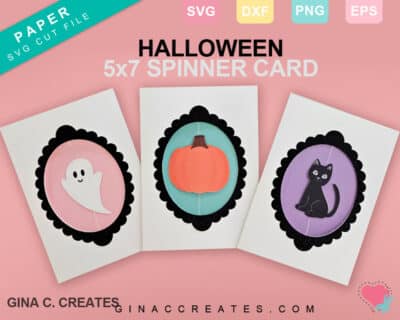
Lucky for you, I created a spinner card template that you can use to create our own card! I also included 3 different elements you can use as your spinner. This Halloween Spinner Card Bundle comes with a card template to make a 5×7 card, and a two-sided black cat, pumpkin and ghost!
Once you have my SVG bundle downloaded, extract all files and save to the same location. Inside the folder, there are another 2 folders with the card template and another for the Halloween spinner PNG images.
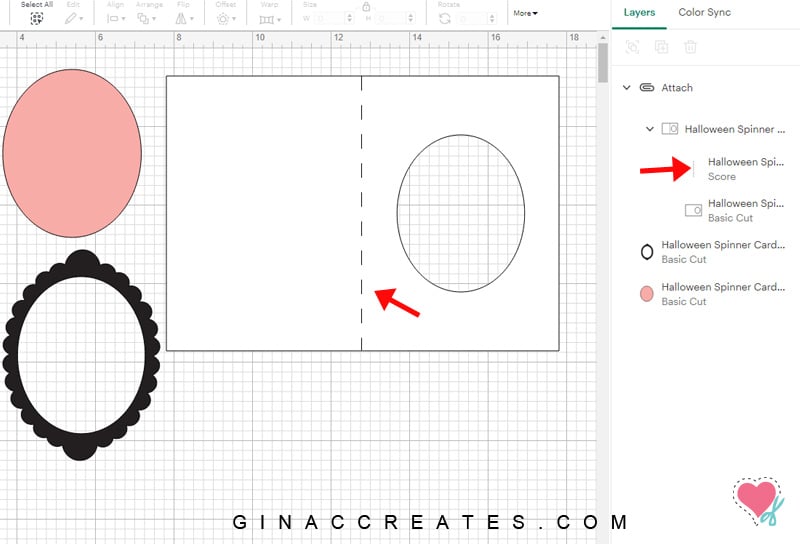
Next, open up Cricut Design Space, and upload the Halloween Spinner Card Template SVG from the Card Template folder. The SVG might display as a HTML DOC if you are on a Windows PC. Upload that file to Cricut Design Space.
If the card template SVG doesn’t upload the correct size of 10 inches in width, please resize template, before you ungroup.
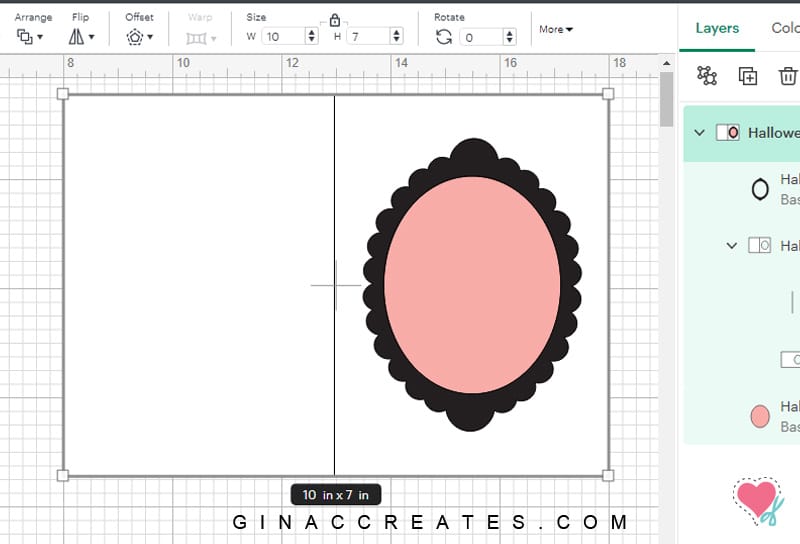
Select the basic cut line and in Operations, change it to a score line.
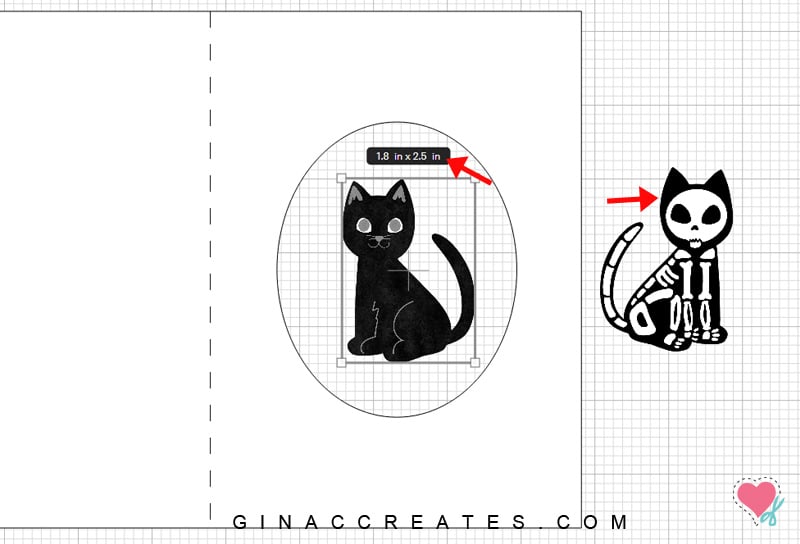
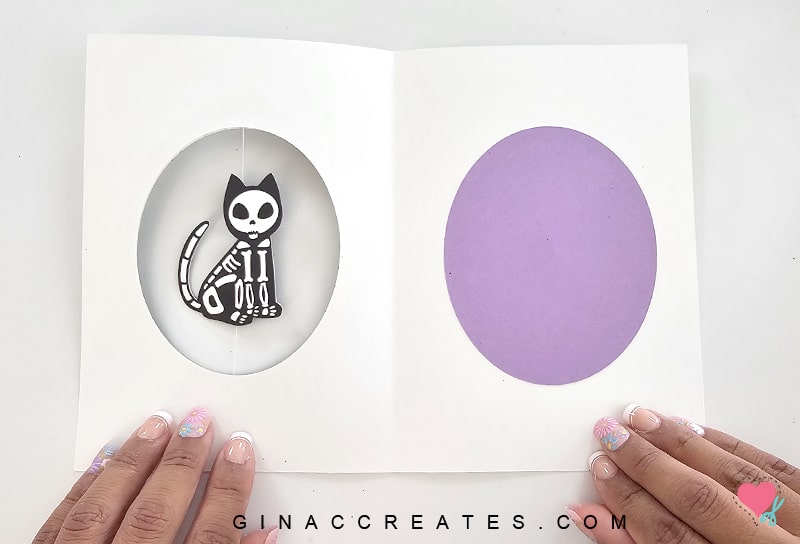
Next, upload the black cat PNG and the black cat skeleton PNG to Design Space. Save them as a Print then Cut image and add it to your canvas. Resize both cat images to 2.5 inch in height. Make sure the two images are exactly the same size because they will be glued back to back. No need to mirror the images, as I already have them mirrored for you.
You can repeat the process for the pumpkin jack o’lantern and ghosts spinner cards. For detailed steps, please watch my video tutorial below.
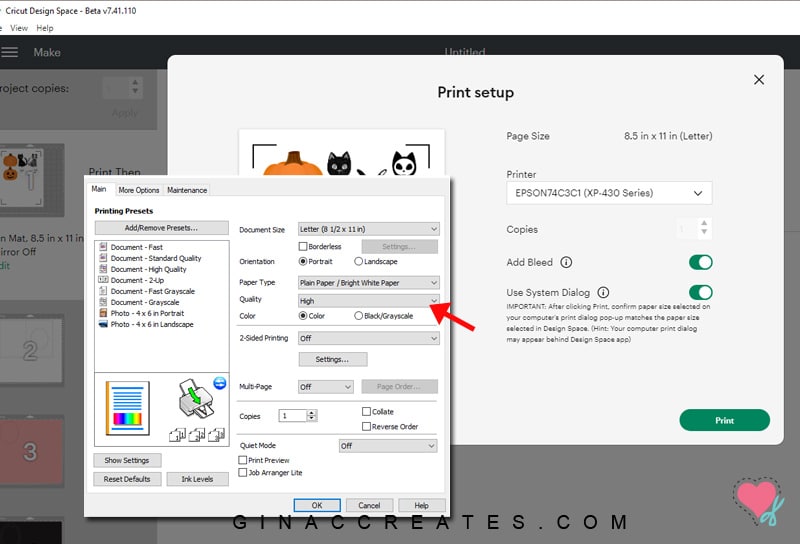
Once you have your card ready to cut, you can send your print then cut to the printer. leave bleed on and turn on System Dialog. Change the printer settings to a high quality print.
After your Halloween spinners are done printing, lay the page on your mat and cut on cardstock+.
Next, finishing cutting out the rest of the mats. Make sure to change your cutting dial to the appropriate setting for your choice of cardstock. I used cardstock+ for my regular 65lb cardstock and a custom setting for my glitter cardstock.
To take the cardstock off the mat without curling or ripping it, flip the mat over and roll it back, while keeping your other hand down on the cut outs.

Once all the layers are cut out, you can begin to assemble the spinner card.
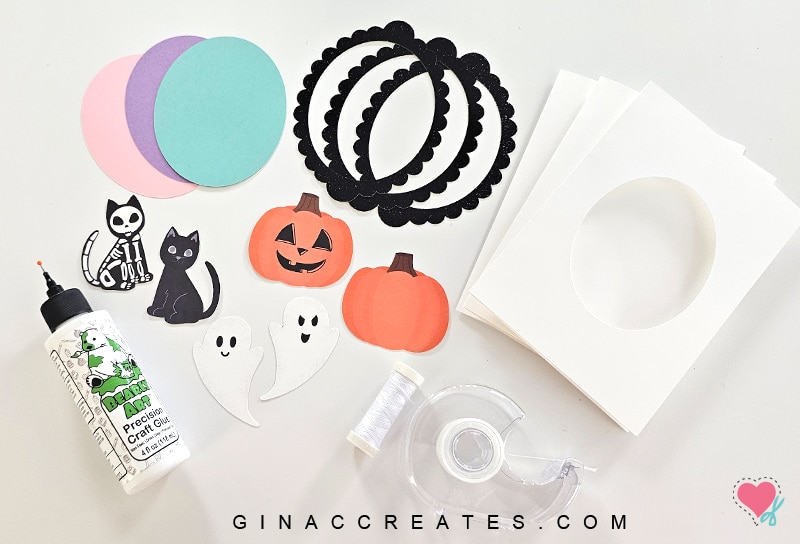
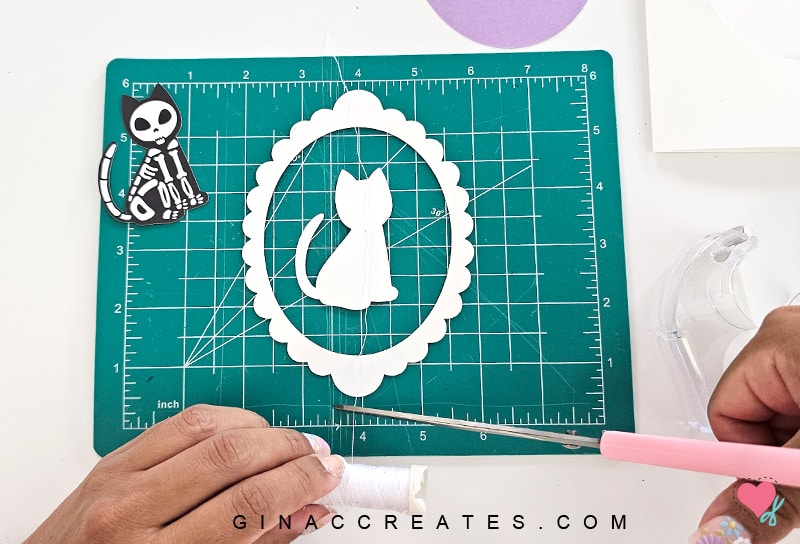
Start with the black cat spinner and the oval frame. Flip them over face down and cut a piece of string that is a little bit longer than the frame top to bottom.
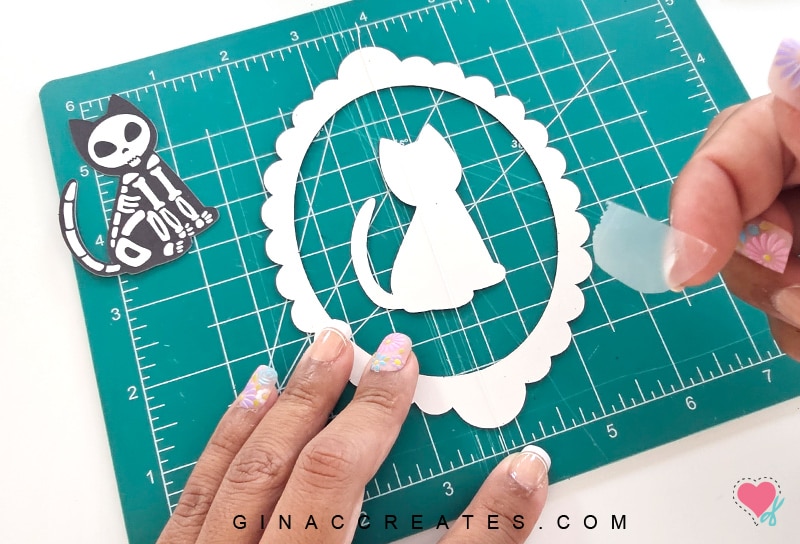
Use tape to hold the string in place on the frame, make sure to tape it down as tight as you can. It is easier when the string is longer, you can always cut them later. Also, tape down the string to the back of the cat.
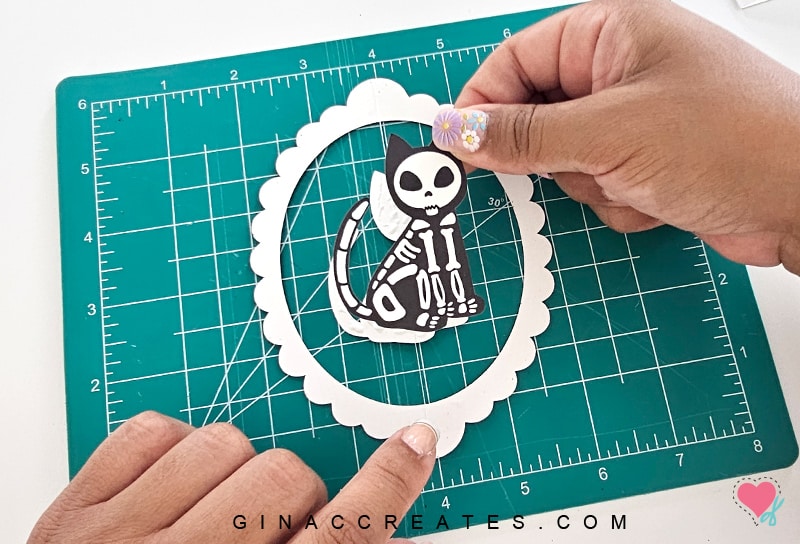
Apply glue to the back of the cat and place the skeleton cat on the back, covering up the string. Now, let it dry for a few minutes.
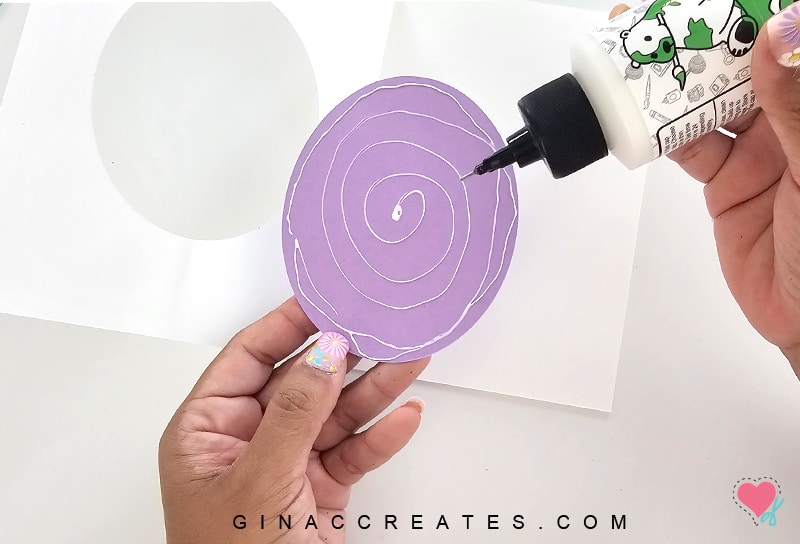
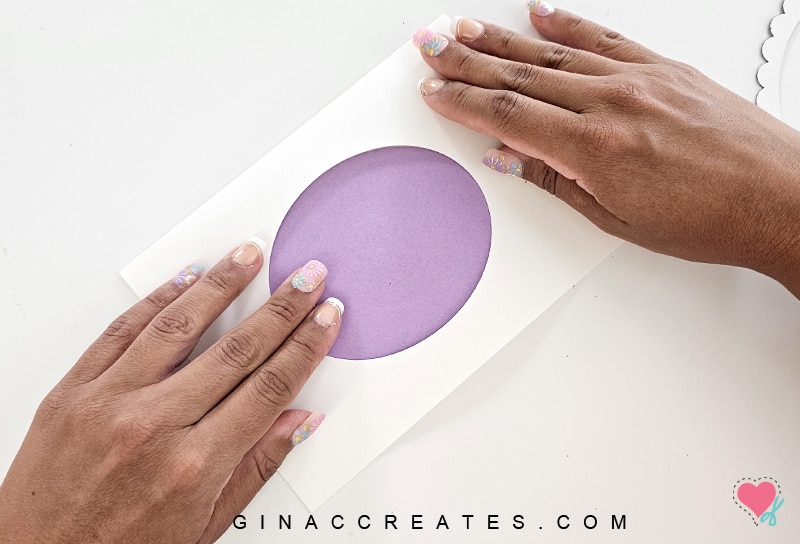
Move on to the card base and fold it down the score line. Apply glue to one side of the color oval insert.
Place it on the inside right flap, in the center. Close card to make sure it is positioned correctly and let dry.
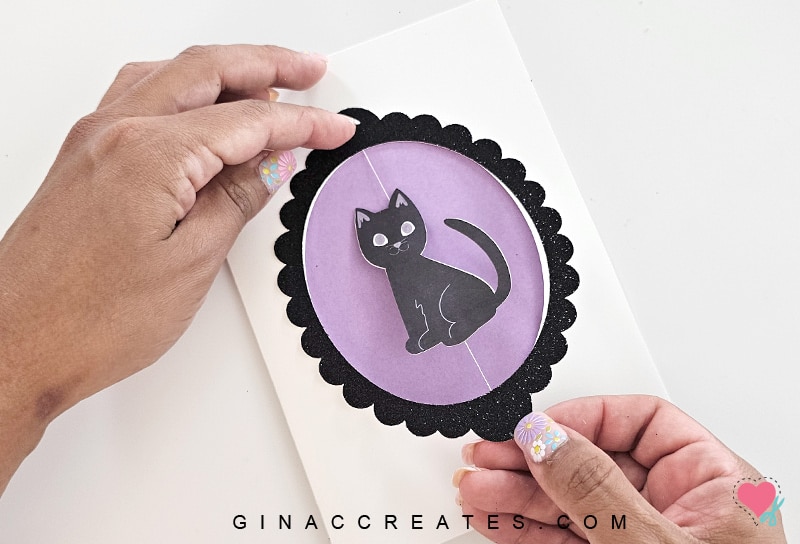
Lastly, apply glue to the back of the oval frame and place it on the front of the card, lining up the oval shapes. Let this dry for a few minutes before you start playing with it.
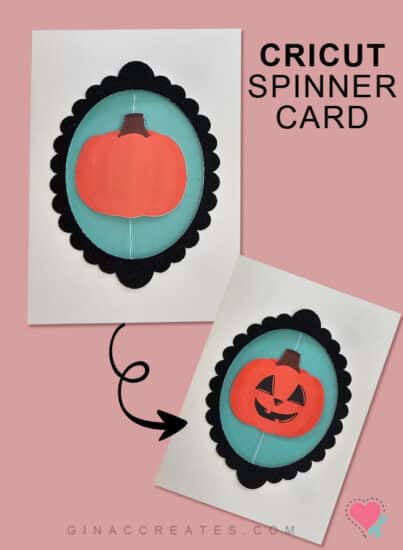
Now it is time to wind up the spinner! I spun it until I felt a resistance, I closed it and opened it to watch it spin! Please watch my tutorial video to see it in action! Download the whole bundle below, available for only 5 days! Then you can purchase it in my shop!
I hope you guys enjoyed my tutorial on how to make a spinner card with your Cricut! Make someone’s spooky season with a Halloween spinner card! Don’t for get to wind it up before you put it in the envelope! Check out more of my Halloween projects before you go!
Watch this video on YouTube!
Please share to Pinterest, if you are able to! This is an awesome way to help others find my Halloween Spinner Card tutorial!


4 Responses
thank you the grandchildren will love them x
You’re Welcome Enjoy!
Love the cute spinner card. Your instructions were perfect!!
Glad you found it helpful! 🙂