
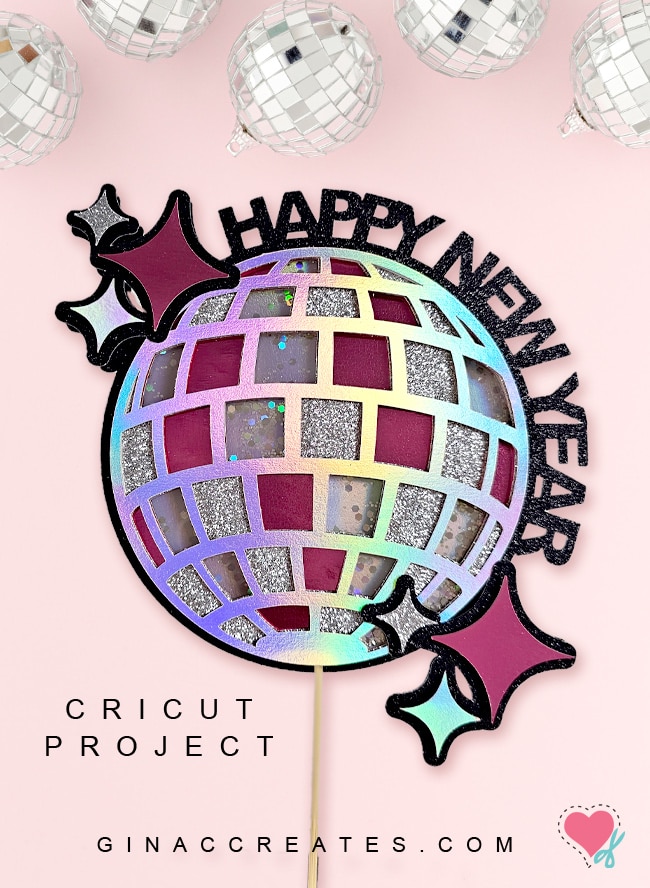
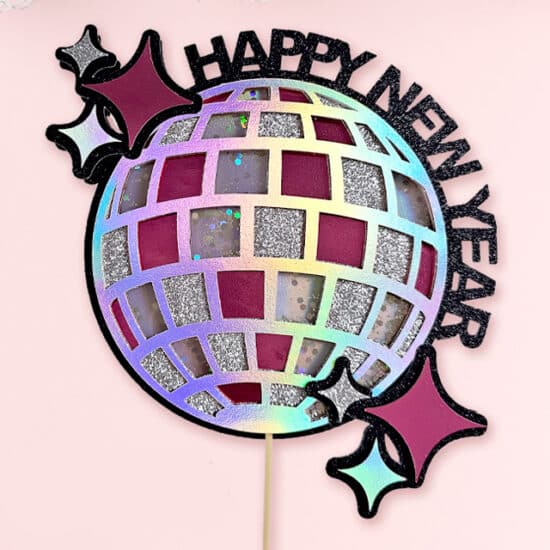
Bring in the New Year with my fun Cricut paper craft! This Happy New Year Disco Ball Shaker Topper, is a perfect decoration the holiday! You can add it to, desserts, flower bouquet, centerpieces, gifts or just for the kids to enjoy! With the option to fill the topper with embellishments, makes it a fun interactive craft!
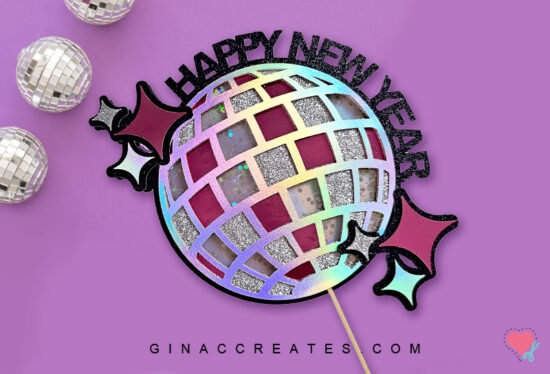
I designed this Happy New Year Topper to be used for any year! I prefer to create something that can be used again and again, verse just for 2024! However, if you are feeling creative, you can simply cut out the New Year’s numbers and stick them to the front of the disco ball!
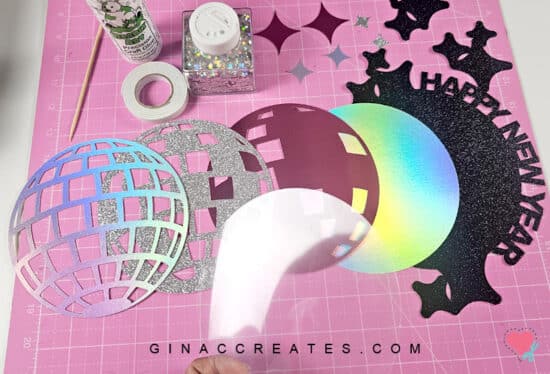
Here are a list of supplies you will need to create this Happy New Year Disco Ball Topper. The optional list will be to make it into a shaker style topper.
Optional List:
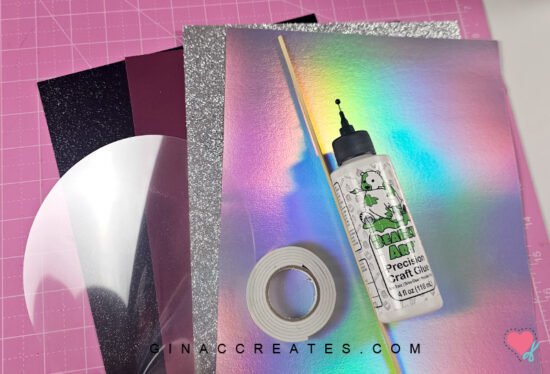
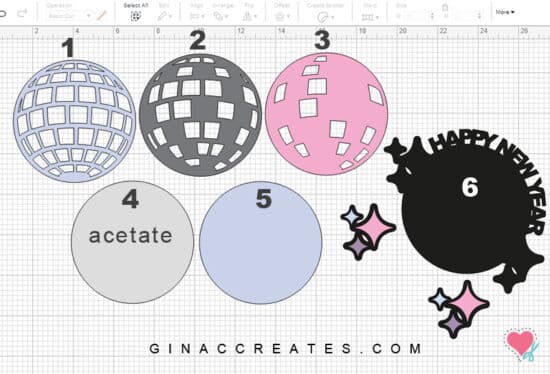
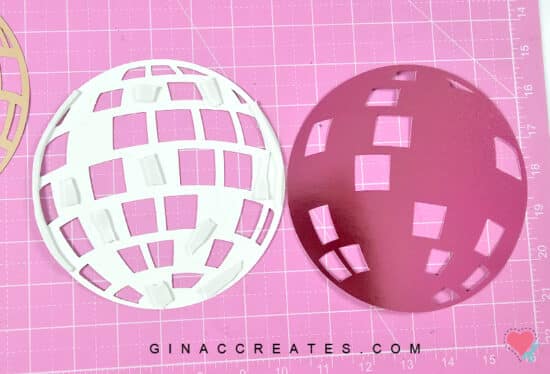
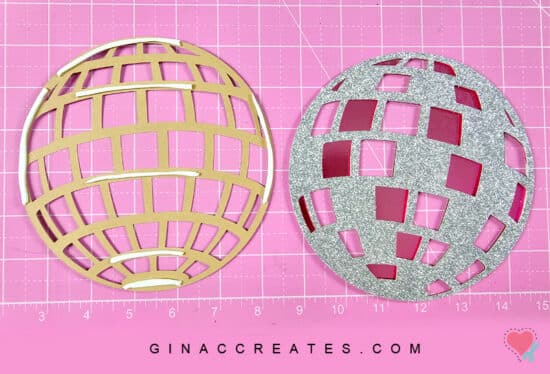
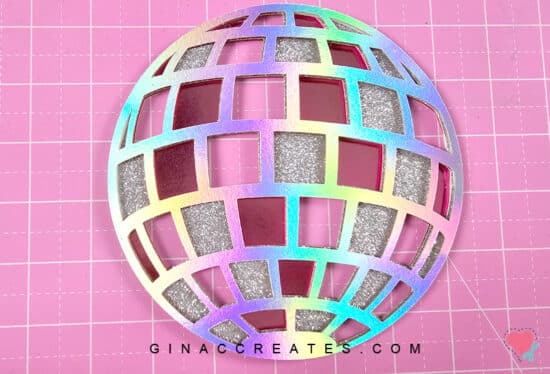
For my topper, I used a mix of glitter and foil cardstock: 1 black glitter, 1 silver glitter, 1 pink foil, 2 holographic foils and 1 acetate. Please refer to the image below to see the order of the layers and which type of material I used for each layer.
For #1 and #5 I used holographic foil cardstock, #2 is silver glitter, #3 is pink foil, #4 is acetate and #6 is black glitter.
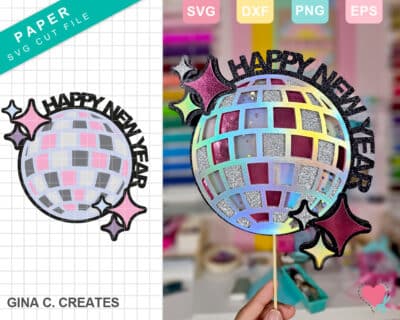
After you have my zip folder downloaded, right-click on the folder and click Extract All. Save the folder to the same location and now you will have an open folder to work with. Inside you will find my PDF license, along with 4 cut files, SVG, PNG, DXF and EPS.
We will be using the SVG file type for our Cricut Design Space software. If you have trouble locating the SVG type in the download, please read my FAQ Page for more help.
Next, please follow the instructions below:
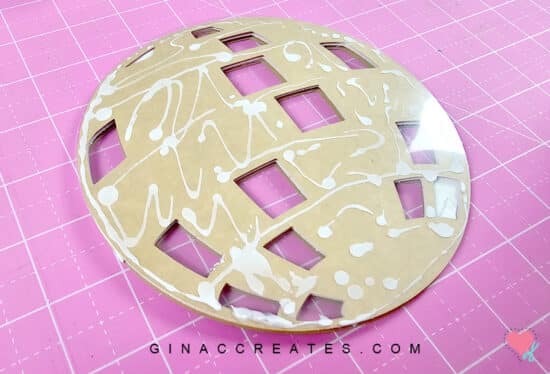
4. Wipe down acetate circle with soapy water and let dry. This helps remove static.
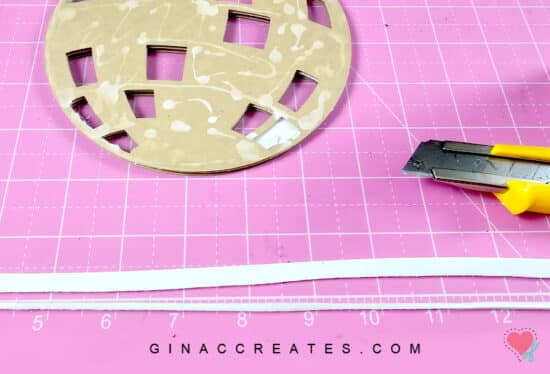
5. Cut foam tape into skinny strips with blade.
6. Place foam tape on the back of the silver glitter layer and place it directly on top of the pink foil layer. Make sure the disco ball layers are all face the right side up.
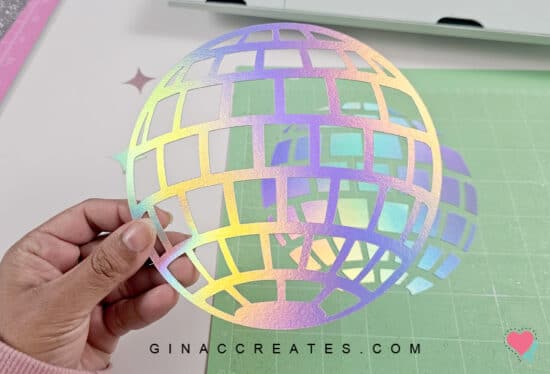
7. Place skinny foam strips on back of the holographic foil layer and place it directly on top of the silver glitter layer.
8. Flip over layered disco ball and add craft glue to the back and place the circle acetate layer over. If you aren’t making a shaker topper, used the holographic circle layer instead of the acetate, go to step 11.
9. Use a skinny strip of foam tape to line the outer edge of the disco ball. Place it directly to the acetate.
10. Add the embellishments to the center in between the foam tape. I am using holographic chunky glitter, the more, the better! Place the holographic circle face down to seal in the embellishments.

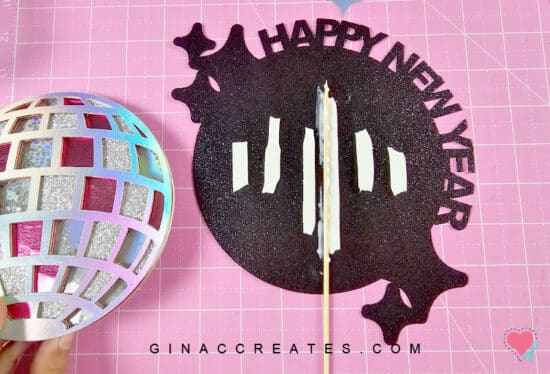
11. Next, place the wooden stick and foam tape down on the front center of the black glitter layer. I used craft glue to keep the stick in place. Add the disco ball over the top to hide the sick.
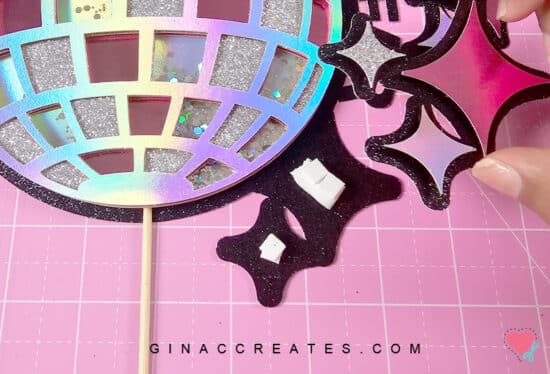
12. Place the star burst over the small black glitter offsets. Place 4 layers of foam tape over each other to place the offset in place.
13. Enjoy! You just completed your Happy New Year Disco Ball Shaker Topper!
I hope you try out this fun New Year paper craft. I love to design fun beautiful things that are easy for my followers to create! Download the Freebie below and make it today!


One Response
This is such a cute design!! I can’t wait to make it 😊 — might even make it the main decoration for my son’s 30th birthday. I hope to throw him a surprise party (but that won’t be until Jan 2025, so I’ll have plenty of time to make them!!)…