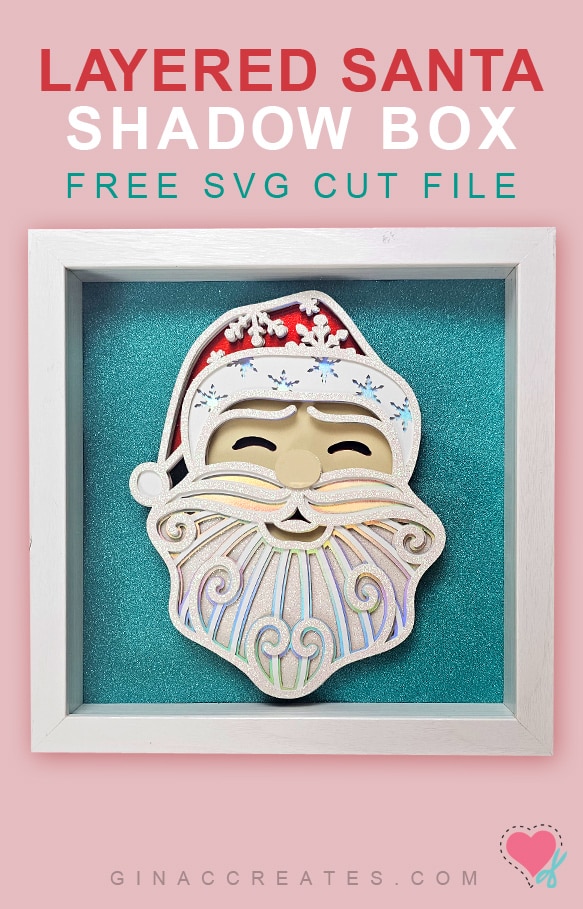
Create a cute layered Santa shadow box with me today! Designing layered paper crafts and mandalas, have always been one of my favorite things to do, and I knew I need a Santa Claus design! And here it is!!
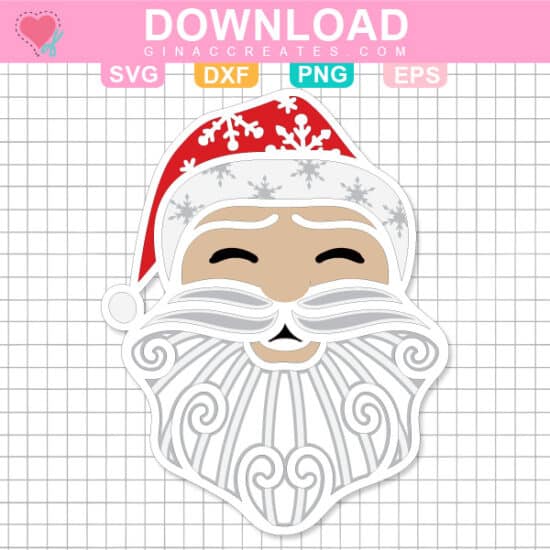
In this post I will show you how easy it is to create my layered Santa using your Cricut cutting machine! The Layered Santa SVG file is available as a free download at the end of this post. Just look for the PINK download button!

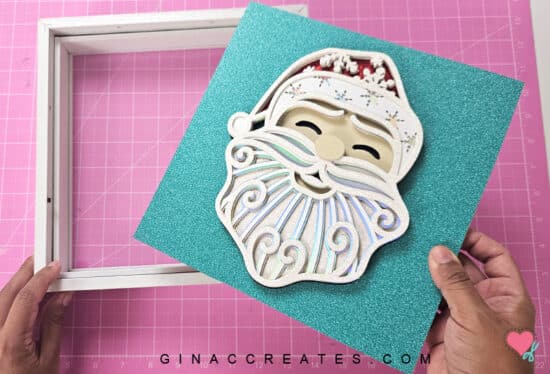
I will be placing my layered Santa in a 9×9 shadow box, however, you use him any way you like. It makes for a festive decoration for the holiday season or a cute gift for friends and family. Time to get creative!
Download my free Layered Santa SVG at the bottom of this post. Unzip the folder and save files to a new location. If you need more help doing this, please read through my FAQ page. The SVG will be in the folder, if you are on a Windows PC, the SVG might display as a HTML doc with an internet icon.
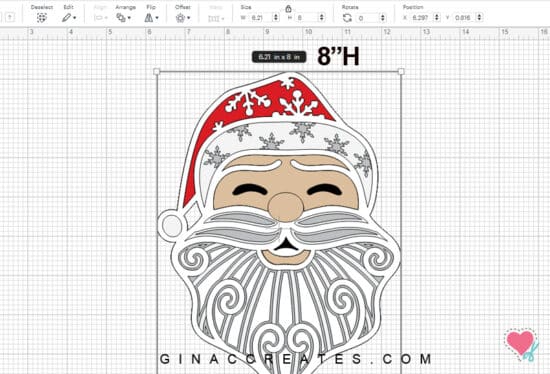
Open up Cricut Design Space and upload the SVG file type. This file will have all the layers in color. Make sure it is size at 8 inches in height for a 9×9 shadow box. You can resize it to fit yours if it’s a different size. After you have it sized, you can hit Ungroup and select each layer.
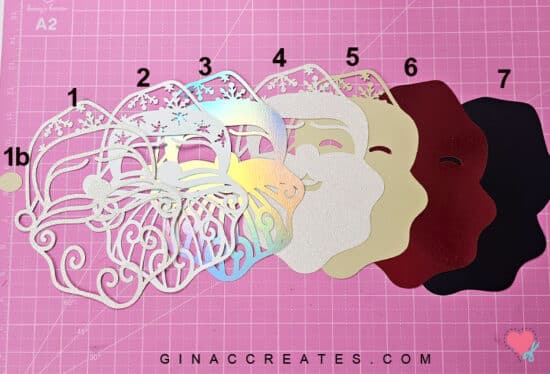
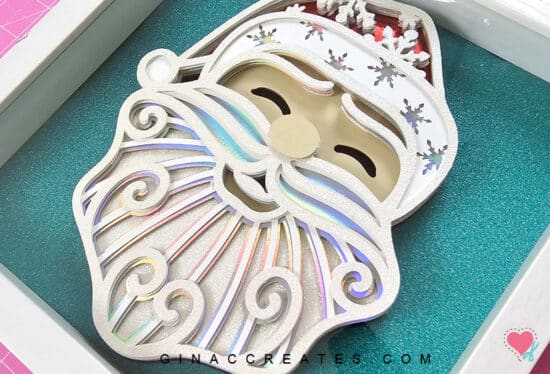
There are a total of 7 full layers, and 8 with the oval nose. Please refer to the image below to see the order of all the layers, with 1 being on top and 7 at the bottom. This SVG is ready to cut, unless you would like to change the colors.

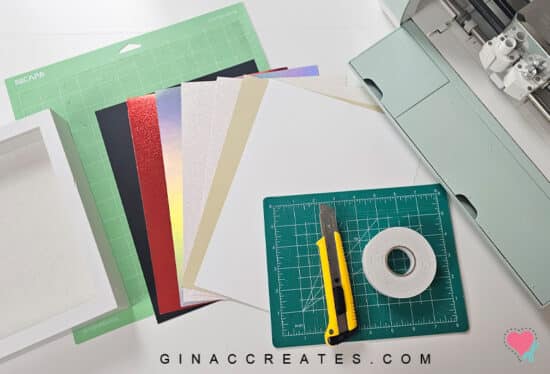
I used a variety of different cardstocks to add some texture to my design. I will list all the colors to the layer numbers, incase you would like to recreate the exact way.
Make sure to cut on the appropriate setting for each material.
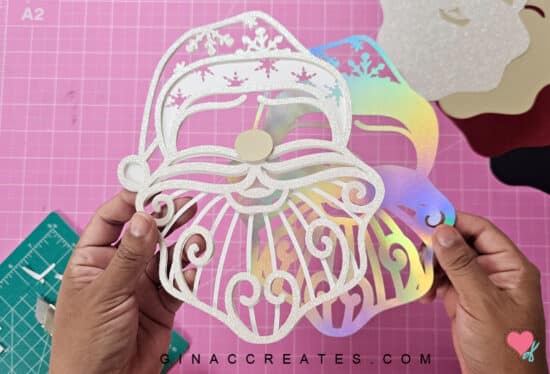
Cut your foam tape into skinny strips using a blade. Place foam tape evenly on the back of each layer, starting with #1, then layer it on the next layer.
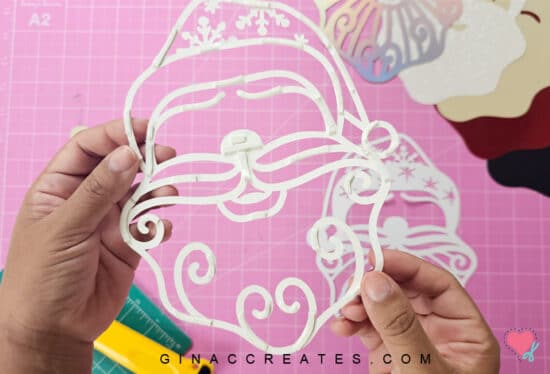
Start with the top layers and work your way to the bottom layer. You can use Bearly Art glue if you don’t have foam tape.
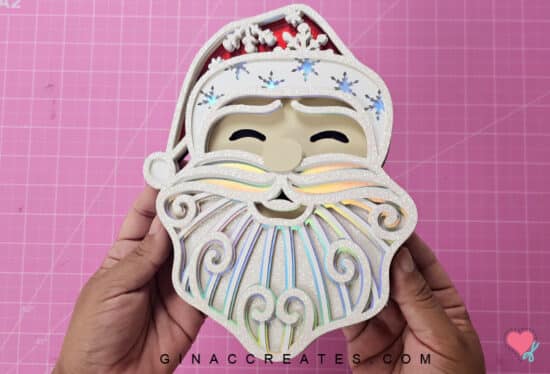
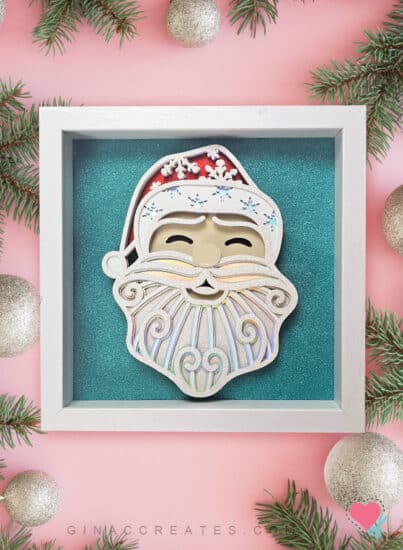
Here is how the final layered Santa will look. You can place him on a wooden sign, or in a frame, but I think he looks best in a shadow box.
Once you have your finished layered Santa, you can add him to the center of a 9×9 shadow box backing. If you prefer, you can trace your back panel on a piece of 12×12 cardstock, cut it out and place it over the back panel to cover up the canvas material.
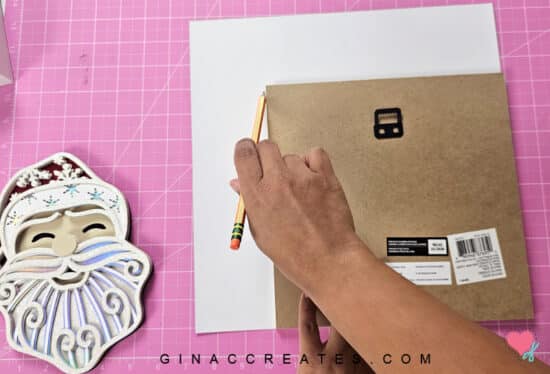
Adhere your Santa to the center of the cardstock using more foam tape, and place back into the shadow box.
And your all done! Wasn’t that easy?
I just love the look of layered paper projects! I hope you get a chance to make this for yourself and enjoy it for the holidays! Keep scrolling to download the Free Layered Santa SVG below!
Help me spread the word of this cute Layered Santa Project by pinning it to Pinterest or Sharing it to Facebook! Thank you so much for visiting!


10 Responses
You did it again, Gina. Love the Santa!!
Thank you for the lovely Christmas designs.
Santa is my man! I love this layered Santa. Thank you Gina.
It won’t download 😔 there’s a circle with dots and then nothing
Got it thank you I thought I was signed in but wasnt
I will give this a try!
Hi Gina, this is beautiful! Is there an instructional video for this project?
I’d like to make this into a holiday card. Thank you and Happy Holidays!!
Hello, I’m sorry I don’t have a video tutorial for this one.
Santa is just the cutest! Awesome job and thank you
Thank you for this wonderful project.