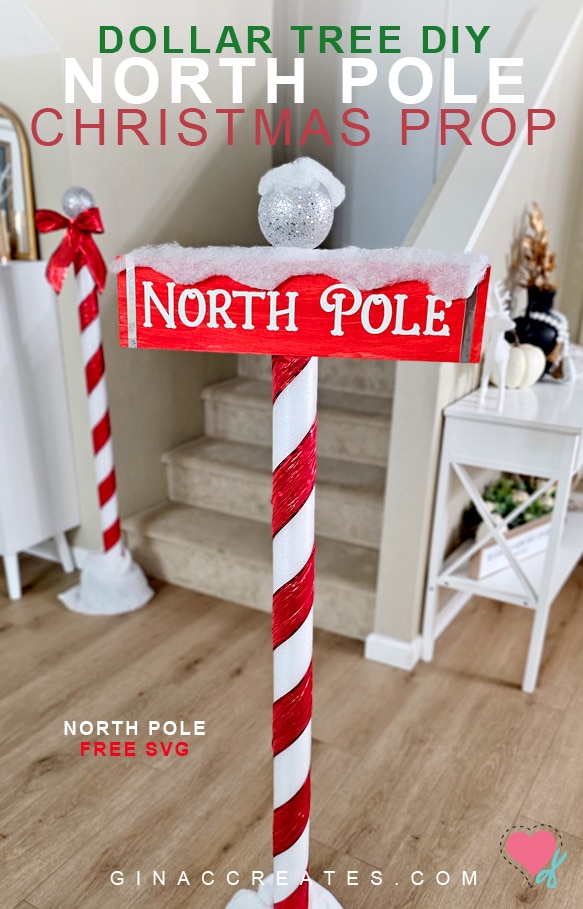
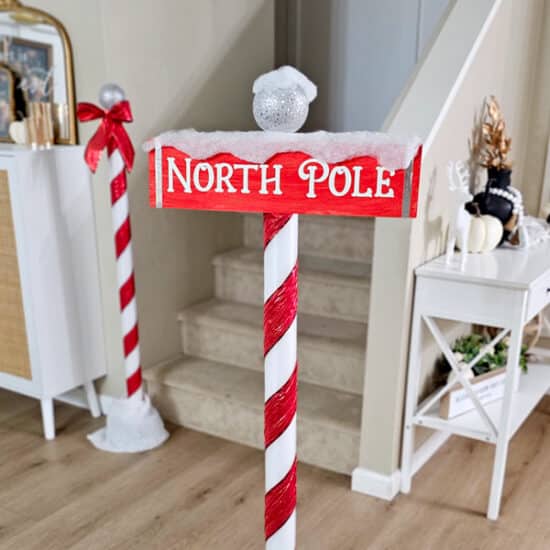
Hey there Crafters, today I have a fun Christmas decoration you can make for your next holiday party, these beautiful North Pole props! Christmas decorations can get pretty expensive, so I try to find affordable ways to create them with out breaking the bank! I got most of my supplies from the Dollar Tree, with the exception of the snow blanket. Cost totaling under $10, where the stores are selling them for $50 to $100!
In this post, I will show you how to create two different looks of the North Pole Prop. I also include a free download of the North Pole Sign SVG. You can grab that at the end of this tutorial.
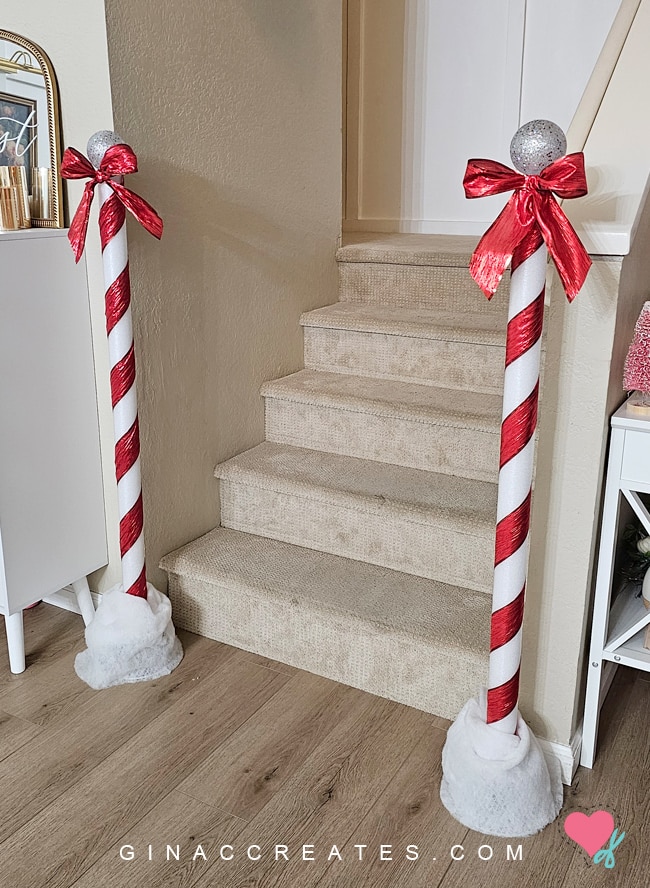
These Dollar Tree North Pole props are so cute for decorating your home, as well as school, church or work events, for the holidays! For a more simple Christmas prop, you can create more then one of these North Pole props to decorate staircases, doorways or use them as a walk way to an event.
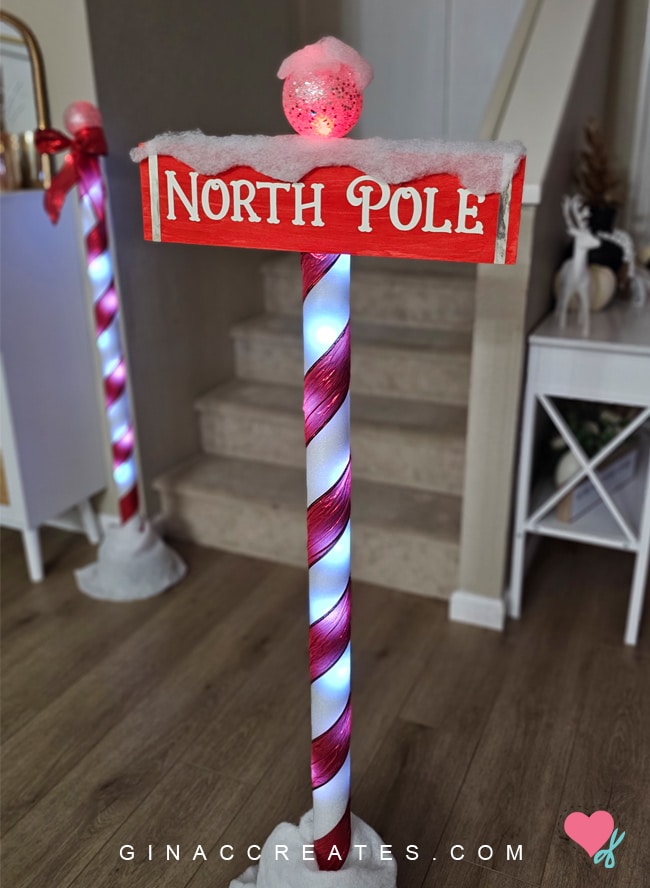
Did I mention these DIY North Pole props light up as well, perfect for a Christmas Party! If you want, you can just create one North Pole prop for your home with a sign hanging from it. This will be a fun Christmas decoration for the whole family to enjoy!
I recommend these DIY North Pole props, be used indoors since they are light-weight and not weather-proof. You may use them outside for an event for a short period of time, not meant to be out overnight. Adding weights under the basket base is a must.
You can create the North Pole sign with your Cricut using my free SVG file at the end of this post. However, if you don’t have a cutting machine, you can create your own sign using paint.
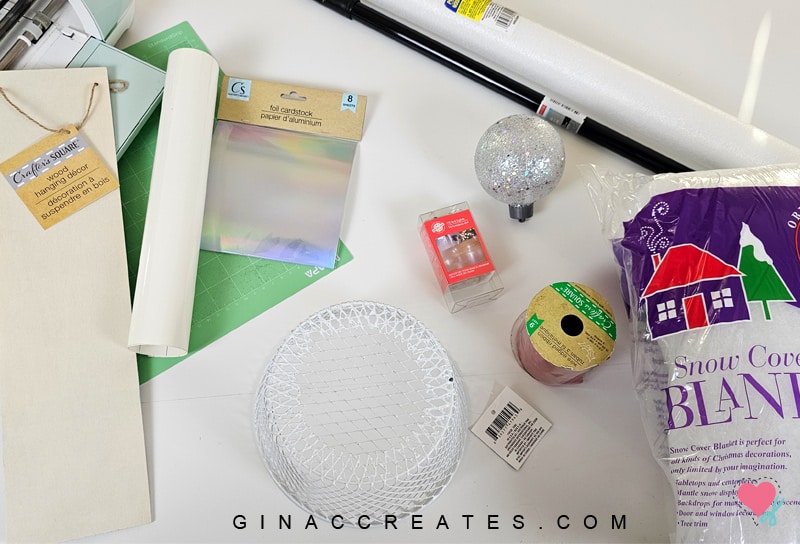
You can find most these items at the Dollar Tree for the North Pole prop, but I recommend getting the snow blanket from Walmart.
Here are basic instructions on how to create the North Pole prop, for full instructions, please watch my video tutorial below!
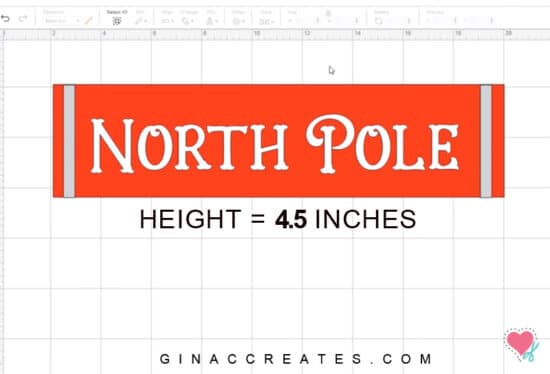
To create the North Pole wood sign, upload my SVG to Cricut Design Space and make sure it’s sized with a 4.5 height. Next, ungroup the SVG to delete the red rectangle template, if you don’t need it. I cut the silver brackets with foil cardstock and the North Pole letters with white vinyl.
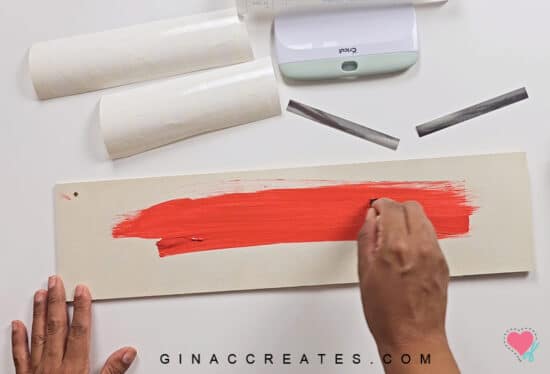
Paint your wooden sign with red acrylic paint and let it dry completely.
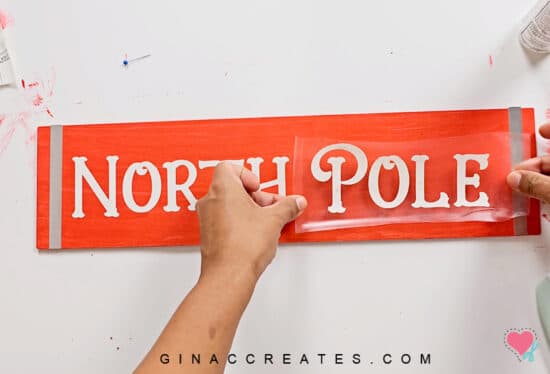
Add your Cricut cut outs on the front of the sign, use the silver brackets to cover the holes in the wood. Place the North Pole decal in the center.
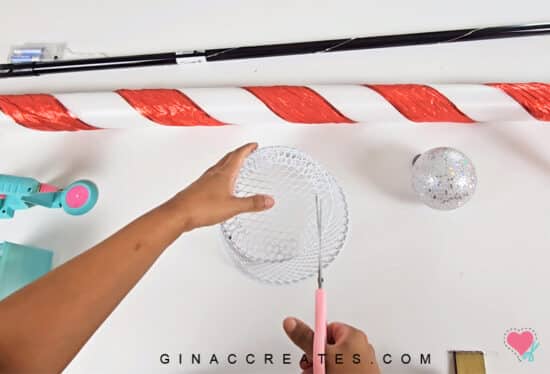
You will also need to cut out pieces of your snow blanket to add to the top of your sign.
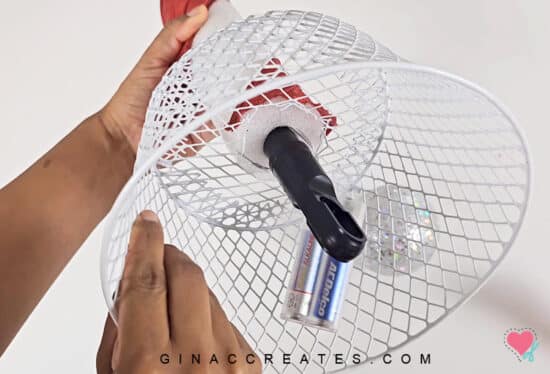
Next, we can create the light-up pole and add it to the base. Start with the red ribbon and wrap it around the pool noodle applying hot glue to keep in place. Wrap the string lights around the broom stick and secure it at the top. Cut a small hole at the bottom of the wire basket.
Push the broom stick into the pool noodle, then drop the battery pack and broom handle through the top of the basket. Squeeze the pool noodle through the basket making sure it stay tight.
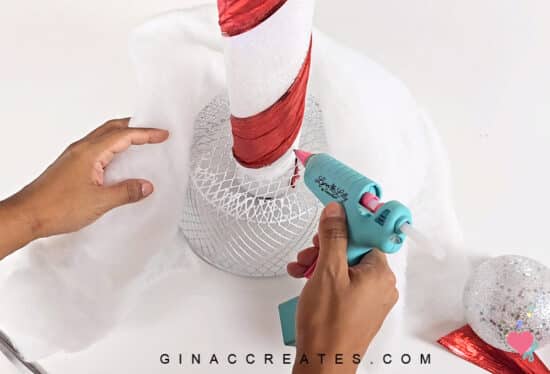
Stand up your pole and use hot glue to wrap your snow blanket around the base.
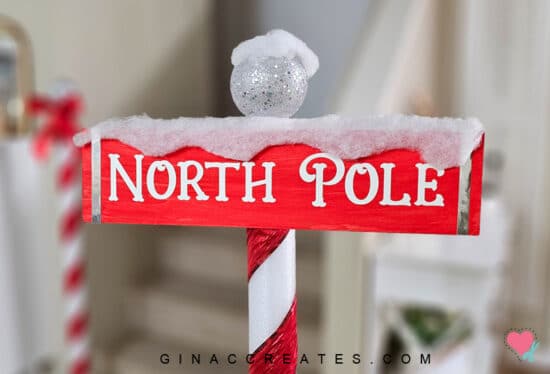
Now you care ready to hot glue your sign to the top of the pole and add your LED ornament upside down to the hole of the noodle. If you prefer you can switch out the wooden sign for a bow and create more than one!
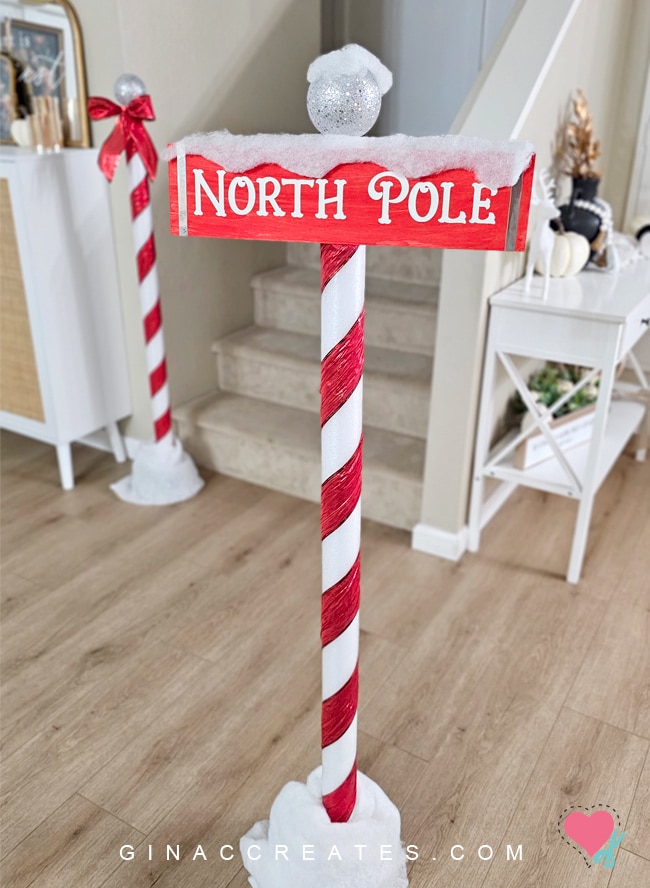
Now you have a beautiful North Pole Christmas prop you can use all season long! Please watch my full video tutorial below for complete instructions and tips!
Watch on this video on YouTube!


6 Responses
Thank you Gina. Looks so cool to make for Christmas and stick in the front yard.
The North Pole prop is cute. Thank you for sharing.
Thank you
Love this! Adding to my list of need to make!
Awesome North Pole idea and so creative! Love it!
So cute! 🙂 Thank you!