
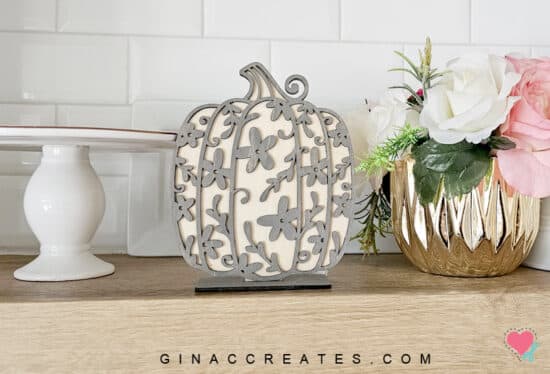
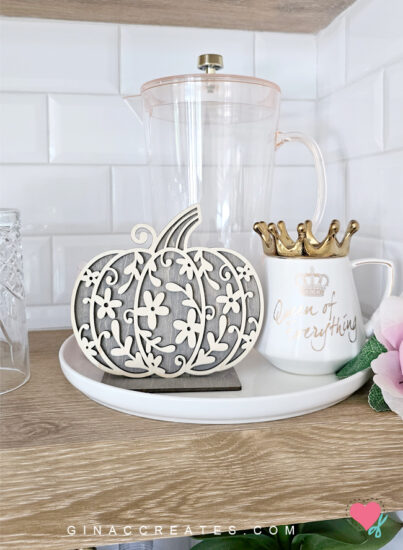
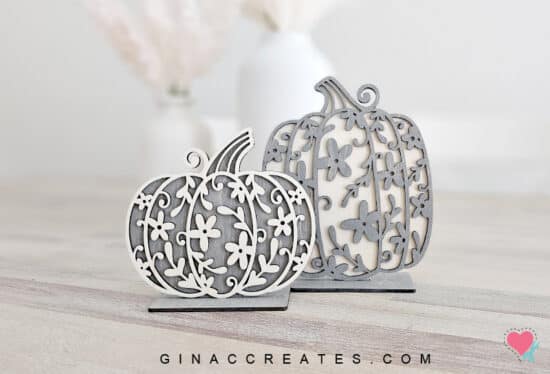
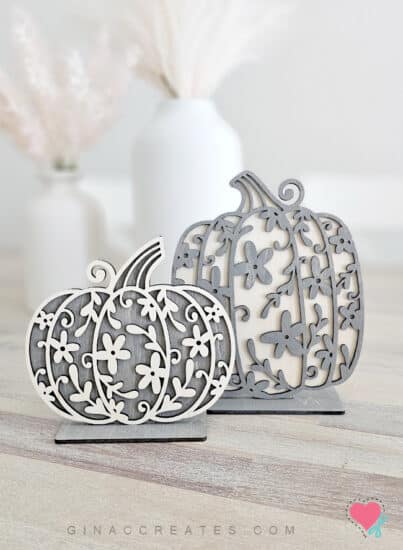
Hello Crafters, I have been playing around with my new xTool M1 laser cutter, and I made these Fall Floral Pumpkins for home decor! I just love how they turned out, they totally match my home decor. Now you can DIY too and decorate your home for the fall season with this wood laser project. View my tutorial below and grab the free Floral Pumpkins SVG to start creating!
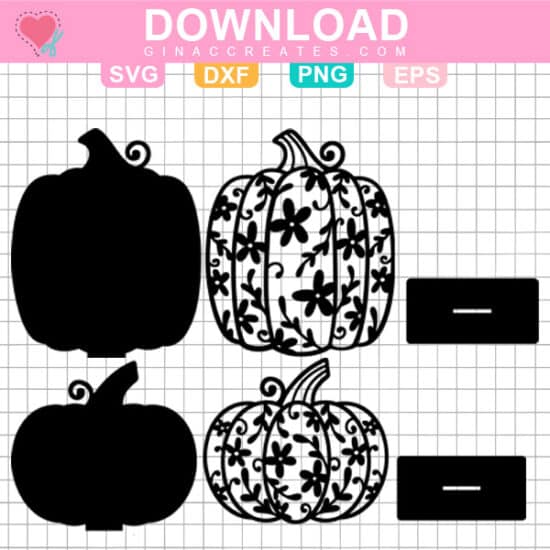
Decorate your home with this DIY laser fall project! The free Floral Pumpkin SVG Bundle includes 2 different pumpkins, the base is 4×2 inches, the short pumpkin is 5.73×5.15 inches, and the tall pumpkin is 5.75×6.90 inches. I designed the fall floral pumpkin decor to be cut on 3mm basswood with a laser cutter.
Get the xTool M1 10W Smart Laser for just $949!!
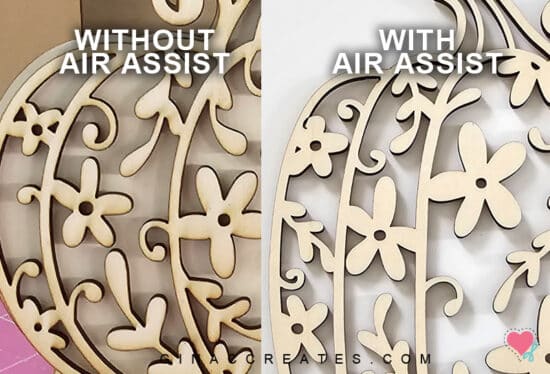
I recently received the xTool Air Assist for the M1 Hybrid Laser Cutter, and I’m so happy with the results! You might ask what does the Air assist do? Well I’ll tell you, the Air Assist attachment blows air to the M1 laser to help prevent scorching. When cutting wood materials with a laser, it will leave nice clean line with out burn edges, giving it a professional look. Watch my tutorial video on how to use the Air Assist on a xTool M1 machine! If you are a complete beginner, read my review of the xTool Laser Cutter!
The xTool M1 Laser cutter machine uses Creative Space software, where you can upload the SVG to it’s workspace and start cutting. Read my complete review on the xTool M1 if you are a beginner.
In my tutorial video I walk you through the Create Space software to show you how to upload the the correct SVG file and which settings to use. Please refer to the video tutorial if you are new the Creative Space software.
First you will need to download my free SVG cut file at the bottom of this post, upload the SVG file to xTool Creative Space. Load your 12×12 3mm basswood material into the M1 machine and close the lid. This will send a picture to Creative Space and you can arrange the design on the material location. Please note if you resize my design, it will change the size of the slip in the 4×2 base, which I sized for 3mm thickness. Changing the size will cause it not to fit in the base. If you would like to make a bigger version, you will need to configure your own base for it to stand in.
In Creative Space, I used the settings:
Each shape is set to CUT, Power % 100, Speed 3 and pass 1. Make sure to turn on the air assist before clicking the start button on the M1 machine. Each pumpkin set took about 30 to 35 mins to cut, so please keep that in mind when planning to create.
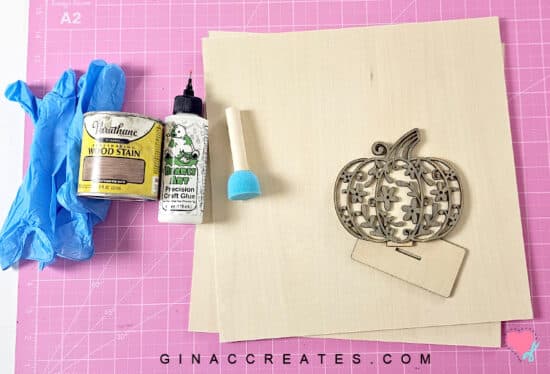
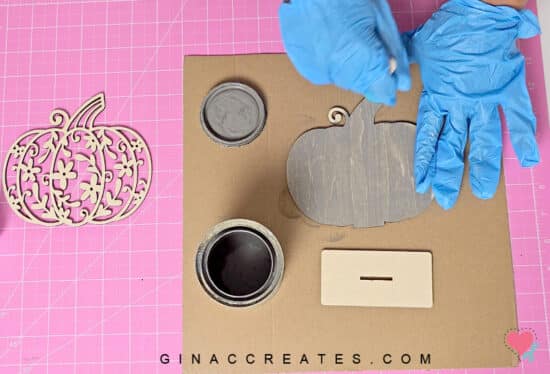
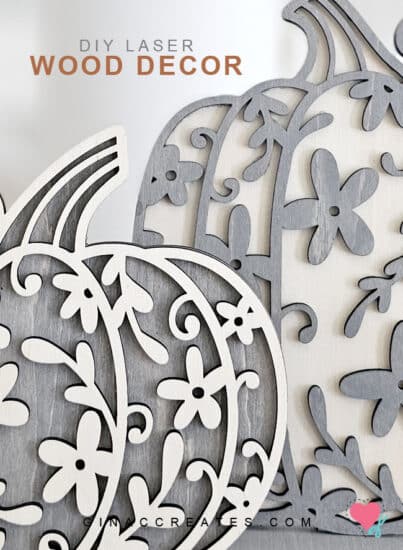
After one set of pumpkins is done cutting, I completed the short pumpkin first, apply stain to each side of the back solid pumpkin. A little bit of stain goes a long way, use a foam brush or rag to apply. I also applied stain to the base stand. Allow to dry for 30 minutes.
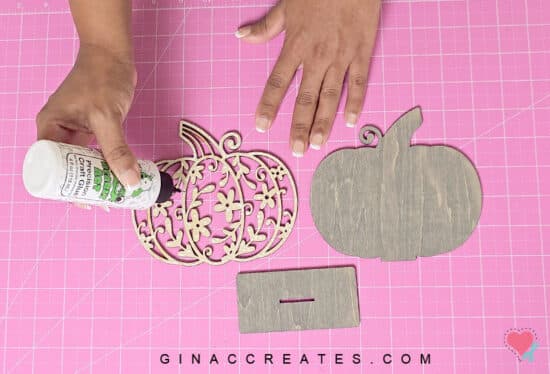
Flip over the top floral pumpkin layer and apply wooden glue. I used Bearly Art Glue and it worked surprisingly well. These are pretty light so I wasn’t worried about it falling apart. Next, layer it directly on top of the stained back piece. allow it to dry flat for another 30 minutes.
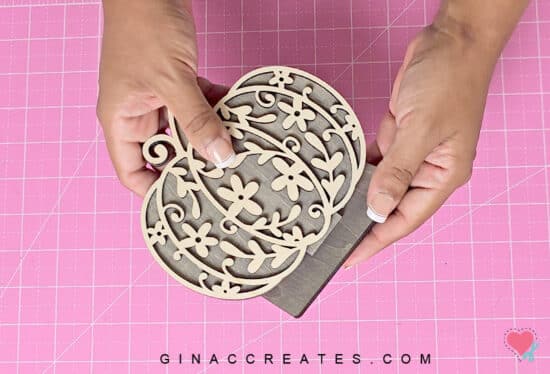
Now, you can slip the tap into to hole in the base. And ta-da, you have a beautiful wooden fall decor to add to your home! If you want, you can glue the pumpkin in to the base, however, I liked the ides of it being able to dis assemble to lay flat for storage.
I hope you enjoyed how to make your own fall wood pumpkins for home decor! Think of all the different colors you can create these with wood stain or paint. If you are really tech savvy in xTool Creative Space, you can score the floral pumpkin design onto the pumpkin cut out, making a fun painting wood canvas! Please leave a comment below, to let know what you think out my first laser cutting project design!!
Watch this Video on YouTube!
Enjoy this project for free, I just ask if you can, please share to Pinterest or Facebook, so other crafters can find this project!


9 Responses
Can i cut this with my Explore 2?
You can use the file with Cricut Design Space and cut it will material that your machine can cut. However, if you cut it with cardstock, it will be thinner and may not stand up in base.
Thank you for this
gorgeous cut files!
My husband cut it
out and they look
amazing.
Carla from Arizona
YAY!! Glad you like them!
I’m going to attempt this on my Maker with kraft board. At this time this is all I can afford, but I love the pattern.
Sounds like a great idea, you can always double up the layers to make it thicker.
Gina, this pumpkin file is fantastic. so pretty and you gave understandable directions. Thank you so much for sharing.
Es muy bonito. Muy buenos archivos. Muchas gracias por compartir.
Muchas gracias por tan bellos diseños que nos das!